Removing the micro SD card
Prerequisites
1
Follow the safety guidelines listed in
2
Follow the procedure listed in
Before working inside your system
.
Steps
1
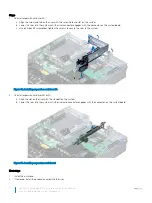
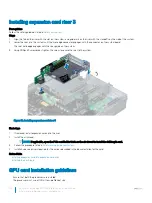
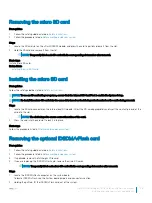
Locate the SD card slot on the vFlash/IDSDM module, and press the card to partially release it from the slot.
2
Hold the SD card and remove it from the slot.
NOTE:
Temporarily label each SD card with its corresponding slot number after removal.
Next steps
Install a micro SD card.
Related links
Installing the micro SD card
Prerequisites
Follow the safety guidelines listed in
NOTE:
To use an SD card with your system, ensure that the Internal SD Card Port is enabled in System Setup.
NOTE:
Re-install the micro SD cards into the same slots based on the labels you had marked on the cards during removal.
Steps
1
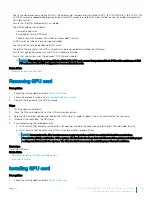
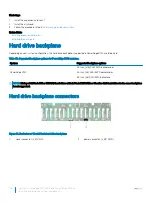
Locate the SD card connector on the internal dual SD module. Orient the SD card appropriately and insert the contact-pin end of the
card into the slot.
NOTE:
The slot is keyed to ensure correct insertion of the card.
2
Press the card into the card slot to lock it into place.
Next steps
Follow the procedure listed in
After working inside your system
Removing the optional IDSDM/vFlash card
Prerequisites
1
Follow the safety guidelines listed in
2
Follow the procedure listed in
Before working inside your system
.
3
If applicable, remove the full-height PCIe card.
4
If you are replacing the IDSDM/vFlash card, remove the micro SD cards.
NOTE:
Temporarily label each micro SD card with its corresponding slot number after removal.
Steps
1
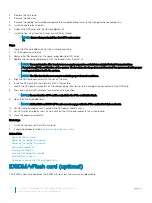
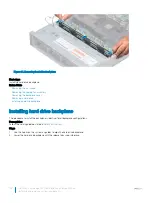
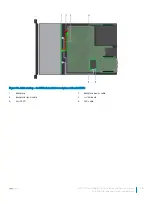
Locate the IDSDM/vFlash connector on the system board.
To locate IDSDM/vFlash, see the System board jumpers and connectors section.
2
Holding the pull tab, lift the IDSDM/vFlash card out of the system.
Dell EMC PowerEdge R740 Installation and Service Manual
Installing and removing system components
125


