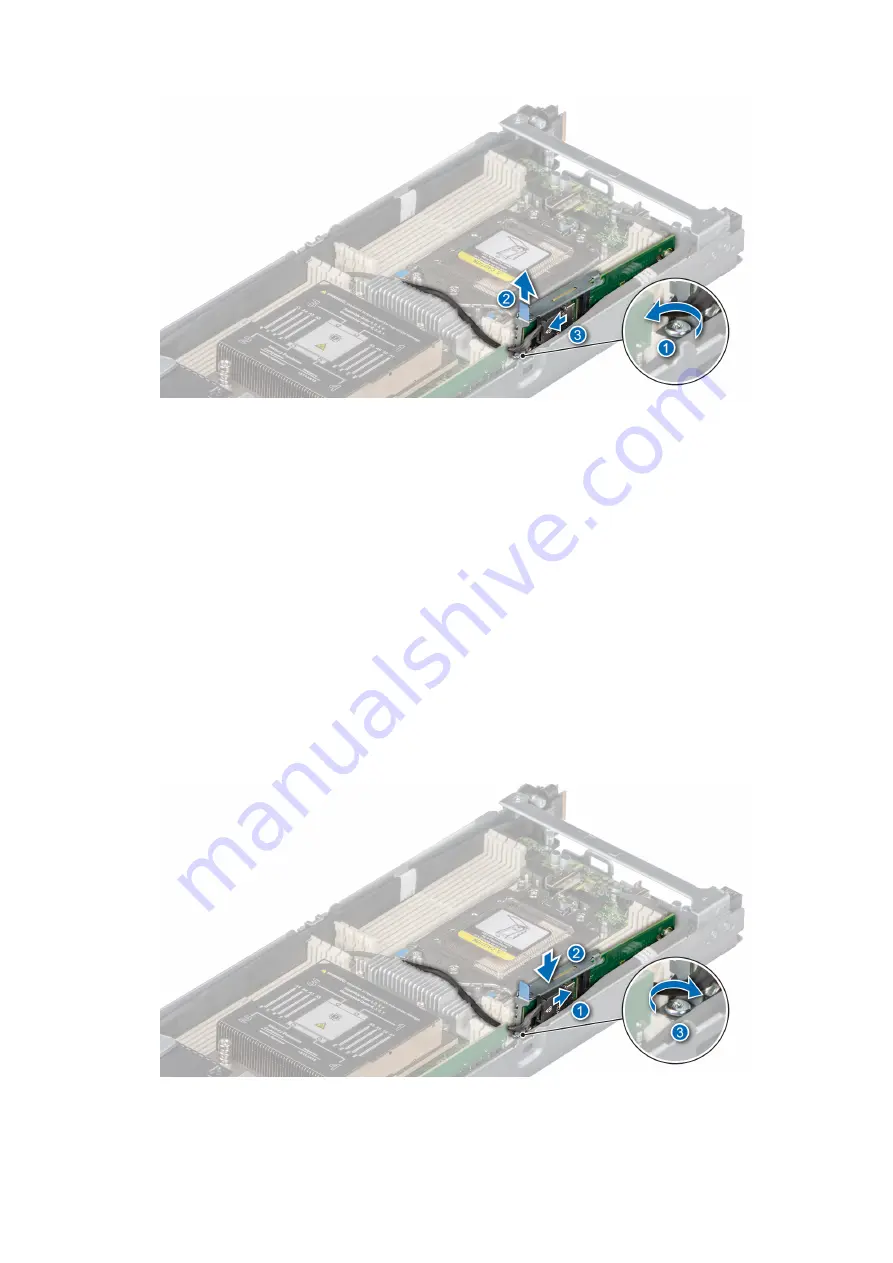
Figure 38. Removing the M.2 riser
Next steps
1.
Installing the M.2 riser
Prerequisites
1. Follow the safety guidelines listed in
.
2. Follow the procedure listed in
Before working inside your system
3.
.
Steps
1. Connect the data cable to the M.2 riser.
2. Align the M.2 riser with the stand off on the system board and insert it until the card is firmly seated in the slot.
3. Using a Phillips #2 screwdriver, tighten the screw that secures the riser to the chassis.
Figure 39. Installing the M.2 riser
Installing and removing system components
45
Содержание EMC PowerEdge C6525
Страница 11: ...Figure 7 Mechanical overview Figure 8 Memory information Dell EMC PowerEdge C6525 overview 11 ...
Страница 12: ...Figure 9 Jumper settings Figure 10 System tasks 12 Dell EMC PowerEdge C6525 overview ...
Страница 37: ...Figure 28 Removing an expansion card from riser 2 Installing and removing system components 37 ...
Страница 40: ...Figure 32 Removing the expansion card filler bracket 40 Installing and removing system components ...


