19" LCD Color Monitor
Dell E1909Wc
9
3.2 Adjusting the Picture
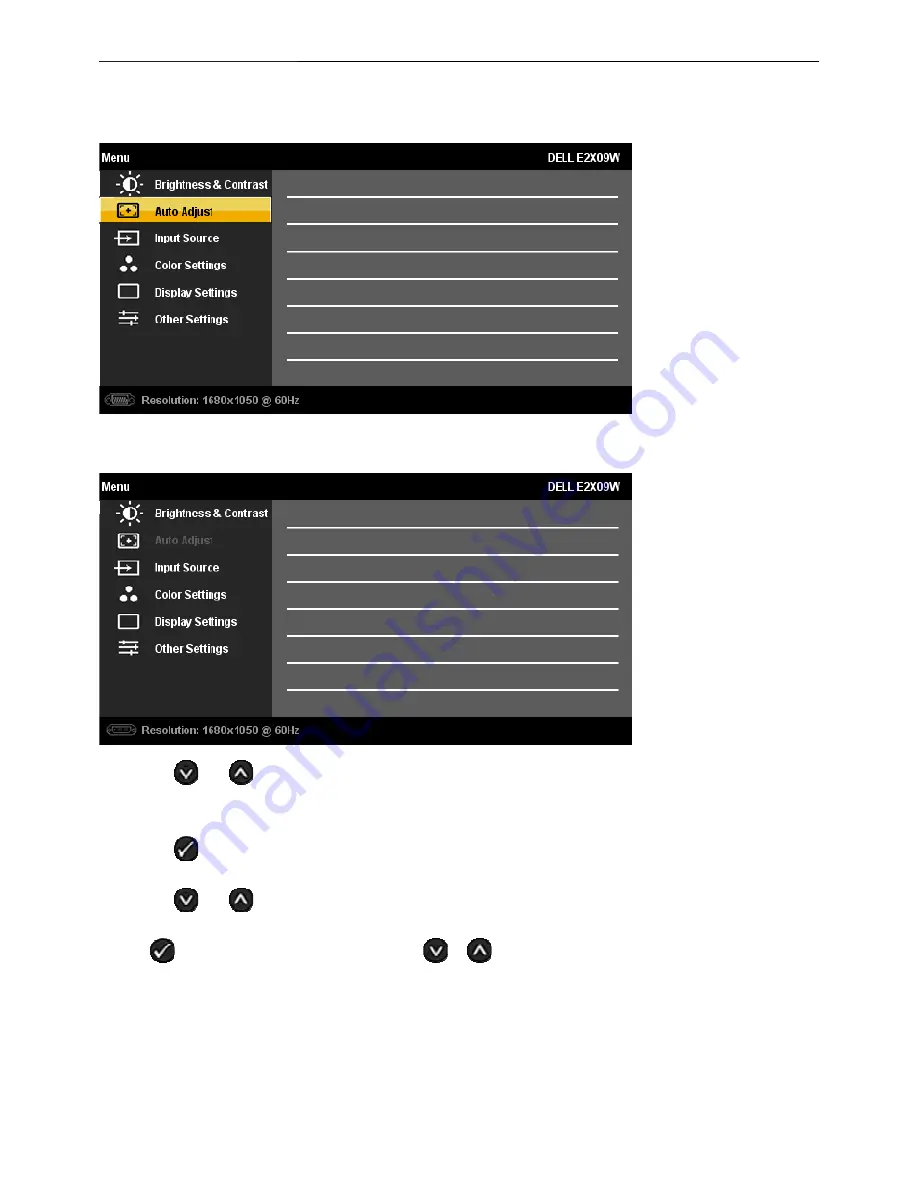
1.Push the MENU button to launch the OSD menu and display the main menu.
Main Menu for Analog (VGA) Input
Or
Main Menu for Digital (DVI-D) Input
2.Push the
and
buttons to move between the setting options. As you move from one icon to another, the
option name is highlighted. See the following table for a complete list of all the options available for the monitor.
3.Push the
button once to activate the highlighted option.
4.Push the
and
buttons to select the desired parameter.
5.Push
to enter the slide bar and then use the
or
button, according to the indicators on the menu, to
make your changes
6.Press the
Menu
button once to return to the main menu to select another option or press the
Menu
button two or
three times to exit from the OSD menu.
The table below provides a list of all the OSD menu options and their functions.
Содержание E1909Wc
Страница 22: ...19 LCD Color Monitor Dell E1909Wc 22 ...
Страница 23: ...19 LCD Color Monitor Dell E1909Wc 23 4 5 2 Appearance inspection specification ...
Страница 24: ...19 LCD Color Monitor Dell E1909Wc 24 4 5 3 Outside dimension specification ...
Страница 33: ...19 LCD Color Monitor Dell E1909Wc 33 The panel ...
Страница 41: ...19 LCD Color Monitor Dell E1909Wc 41 8 PCB Layout 8 1 Main Board ...
Страница 42: ...19 LCD Color Monitor Dell E1909Wc 42 ...
Страница 43: ...19 LCD Color Monitor Dell E1909Wc 43 8 2 Power Board ...
Страница 44: ...19 LCD Color Monitor Dell E1909Wc 44 8 3 Key Board ...
Страница 55: ...19 LCD Color Monitor Dell E1909Wc 55 Step3 Click open and OK bring up Fig 4 and Fig 5 Fig 4 Fig 5 ...
Страница 57: ...19 LCD Color Monitor Dell E1909Wc 57 12 Exploded View E ...


