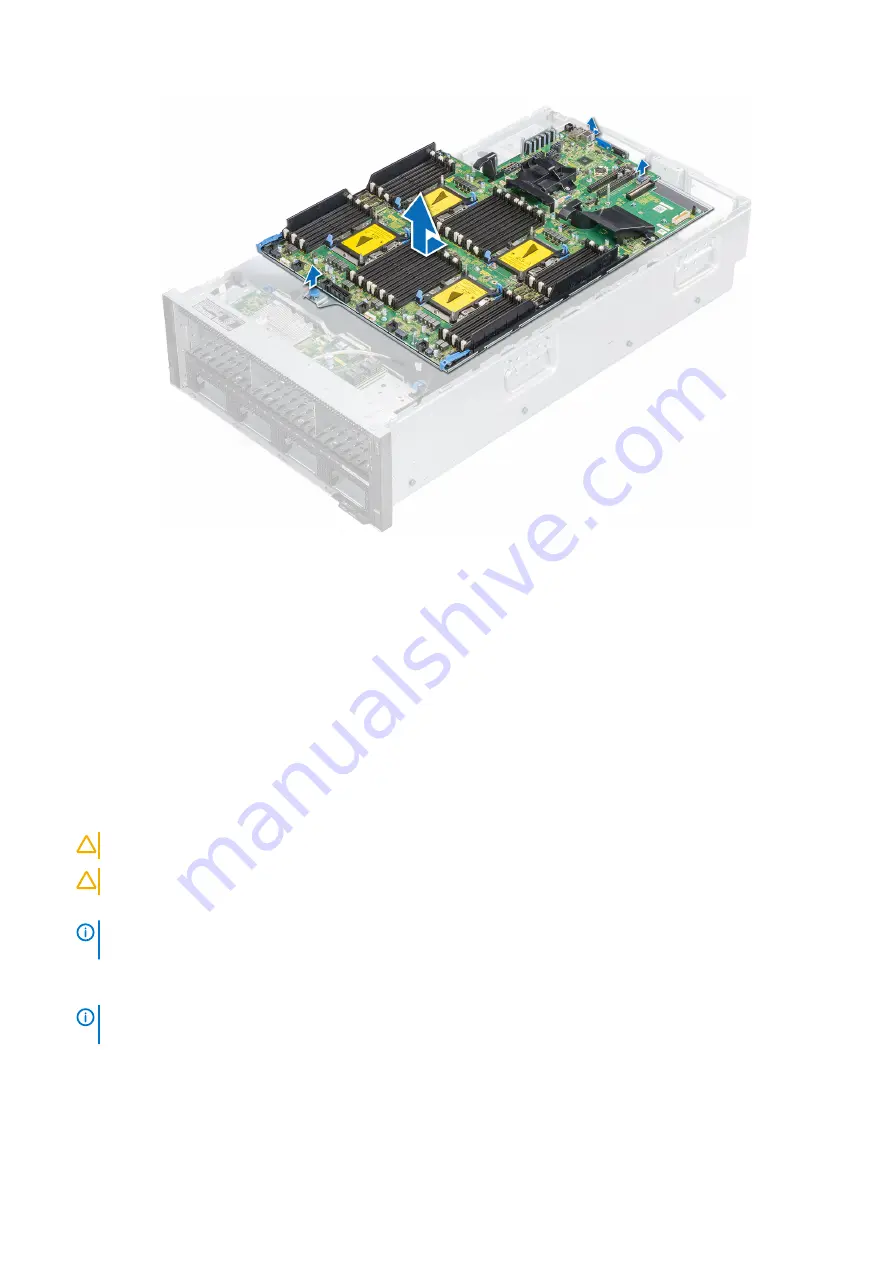
Figure 114. Removing the system board
Next steps
1.
Installing the system board
Prerequisites
1. Follow the safety guidelines listed in
.
2. Follow the procedure listed in
Before working inside your system
Steps
1. Unpack the replacement system board assembly.
CAUTION:
Do not lift the system board by holding a memory module, processor, or other components.
CAUTION:
Take care not to damage the system identification button while placing the system board into the system.
2. Hold the system board plungers, incline the system board at an angle into the system.
NOTE:
If you are replacing the system board, remove all the components listed in the removing the system board
section.
3. Align the connectors on the system board with the slots on the rear of the system chassis.
4. Slide the system board toward the rear of the system until the plungers click into place.
NOTE:
Before replacing the system board, ensure to replace the old iDRAC MAC address label in the Information tag
with the iDRAC MAC address label of the replacement system board.
148
Installing and removing system components
Содержание PowerEdge R940xa
Страница 15: ...Figure 9 Configuration and layout Figure 10 Express service tag PowerEdge R940xa system overview 15 ...
Страница 17: ...Figure 13 Rear view configuration Figure 14 Jumper settings PowerEdge R940xa system overview 17 ...
Страница 19: ...Figure 18 Electrical overview PowerEdge R940xa system overview 19 ...
Страница 119: ...Figure 86 Installing the X8 PCIe Riser 1 Installing and removing system components 119 ...


