


Figure 97. Removing expansion card riser 2A
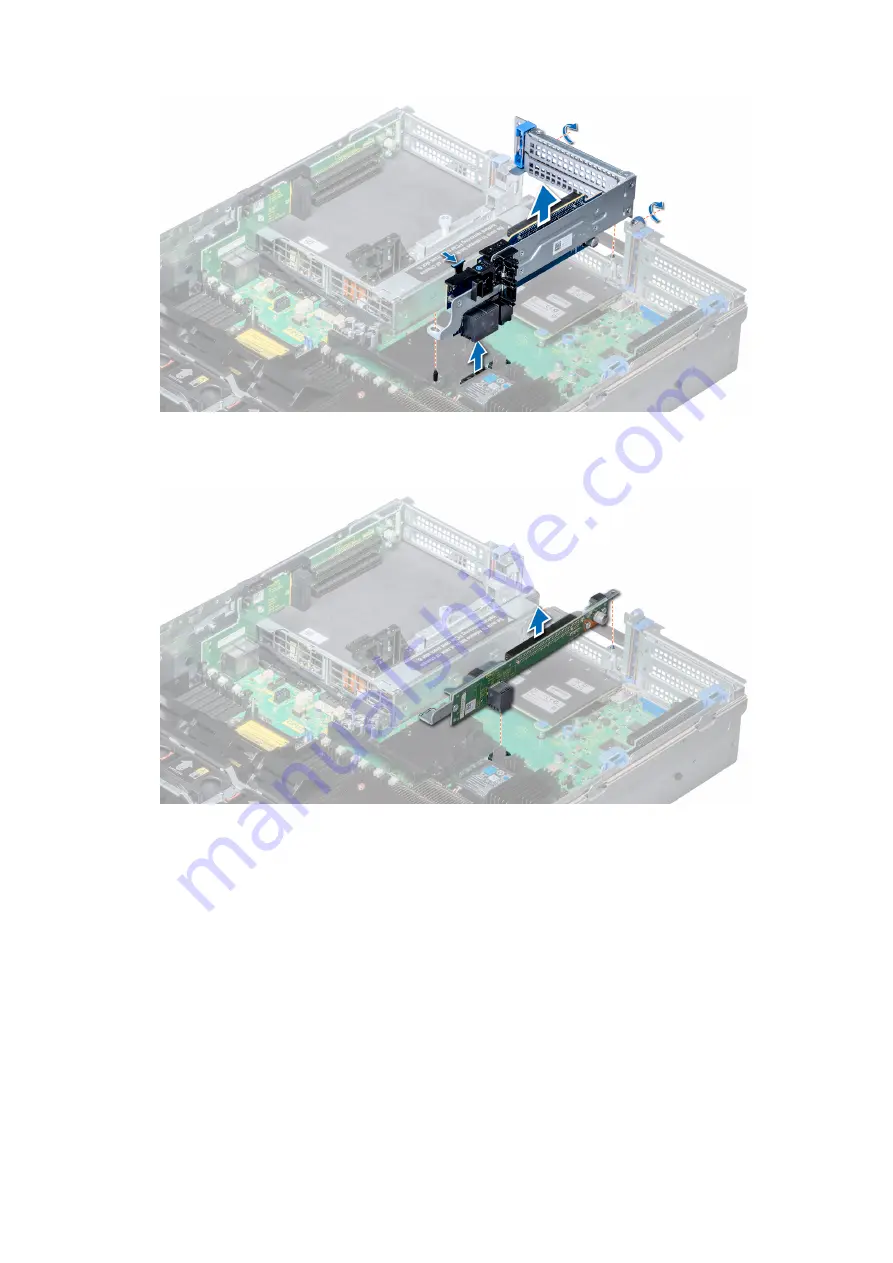
2. To remove expansion card riser 2B or 2C, hold the riser by its edges and lift the riser from the riser connector on the system board.
Figure 98. Removing expansion card riser 2
Next steps
Install the expansion card riser 2
.
Installing expansion card riser 2
Prerequisites
Follow the safety guidelines listed in
Steps
1. To install expansion card riser 2A:
a. Align the screw and tab on the riser with the screw hole and slot on the system.
b. Lower the riser into the system until the riser connector engages with the connector on the system board.
Installing and removing system components
151
Содержание PowerEdge R740xd
Страница 9: ...Figure 1 Supported configurations PowerEdge R740xd system overview 9 ...
Страница 24: ...Figure 21 system task Figure 22 NVDIMM battery and mid tray hard drives 24 PowerEdge R740xd system overview ...
Страница 160: ...Figure 110 Securing GPU 1 Figure 111 Installing GPU 2 and 3 160 Installing and removing system components ...