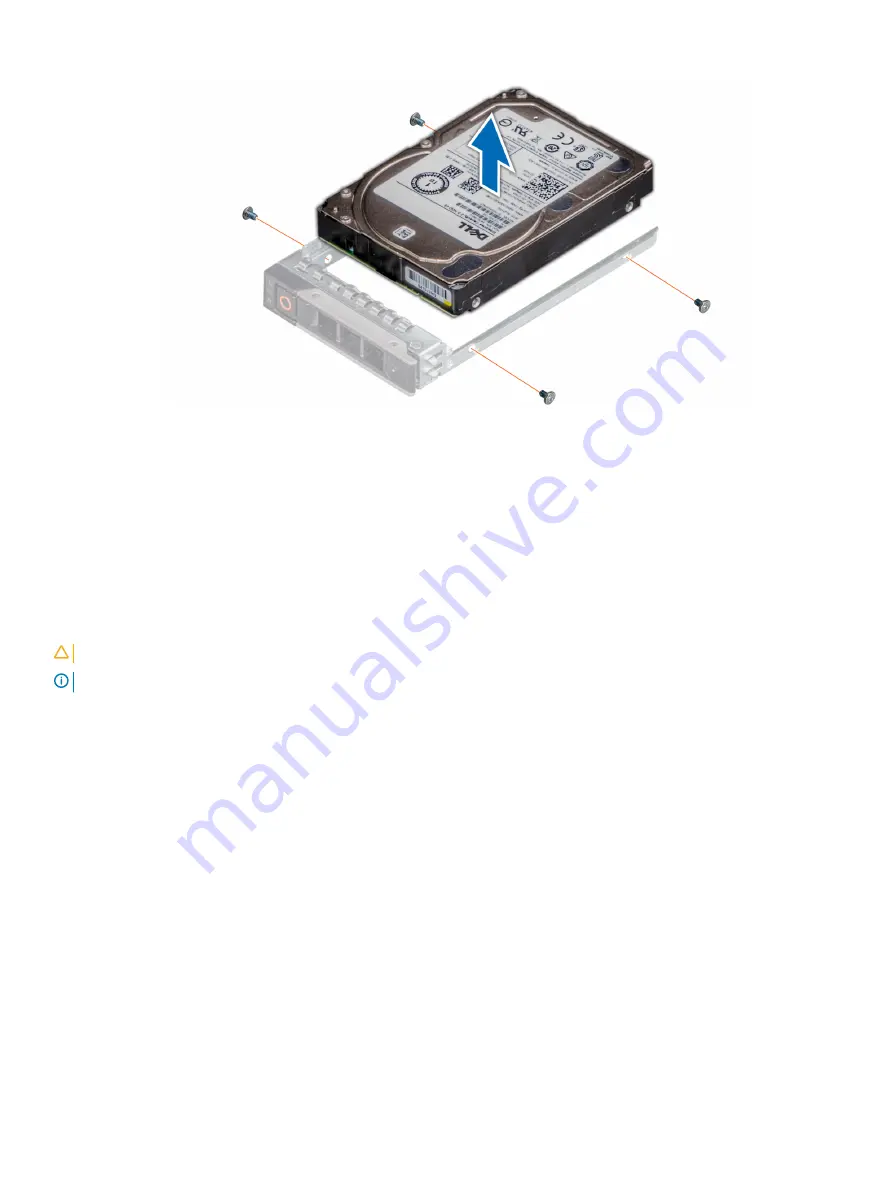
Figure 54. Removing the drive from the drive carrier
Next step
If applicable,
install the drive into the drive carrier.
Installing a drive into the drive carrier
Prerequisites
Follow the safety guidelines listed in
CAUTION:
Mixing drive carriers from other generations of PowerEdge servers is not supported.
NOTE:
When installing a drive into the drive carrier, ensure that the screws are torqued to 4 in-lbs.
Steps
1
Insert the drive into the drive carrier with the connector end of the drive towards the back of the carrier.
2
Align the screw holes on the drive with the screws holes on the drive carrier.
When aligned correctly, the back of the drive is flush with the back of the drive carrier.
3
Using a Phillips #1 screwdriver, secure the drive to the drive carrier with screws.
100
Installing and removing system components
Содержание PowerEdge R740
Страница 9: ...Figure 1 Supported configurations PowerEdge R740 system overview 9 ...
Страница 27: ...Figure 20 Jumper setting and memory information Figure 21 system task PowerEdge R740 system overview 27 ...
Страница 28: ...Figure 22 NVDIMM battery and mid tray hard drives 28 PowerEdge R740 system overview ...
Страница 141: ...Figure 94 Securing GPU 1 Installing and removing system components 141 ...
Страница 142: ...Figure 95 Installing GPU 2 and 3 142 Installing and removing system components ...


