you attempt to lift it. Even when the chassis is empty, only attempt to lift and
install the chassis with multiple people.
CAUTION
If you remove drive sleds from the chassis during installation, make sure
to label the sleds clearly. You must replace the drive sleds in the same sled bay you
removed them from. If drive sleds are mixed between nodes, even prior to
configuration, the system will be inoperable.
Procedure
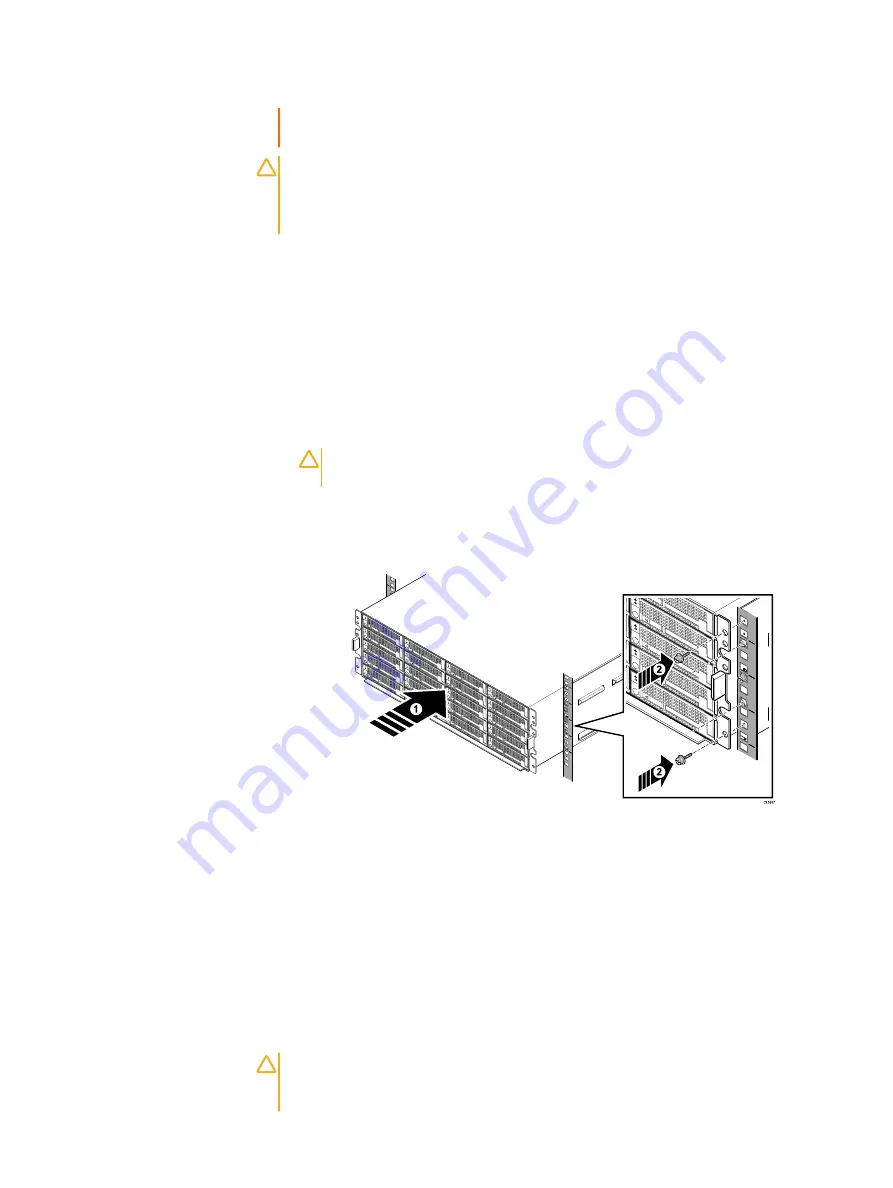
1. Align the chassis with the rails that are attached to the rack.
2. Slide the first few inches of the back of the chassis onto the supporting ledge
of the rails.
3. Release the lift casters and carefully slide the chassis into the cabinet as far as
the lift will allow.
4. Secure the lift casters on the floor.
5. Carefully push the chassis off the lift arms and into the rack.
CAUTION
Make sure to leave the lift under the chassis until the chassis is
safely balanced and secured within the cabinet.
6. Install two mounting screws at the top and bottom of each rail to secure the
chassis to the rack.
7. If you removed the drives and nodes prior to installing the chassis, re-install
them now.
Install compute modules and drive sleds
Follow the steps in this section if you are installing a new node pair into an existing
chassis, or if you needed to remove compute modules and drive sleds to safely install
the chassis in the rack.
About this task
CAUTION
Remember, you must install drive sleds with the compute module they
were packaged with on arrival to the site. If you removed the compute nodes and
drive sleds to rack the chassis, you must replace the drive sleds and compute
Installation Guide
6
Generation 6 Installation Guide 0


