DDMALL SDI-F01-TX Скачать руководство пользователя страница 3

DDMALL SDI-F01-TX User Manual

3

3. Indicator Light

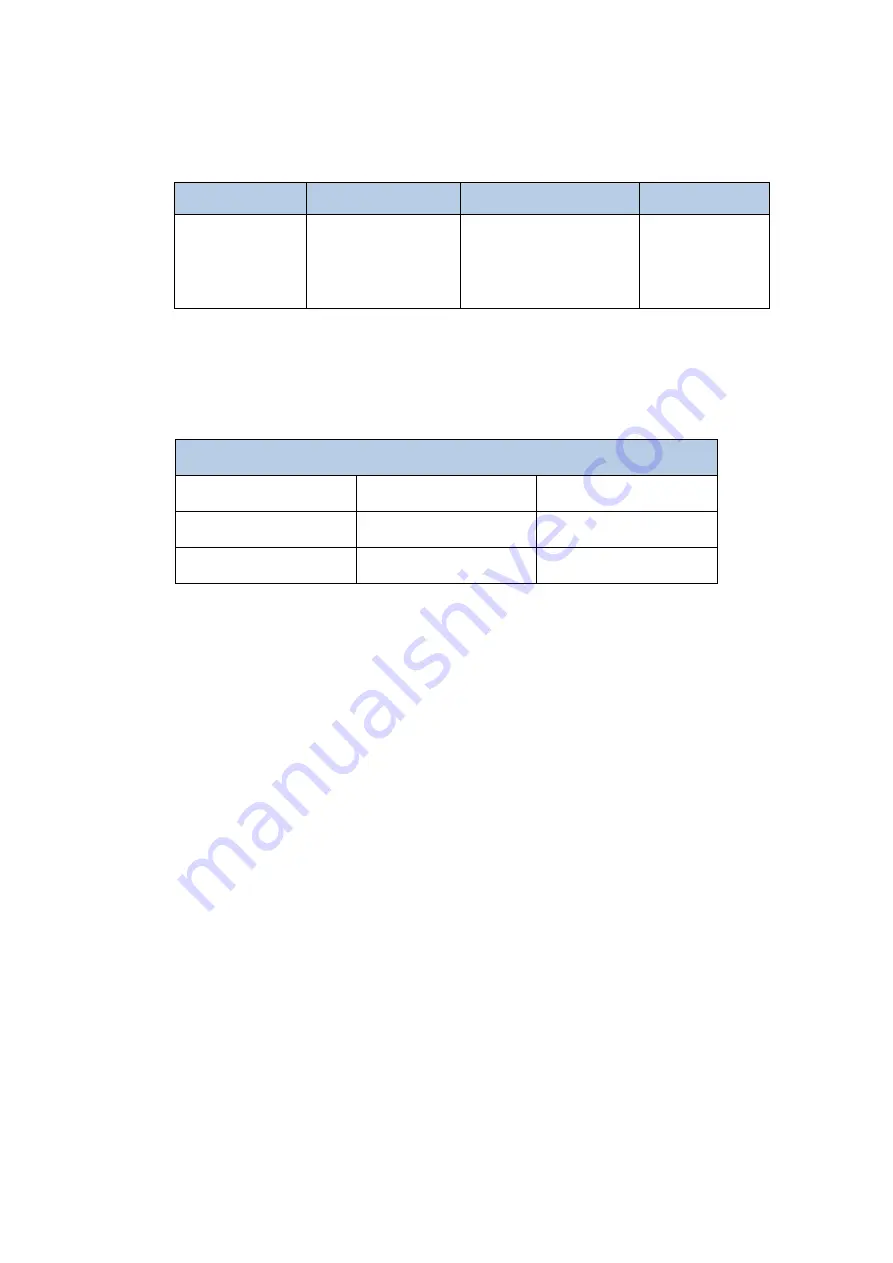
Table 1 Indicator light and signal state

Light State

L1 on

L2 on/ off

L3 off

Description

The SDI-F01-TX

works normally

on: Local SDI signal

input.

off: No local SDI sig
nal input.

——

4. Supported Resolutions

The supported resolutions of SDI transmission mode as shown in table 3.

Table 3 Supported resolution of SDI input ( level a)

5. Audio Input

The SDI-F01-TX supports analog audio input, which should be embedded
with SDI video signal to transmit.
Note:

Audio can not be transmitted separately.

SDI signal transmission without audio is available.

6. Applying Power

First, please make sure that all the connection is fine.

Second, make all the configuration completed according to your specific
needs.

Third, applying stable 12V/2A power to both the transmitter and the
receiver.

7. OSD Setting

Step 1:

Connect the SDI-F01-TX to the control computer by using DB9 pin

RS232 female serial cable that comes with the item.

Step 2:

Put the USB flash driver into the control computer. Decompress the

SDI Input Mode

1280×720p@50Hz

1280×720p@60Hz

1920×1080i@50Hz

1920×1080i@60Hz

1920×1080p@24Hz

1920×1080p@25Hz

1920×1080p@30Hz

1920×1080p@50Hz

1920×1080p@60Hz

Содержание SDI-F01-TX

Страница 1: ...signal up to 12 4miles 20km Simply plug and play no software required Zero compression and zero bit reduction Real time throughput with no dropped frames and no signal loss Auto EDID pass through no...

Страница 2: ...Optic Transmitter I O Connectors 2 Connection Introduction Figure 2 SDI F01 TX Fiber Optic Transmitter Connection Note Please connect one single mode optical fiber to the SFP OUTPUT port to transmit...

Страница 3: ...Note Audio can not be transmitted separately SDI signal transmission without audio is available 6 Applying Power First please make sure that all the connection is fine Second make all the configuratio...

Страница 4: ...Select the serial port and baud rate as shown in figure 3 After that click the OK button Figure 3 Communication setting interface Step 4 OSD setting main interface will show up after click the OK butt...

Страница 5: ...nt of the Enable OSD Step 2 Set the background image according to your specific needs Please note that this step is optional Step 3 Set the color of the image Step 4 Set the location and the size of i...

Страница 6: ...e checkbox which is in front of the Enable OSD Step 2 Design the text content according to your needs Step 3 Set the color of text Step 4 Set the location and the size of image Step 5 Select the magni...

Страница 7: ...If OSD setting is not required please uncheck the option which is in front of the Enable OSD If you would like to check the current sate of the item please click the Load button Important OSD informat...

Отзывы: