NextG 007GTi PRO USB-Yagi Instruction Manual
© 2015 by danets Datacom Network Ltd. All rights reserved.
DN-WLAN-035 Page 22
To automatically connect to the network, select the Connection tab and tick on the Connect
automatically when in range option.
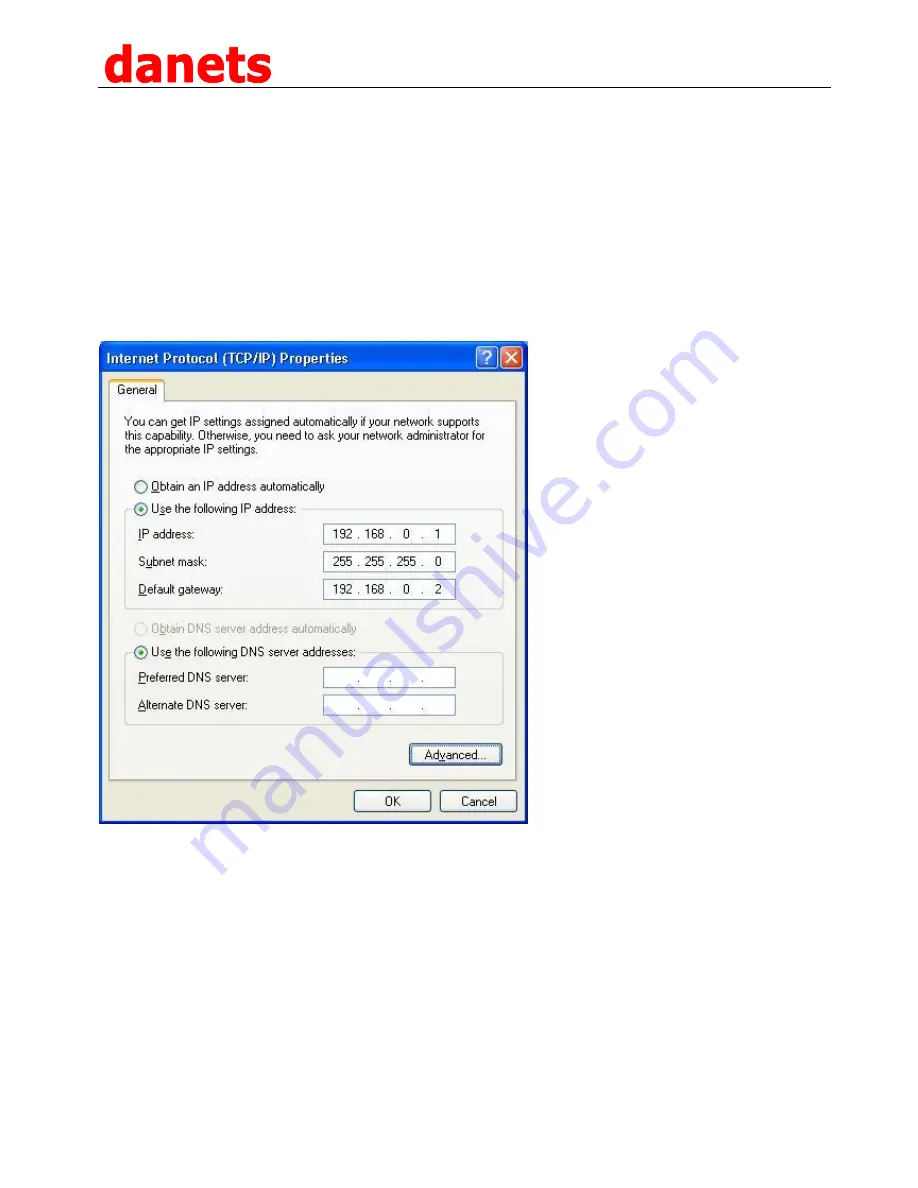
Now, to configure the TCP/IP connection settings,
1. Goto “Control Panel” >> “Network connections”
2. Right-click on your Wireless Adapter and click “Properties”. In the “General” tab, select “Internet
Protocol (TCP/IP)”. Click the “Properties” button.
3. Set the Values
IP Address – 192.168.0.1
Subnet Mask – 255.255.255.0
Default Gateway – 192.168.0.2
4. Click OK and you are done for PC1.
PC2:
1. Just right-click “My Computer” and click Properties.
2. Select the “Computer Name” tab and click the “Change” button.
3. Change the computer name to PC2. Change the workgroup to WG. (The workgroup name should be
the same in both computers)
4. Click OK.
Go to Start > My Computer > My Network Places > Network Connections.
Right click on your wireless adapter and select Properties. Go to the Wireless Network Tab and click on
the Advanced button. Select Computer to Computer (Ad hoc) networking option.
If you get a window with an SSID box, you can specify the network name in it, in our example we use
XNET.
Now go to your Wireless Adapter >> Properties >> Wireless Networks and click Add Preferred
Networks.


