background image


DT-ATSC-QAM-8V2 Manual 

Hardware Installation 

1. Use properly installed terrestrial antennas. Verify for proper signal reception and signal 

levels.   

2. Properly connect required outputs of terrestrial antennas/splitter feeds                                                             

to the DT-ATSC-QAM-8V2. 

3. Apply Power to the DT-ATSC-QAM-8V2. 
4. Connect an Ethernet cable from Utility Port on the DT-ATSC-QAM-8V2 to a PC/MAC.  
 

Device Programming and Setup 

Connecting to the GUI Interface 

1. Connect an Ethernet Cable directly to the Utility Port on the rear panel of the device or 

connect the Ethernet cable to an Ethernet switch. Connect an Ethernet cable to Your 

PC/Laptop 

2. Modify Your PC/Laptop IPV4 address to 192.168.1.11 
3. Enter Default IP Address for DT-ATSC-QAM-8V2 into Your Web Browser                                

(Suggested browser: Firefox or Chrome) 

Factory Default IP: 192.168.1.9 


System Setup via GUI Interface 

After connecting the device to the GUI interface (please see descriptions above): 
1. Enter device's IP address in web browser. 
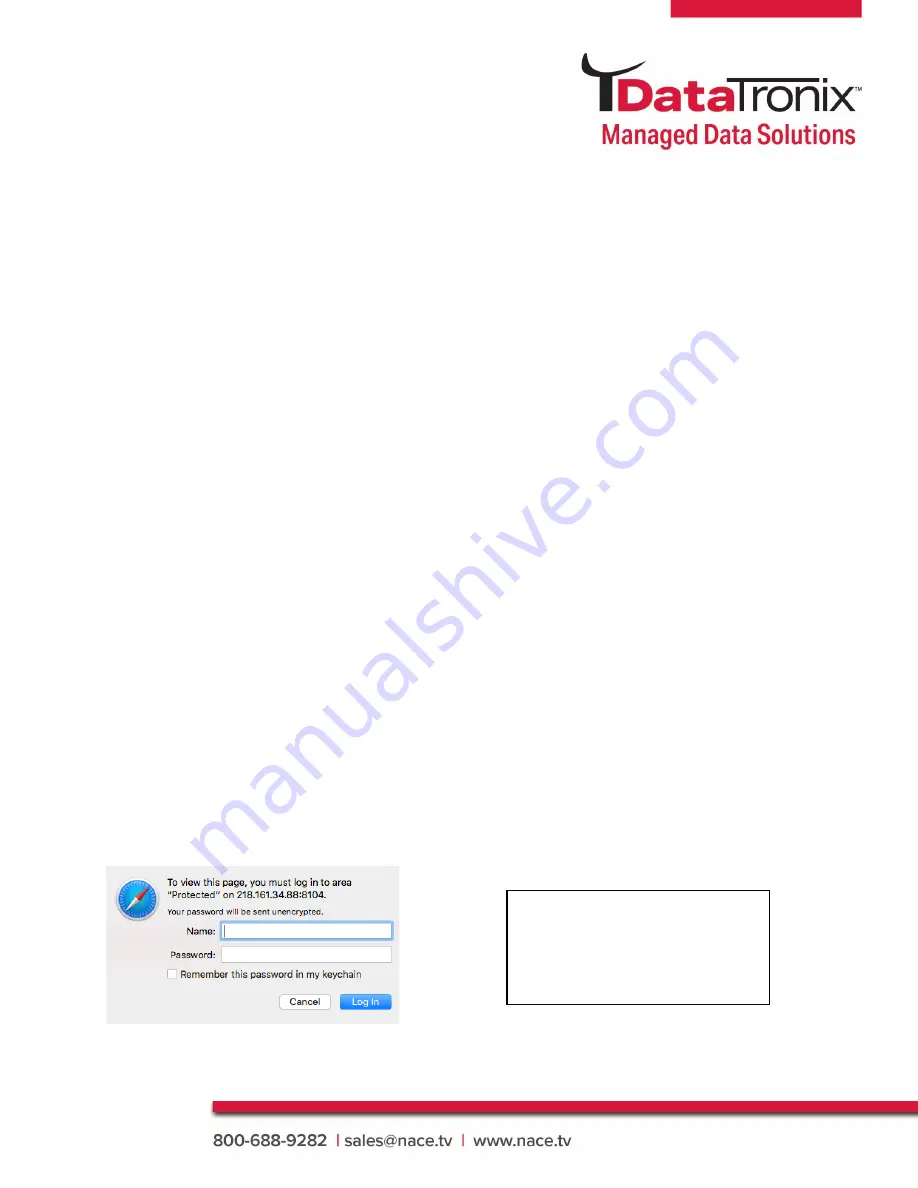
2. Login: Enter unit Name/Password 
   Name: 

admin 

 /  Password: 

Admin123


Note:


To modify the system 

password, go to the 

[Administration Page]

 of the 

device. 

Содержание DT-ATSC-QAM-8V2

Страница 1: ...Manual 8 input ATSC 8VSB QAM B to QAM B Trans Modulator DT ATSC QAM 8V2 User Manual...

Страница 2: ...GUI Interface 6 Factory Default IP 192 168 1 9 6 System Setup via GUI Interface 6 Name admin Password Admin123 6 Overview Page 7 9 Ingest Setup 10 Streaming Setup 11 Streaming System Parameters 12 Cu...

Страница 3: ...ated power supply The use of any other power supply could cause damage and invalidate the manufacturer s warranty DO NOT connect the power cord to the device if the power cord is damaged DO NOT cut th...

Страница 4: ...ive and process up to 8 individual 8VSB ATSC Clear QAM channels along with up to 56 sub channels and easily convert these signals to produce a high quality RF QAM distribution system The DT ATSC QAM 8...

Страница 5: ...e 57 to 861 MHz Under STD Mode 8 Independent RF Frequencies Channels Bandwidth 6 MHz Output Level 45 dBmV Typical Output Impedance 75 ohm Level Adjustment 0 to 20 dB VCN Auto Major Minor Manual Major...

Страница 6: ...Cable directly to the Utility Port on the rear panel of the device or connect the Ethernet cable to an Ethernet switch Connect an Ethernet cable to Your PC Laptop 2 Modify Your PC Laptop IPV4 address...

Страница 7: ...w Page provides an overall system status of the DT ATSC QAM 8V2 including RF Input Type Frequency SNR Signal Status and Programs Programs If you move your cursor to you will see the detailed informati...

Страница 8: ...8 DT ATSC QAM 8V2 Manual Overview RF Output RF Outputs showing the number of sub streams programs...

Страница 9: ...9 DT ATSC QAM 8V2 Manual Overview Fan This tab shows fan status and system uptime...

Страница 10: ...ngest input 1 thru 8 Enable as required 3 Select Standard ATSC or QAM ATSC 8VSB QAM STD QAM HRC QAM IRC 4 Select Constellation For QAM select 64 QAM or 256 QAM as required 5 Select Frequency MHz Input...

Страница 11: ...Name 1 16 Characters 5 Select VCN Mode VCN Mode 2 Part Auto Example 102 1 Set Automatically by the Device VCN Mode 2 Part Manual 102 2 Manual Entry by User VCN Mode 1 Part Manual 102 Manual Entry by U...

Страница 12: ...ID Service ID Program ID Short Name From Content Provider Long Name From Content Provider Bit Rate Input Bit Rate Output SID Service ID Definable PMT PID Program Map Table PID Video PID Video Stream P...

Страница 13: ...ew The Streaming Setup parameters page is easily customizable for each system To customize the parameters shown 1 Select Select Columns tool 2 Add or remove parameter as needed by selecting or deselec...

Страница 14: ...tion 0 20dB 1dB Steps 9 Select constellation 64 QAM 256 QAM 10 Select interleaver change as required Default I 128 J 1 11 Save and Confirm all changes Note 1 Bitrate Mbps shown allows the integrator t...

Страница 15: ...he IP address of the device 2 Modify hostname as required 3 Select DHCP or static IP 4 For Static IP select static IP and enter static IP address for device 5 Enter Subnet Mask 6 Enter Default Gateway...

Страница 16: ...the reset button once the power LED stops flashing and become static green 4 Unit s IP address will revert back to default IP 192 168 1 9 5 Unit s login data will revert back to factory default Name...

Страница 17: ...ct time zone from the drop down tool 3 Enter NTP Server 1 2 addresses as required 4 Select synchronize system with PC clock as required 5 Select apply to apply all changes Administration Reboot Use th...

Страница 18: ...etup Streaming Setup RF Out Setup Network Setup System Setup 4 Locate and Name file for future use Note The backup can be imported to assist in setting up new or multiple devices onsite Remember to Sa...

Страница 19: ...administration tab 2 Select firmware upgrade tab 3 Browse to locate the required image file to be uploaded 4 Select Upload to import the selected file into the device Note Do not power off the unit w...

Страница 20: ...device that performs Network Address Translation Anyone can us private addresses and they are not required to seek permission to use them Again networks using private IP addresses cannot communicate d...

Страница 21: ...r replacing the hardware This warranty is contingent upon proper use of the hardware by Original Purchaser and does not cover if damage is due to Acts of God including fire flood earthquake storm hurr...

Страница 22: ...nties whether oral or written The agents employees distributors and dealers of the Company are not authorized to make modification to this warranty or additional warranties binding on the Company Acco...

Отзывы: