background image

9

ASSEMBLY

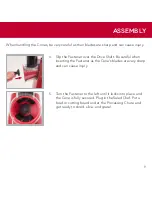
When handling the Cones, be very careful as their blades are sharp and can cause injury.

4. 

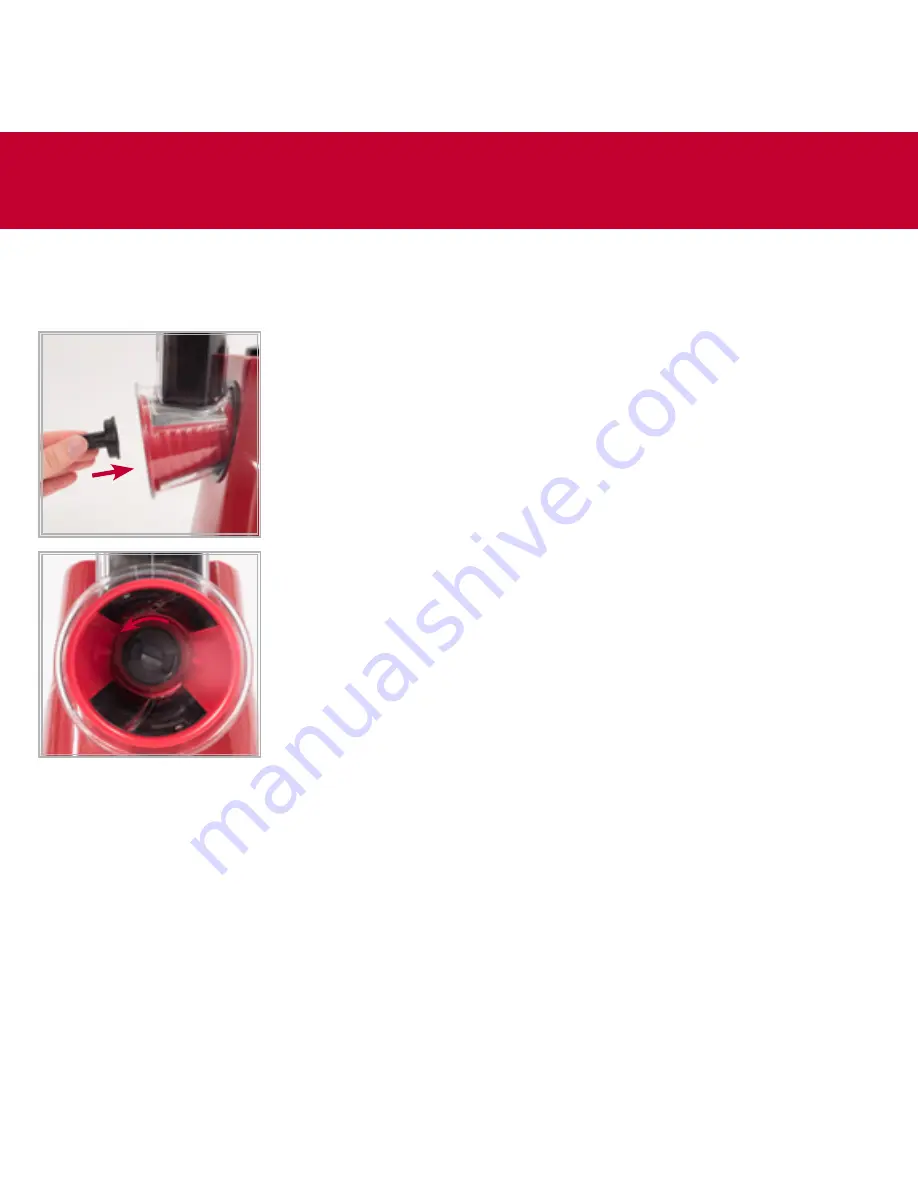
Slip the Fastener over the Drive Shaft. Be careful when 
inserting the Fastener as the Cone’s blades are very sharp 
and can cause injury. 


5. 

Turn the Fastener to the left until it locks into place and 
the Cone is fully secured. Plug in the Salad Chef. Put a 
bowl or cutting board under the Processing Chute and 
get ready to shred, slice, and grate! 


Содержание DSC001

Страница 1: ...PAGE TITLE INSTRUCTION MANUAL SALAD CHEF MODEL DSC001 unprocess your food...

Страница 2: ...2...

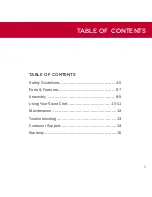
Страница 3: ...3 TABLE OF CONTENTS Table of Contents Safety Guidelines 4 5 Parts Features 6 7 Assembly 8 9 Using Your Salad Chef 10 11 Maintenance 12 Troubleshooting 13 Customer Support 14 Warranty 15...

Страница 4: ...ppliance is plugged in If food must be removed from the Feed Tube turn off and unplug Salad Chef before attempting to remove it This appliance is not intended for use by persons including children wit...

Страница 5: ...electric shock or personal injury do not place the cord plug or unit near water or other liquids when the appliance is plugged in This appliance is intended for household use only All components inclu...

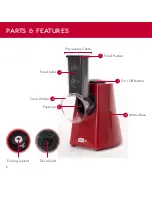
Страница 6: ...6 PARTS FEATURES 3 2 1 5 6 4 Food Pusher On Off Button Cone Holder Motor Base Fastener Feed tube Processing Chute Driving Socket Drive Shaft...

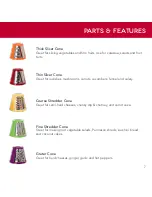
Страница 7: ...er Cone Great for radishes mushrooms carrots cucumbers fennel and celery Coarse Shredder Cone Great for semi hard cheeses chunky dip chutney and carrot cake Fine Shredder Cone Great for making root ve...

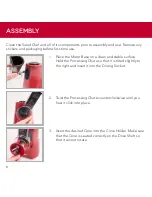
Страница 8: ...Base on a clean and stable surface Hold the Processing Chute so that it is tilted slightly to the right and insert it into the Driving Socket 2 Twist the Processing Chute counterclockwise until you he...

Страница 9: ...er the Drive Shaft Be careful when inserting the Fastener as the Cone s blades are very sharp and can cause injury 5 Turn the Fastener to the left until it locks into place and the Cone is fully secur...

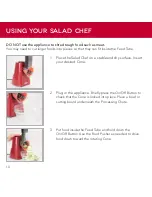
Страница 10: ...lace the Salad Chef on a stable and dry surface Insert your desired Cone 2 Plug in the appliance Briefly press the On Off Button to check that the Cone is locked into place Place a bowl or cutting boa...

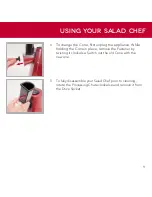
Страница 11: ...e appliance While holding the Cone in place remove the Fastener by twisting it clockwise Switch out the old Cone with the new one 5 To fully disassemble your Salad Chef prior to cleaning rotate the Pr...

Страница 12: ...water or other liquids Instead wipe down the Motor Base with a damp cloth and then wipe dry 3 To avoid staining the Cones rub them with a cloth dipped in cooking oil prior to cleaning Clean the Proce...

Страница 13: ...upport storebound com Do not attempt to repair the appliance yourself under any circumstances The Salad Chef will not turn on Ensure that the power cord is plugged into the power outlet Check to make...

Страница 14: ...y or by email at support storebound com REPAIRS DANGER Risk of electric shock The Dash Go Salad Chef is an electrical appliance Do not attempt to repair the appliance yourself under any circumstances...

Страница 15: ...nsible for delays or unprocessed claims resulting from a purchaser s failure to provide any or all of the necessary information Freight costs must be prepaid by the purchaser Send All Inquiries To sup...

Страница 16: ...For more information please visit bydash com Customer Support 1 800 898 6970...

Отзывы: