


M
ini-note User Guide
28
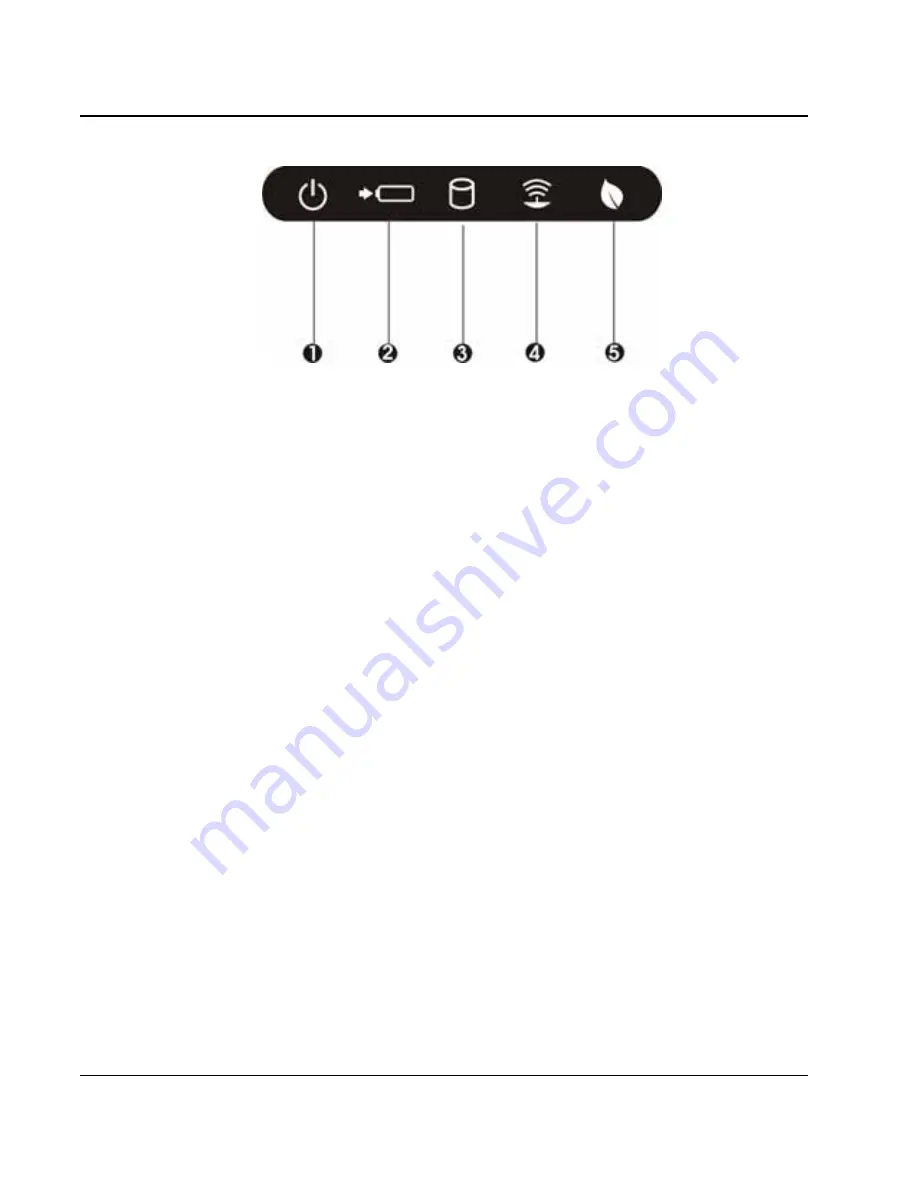
1. Power Indicator
2. Battery Charging
3. Drive Access
4. WLAN/Bluetooth Access
5. Silent Mode
•
Power Indicator
Lets you know that power to the system is turned on. This LED is
positioned so that you can see the power state whether the LCD panel is
opened or closed.
Lights green when the system is powered on.
Lights green blinking when the system is in Standby mode.
Lights amber blinking when the battery power is critical low.
•
Battery Charging LED
Lights to indicate battery in charging status.
Lights on to indicate that the battery is in charging.
When the light is off, it indicates no battery installed.
Lights orange to indicate that the battery is in discharging.
Lights orange blinking when the battery
is in low capacity (8%)
.
Lights green to indicate the battery is fully charged.
Lights green blinking when the battery is in charging.
Содержание SVE00
Страница 1: ...Daria SVE00 Netbook User Guide...
Страница 20: ......


