


9
Odin CL-4 Connect
Product code: D3915
5.
Setup
Before setting up a network with the Odin CL-4 Connect you need first to configure the device. You can
connect the device via Wi-Fi or via LAN to a computer or a laptop and configure its settings via the web
browser.
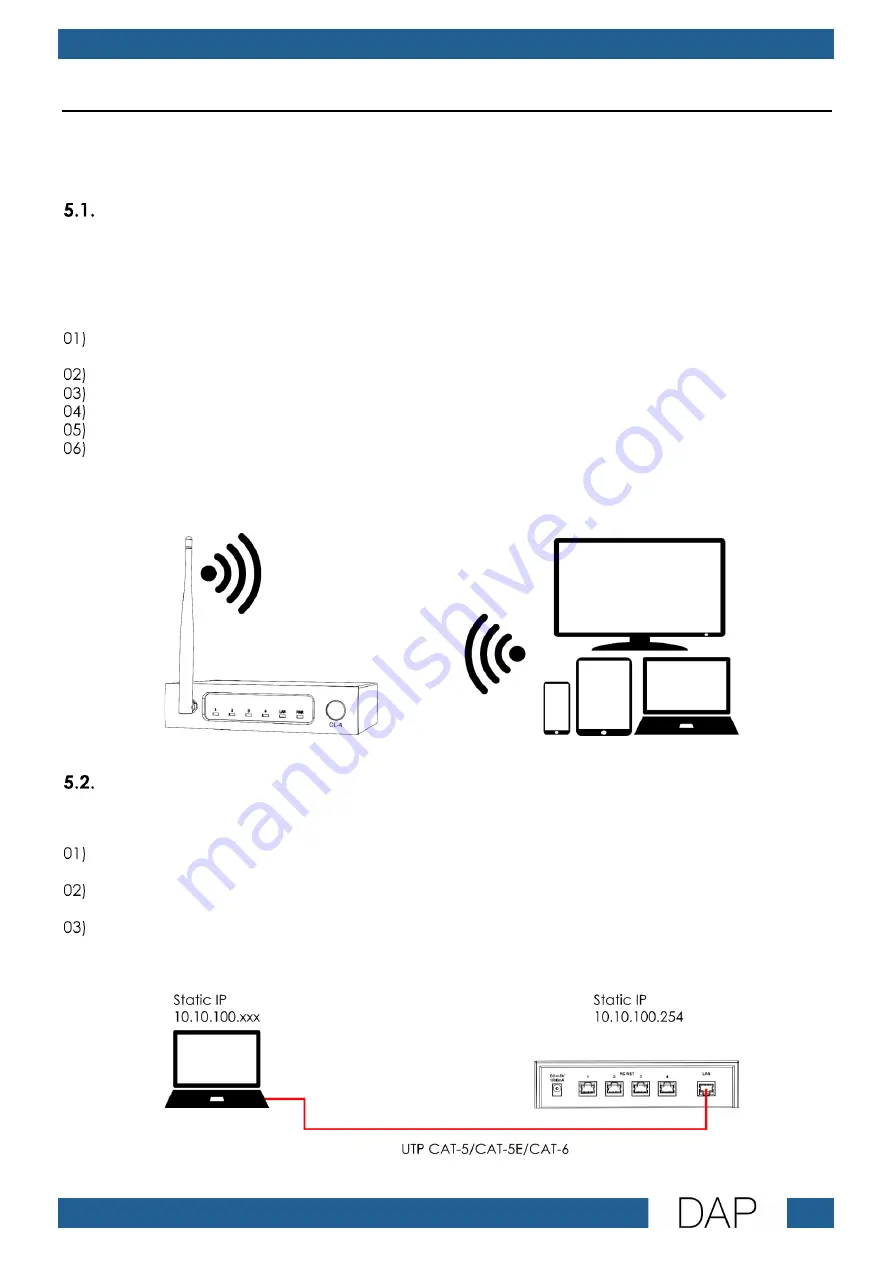
Connecting to a Computer via Wi-Fi
The Odin CL-4 Connect can be connected to a computer, laptop, tablet or smartphone with a wireless
module.
To connect the device to a computer or a laptop via Wi-Fi, follow the steps below:
Power the device. See 4.3. Connecting to Power Supply on page 8 for more information. The power
LED indicator (04) will light up in red.
Put the antenna (01) in upright position.
Turn on the Wi-Fi on your computer or laptop.
Open the list with available Wi-Fi networks on your computer or laptop.
Select “ODIN CL-4” from the list.
Connect to “ODIN CL-4”. The password is “T-8A!Odin!S-18A”. To change the password refer to
5.3. Configuration via Web Browser on pages 10–12 for more information.
Note: If the device is reset to the default factory settings, the default SSID is “CL-4” and the default
password is “12345678”.
Fig. 04
Connecting to a Computer via LAN
To connect the device to a computer or a laptop via LAN, follow the steps below:
Use a UTP CAT-5/CAT-5E/CAT-6 cable to connect the LAN port (07) of the device to the RJ45 port on
your computer/laptop.
Power the device. See 4.3. Connecting to Power Supply on page 8 for more information. The power
LED indicator (04) will light up in red.
Assign a static IP address to your computer/laptop in the range 10.10.100.xxx with a Subnet mask
255.255.255.0.
Note: The default IP address of the device is 10.10.100.254.
Fig. 05
Содержание Odin CL-4 Connect
Страница 20: ...2022 DAP...


