7
NAMES AND FUNCTIONS
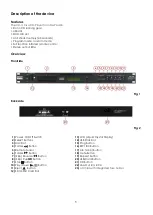
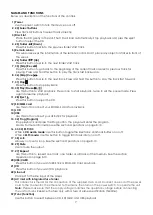
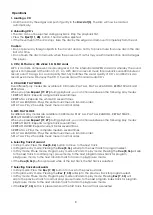
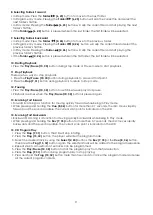
Below is a description of the functions of the controls.
1)
Power
Use the power switch to turn the device on or off.
2, 24) Select buttons
Press track 0-9 buttons to select tracks directly.
3)
Disc Slot
Place the CD gently in the slot. The CD will load automatically. Stop playback and pres the eject
button to eject the CD.
4, 25)
Folder
(Down)
Press this button to skip to the previous folder’s first track.
5)
Remote sensor
This sensor receives the information of the remote control. Don’t place any object or sticker in front of
the sensor.
6, 26)
Folder (Up)
Press this button to skip to the next folder’s first track.
7, 35)
(Skip) Rev
Press this button to go back to the beginning of the current track or select a previous track for
playing. Press and hold this button to play the track fast backwards.
8, 36) (Skip) Cue
Press this button to skip to the next track. Press and hold this button to play the track fast forward.
9, 31) Stop
Press this button to stop playback.
10, 30)
Play/Pause
Use this button to start playback. Press once to start playback, twice to set the pause mode. Press
again to resume playback.
11, 28)
Eject
Press this button to eject the CD.
12)
SD/MMS card
Use this slot to connect your SD/MMS card for playback.
13)
LCD
14)
USB
Use this slot to connect your USB stick for playback.
15, 32)
Prog (Program)
Stop playback and press the Prog button, the player will enter the program
Mode. For more information see the section Operations on page 8-10.
16, 33, 34)
ESP/ID3
While in
CD audio mode
: Use this button toggle the Electronic Antishock Buffer on or off.
While in
MP3 mode:
Use this button to toggle ID3 (track info) on or off.
17, 38)
A-B
Allows you to set a loop. See the section Operations on page 8-10.
18, 29)
Mute
Use to mute the output.
19, 27)
Repeat
Use this button to repeat one track, one folder or all tracks of the medium. See the section
Operations on page 8-10.
20)
USB/CARD
Press this button if you want USB Stick or SD/MMC Card playback.
21)
CD
Press this button if you want CD playback.
22)
Line out
Connect to the line input of the Mixer.
23)
AC Inlet with integrated fuse holder
This connector is meant for the connection of the supplied main cord. Connect one end of the power
cord to the connector, the other end to the mains, then turn on the power switch to operate the unit.
Note:
Please make sure that the supply voltage matches the operation voltage before connecting
the unit to mains.
Replace the fuse only with a fuse of same specification (T630mA).
37) Func (Function)
Use this button to select between CD, SD/MMC and USB playback.
Содержание CD-110 v2
Страница 1: ...CD 110 v2 ORDERCODE D1250...
Страница 15: ...2009 DapAudio...


