


Index
Lyra Maintenance Manual. D&R Electronica Weesp B.V. tel. +31 294 418041.
7. Disassembling the Lyra
To disassemble the Lyra you need the following tools:
•
A Philips type screwdriver
•
A 1/4” spanner for the sub-d connector screws. A 5.5 mm spanner will also work.
•
A 14mm spanner for the BNC nuts.
•
An 11mm spanner for the pot meter nuts.
•
An Allen wrench for the front panel retaining screws.
•
A multi-meter for measuring the voltages.
As stated on page 3 of the manual please take precautions for static discharges. Either by
wearing a wristband connected to a good earth point or a heel band if you have a special floor
which dissipates static electricity.
If you do not have these facility’s to countermeasure static discharges then it is not
recommended that you disassemble the Lyra.
Failure to observe ESD regulations will void warranty!
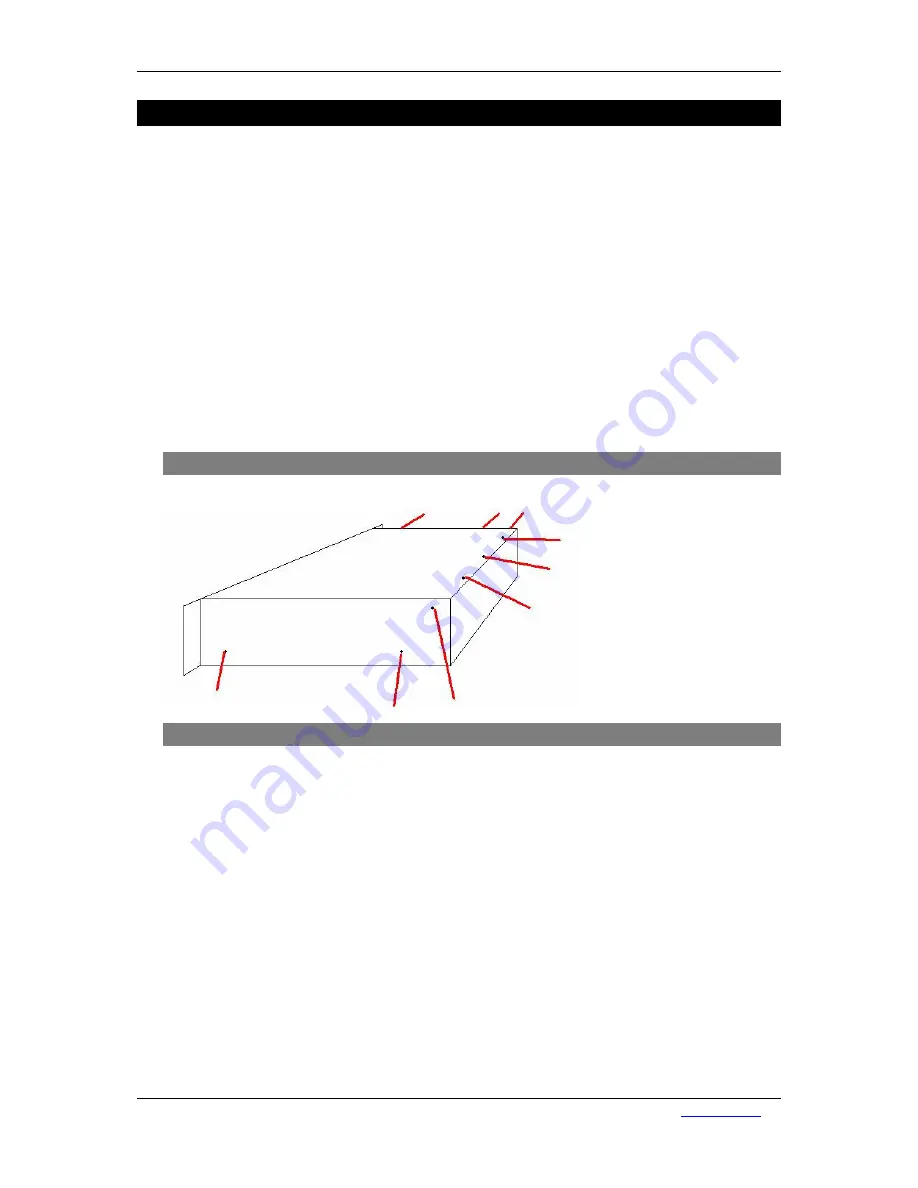
1.
Step 1 (Opening the Lyra)
If not already opened remove the 9 screws.
2. Step 2 (Removing the CobraNet card and Core PCB)
To remove the CobraNet card just remove the ribbon cable connector and the two screws
that hold the CobraNet card in place.
To remove the Core PCB remove the 7 screws that hold the Core PCB in place.
There will be some glue on the 10P header to keep it in place during shipping.
You will need to cut through the glue in order to release the connector. However if you
only have to do a visual inspection or simple maintenance then you can leave the Core
PCB connected an place it behind the Lyra.


