Dakota Micro, Inc.
DMIP‐RC User Manual
Rev: 06/26/17
Page 3 of 16
Author: CNR
III.
CAMERA MOUNTING
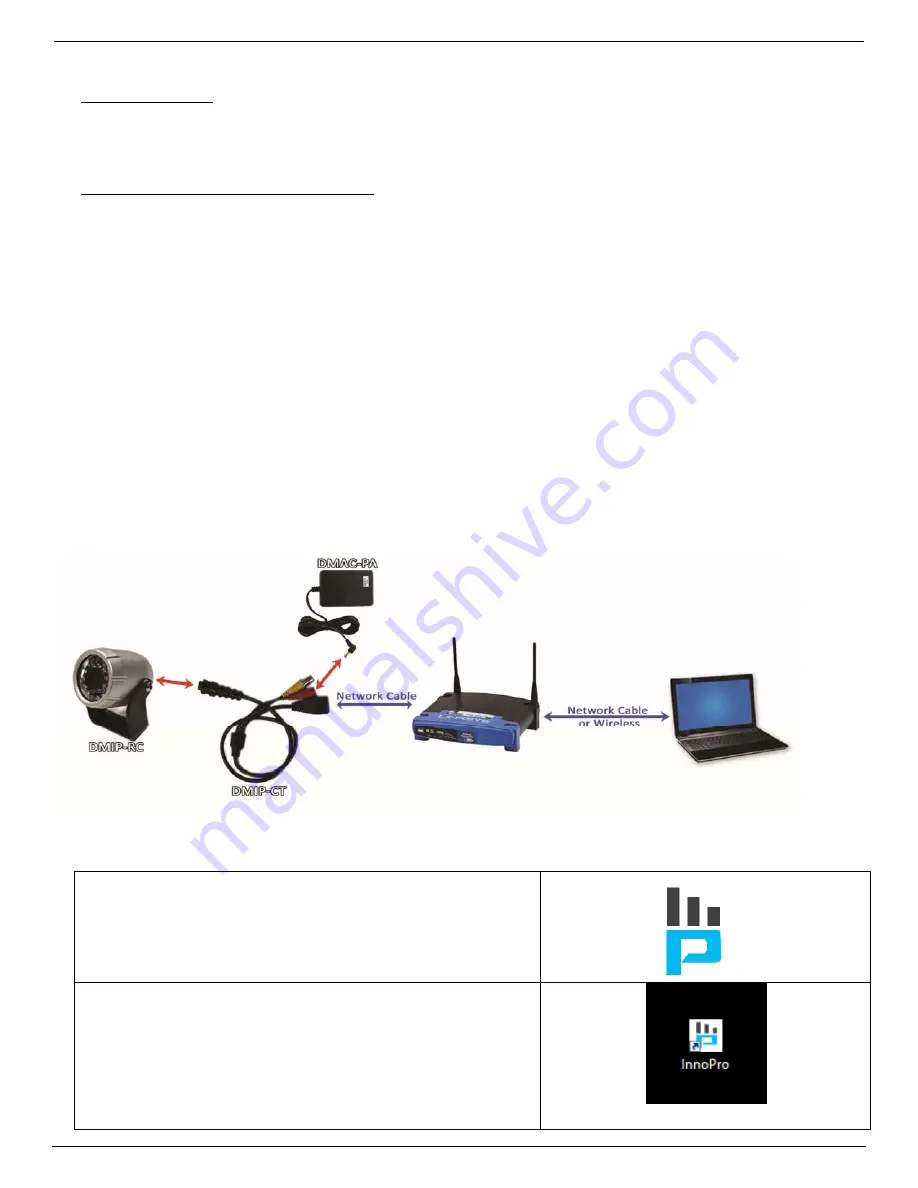
Once the camera is securely mounted, plug the camera pigtail into rear of InnoPro® camera. You can now plug the
remaining end of the pigtail into your CAT5 w/ RJ45 and power supply. Make sure all connections points are securely
attached.
IV.
VIEWING INNOPRO CAMERA VIA CAT5 w/ RJ45
Items that are required but are not included:
Networking Knowledge
Open Ethernet Connection (available on your Router, Switch, hub, etc)
Ethernet cable (Cat5 or greater) with RJ45 connections
Viewing Device: options you can utilize are:
Computer (Windows 7 or later)
NVR (Network Video Recorder, not sold by Dakota Micro)
Tablet or Smart Phone –
Dakota Micro does not provide an app for viewing the InnoPro camera. There are many
free apps available for all platforms (we have had success with “OnViffer”, “IP Camera Viewer Lite” and “Tiny
Cam”). Use the “scan Camera” function when you add a camera to the app to find your InnoPro camera. Dakota
Micro does not provide support for this function. If you are not an advanced network user, consult a network
provider for assistance.
Default InnoPro Camera Username: Admin
Default InnoPro Camera Password: 123456
A.
Hookup Your Components and plug in your power adaptor to a wall plug
NOTE: Camera Takes approximately 90 seconds to fully boot.
B.
Install Your Software
1.
Insert the Included Software CD into the computer CD Rom
2.
Select “Open Folder to view files”
3.
Double Click the InnoPro
®
Icon
4.
Follow the on‐screen set‐up prompts
5.
Once the software has completed installation process, open the
InnoPro
®
Application by double clicking the “InnoPro” icon on your
desktop
6.
The “InnoPro
®
Authentication” box will appear asking that you set
your Admin Password. If you would like, you can assign a password
now. If you leave the boxes empty, you will be able to log into the
software in the future without entering a password. You have the
ability to add or change your password at any time in the future.


