


H9Q/H9QD
User
Manual
Rev:
10/21/20
Page
7
of
12
Author
:
CNR
IX.
MENU
SETTINGS
A.
Monitor
Menu
Settings
1.
Press
the
MENU
key
on
the
face
of
monitor
or
remote.
2.
Use
the
AV
key
on
the
monitor
(up
and
down
arrows
on
remote)
to
select
an
item
under
each
section.
Selected
menu
items
turn
green.
3.
Use
–
or
+
on
the
monitor
(left
and
right
arrows
on
remote)
to
change
the
value
of
the
highlighted
item.
4.
To
exit:
Press
the
MENU
button
monitor
(left
or
right
arrow
on
remote)
multiple
times
until
the
menu
goes
away.
Allow
monitor
to
time
out
(approximately
10
seconds).
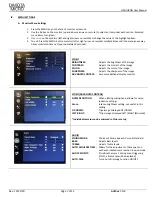
VIDEO
BRIGHTNESS:
Adjusts
the
brightness
of
the
image
CONTRAST:
Adjusts
the
contrast
of
the
image
COLOR:
Adjusts
the
color
of
the
image
SHARPNESS:
Adjusts
the
sharpness
of
the
image
ADVANCED
CONTROL:
Accesses
additional
display
controls
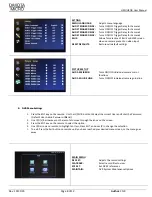
VIDEO
(ADVANCED
CONTROL)
NOISE
REDUCTION
:
When
utilizing
microphone,
allows
for
noise
reduction
settings
Vcom:
Intense
brightness
setting,
not
useful
in
this
setting
UP
‐
DOWN:
Flips
image
displayed
UP/DOWN
LEFT
‐
RIGHT:
*
Flips
image
displayed
LEFT/RIGHT
(Mirrored)
*Individual
cameras
can
be
mirrored
in
Picture
setup
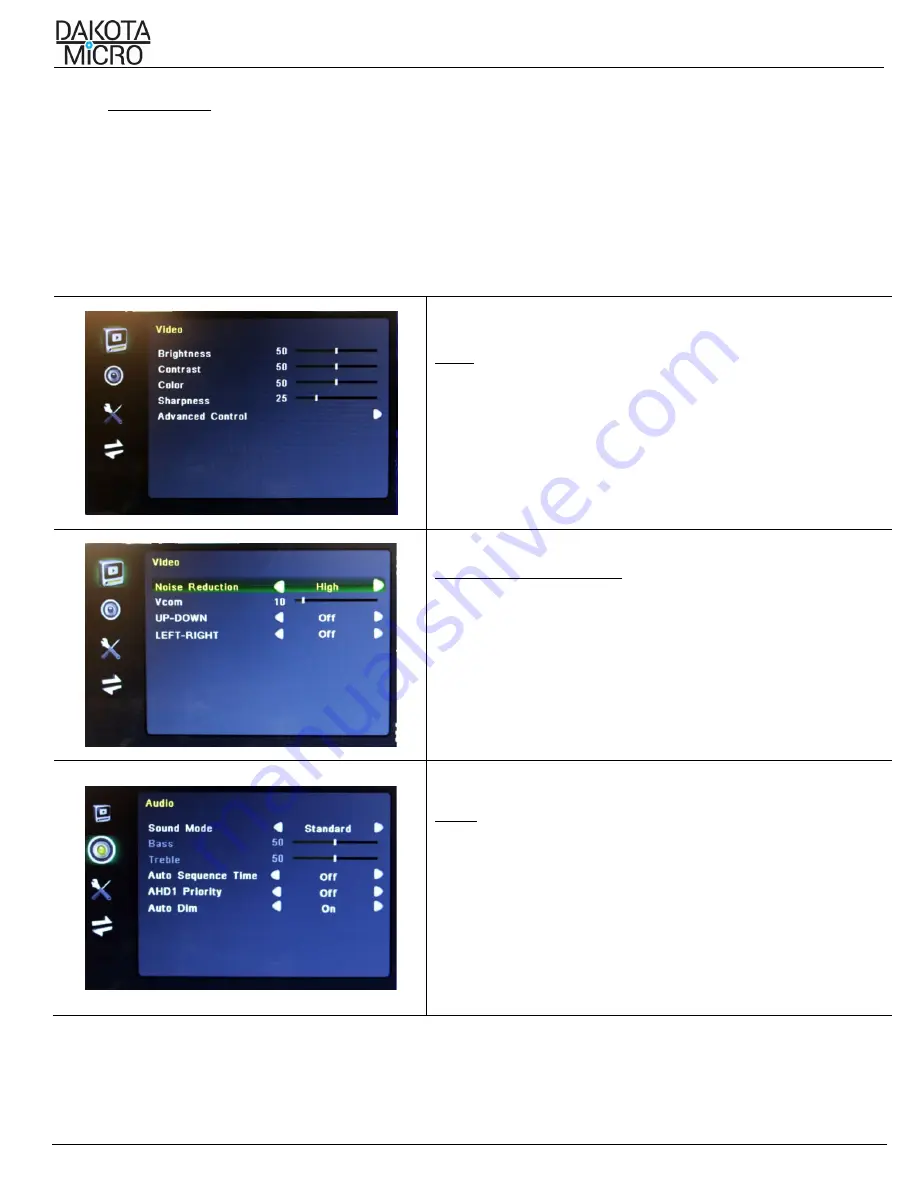
AUDIO
SOUND
MODE:
Choices
of
Music,
Speech,
Voice
&
Standard
BASS:
Adjusts
Bass
levels
TREBLE:
Adjusts
Treble
levels
AUTO
SEQUENCE
TIME:
Allows
for
the
adjustment
of
time
spent
on
each
auto
rotated
camera
when
in
quad
mode
AHD1
PRIORITY:
Prioritizes
Camera
1
during
event
triggering
(if
OFF,
all
cameras
will
be
displayed)
AUTO
DIM:
Turns
Auto
Dimming
Function
ON/OFF


