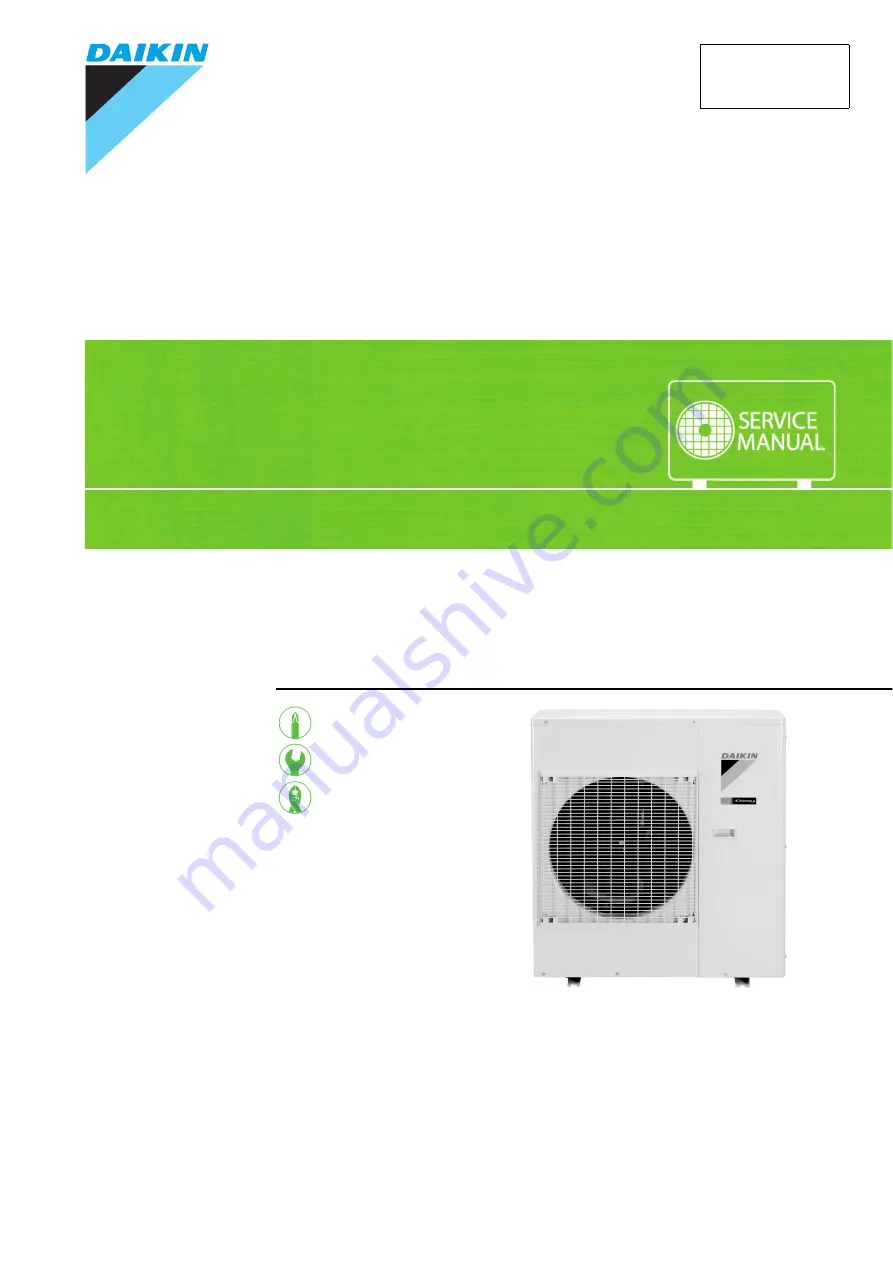
manualshive.com logo in svg
background image

REMOVAL

PROCEDURE

S E R V I C E   M A N U A L

Outdoor Unit

Inverter

Pair Type

6.0/7.1/8.5/9.5/10.0 kW Class
30000/36000 Btu/h Class

Si001169

Содержание RXS100KVM

Страница 1: ...REMOVAL PROCEDURE S E R V I C E M A N U A L Outdoor Unit Inverter Pair Type 6 0 7 1 8 5 9 5 10 0 kW Class 30000 36000 Btu h Class Si001169...

Страница 2: ...rvice Manual Removal Procedure Outdoor Unit Applicable Models zHeat Pump RXS100KVM RXS100KVMA RXS100KAVMA RXS30LVJU RXS36LVJU RXS85LVMA RXS95LVMA RXS71LAVMA RXS60LBVMA zCooling Only RKS30LVJU RKS36LVJ...

Страница 3: ...2 2 Removal of Outer Panels Pattern 2 11 3 Removal of Electrical Box 20 4 Removal of PCBs 24 5 Removal of Fan Motor 27 6 Removal of Coils Thermistors 28 7 Removal of Sound Blankets 31 8 Removal of Com...

Страница 4: ...arance features The design of discharge grille is different depending on the model 2 Remove the suction grille The hooks are secured in the clearances of the outdoor heat exchanger fins 1 Unfasten the...

Страница 5: ...val Procedure 3 4 Remove the right side panel 1 Remove the 5 screws 2 Slide the right side panel downward to unfasten the 2 hooks on the back side 3 Remove the right side panel Step Procedure Points R...

Страница 6: ...nt panel 2 1 Remove the screw 2 Slide the front panel 2 downward to unfasten the 3 hooks 3 Remove the front panel 2 The insulation sheet is inserted between the front panel 2 and the electrical box St...

Страница 7: ...grille and the outdoor fan first to remove the front panel 1 1 Remove the 4 screws on the discharge grille 2 Pull the bottom of the discharge grille and remove it 3 Remove the outdoor fan fixing nut...

Страница 8: ...4 Remove the 3 screws on the partition plate 1 5 Remove the 2 screws at the bottom of the front 6 Remove the screw at the bottom of the left side 7 Remove the screw at the bottom of the back side Ste...

Страница 9: ...1 has a hook on its front Lift the front panel 1 9 Remove the front panel 1 7 Remove the rear panel 1 Remove the 2 screws on the partition plate 2 2 Lift up slightly and remove the partition plate 2 S...

Страница 10: ...the terminal board and earth wires Detach the connecting wire and the power supply wire 6 Remove the 4 screws on the rear panel Some models have 3 screws 7 Remove the screw on the bottom frame Step P...

Страница 11: ...e mounting plate 9 Lift the rear panel upward to unfasten the 2 hooks 10 Push the hooks of the outdoor temperature thermistor holder from inner side of the rear panel and detach it Step Procedure Poin...

Страница 12: ...Removal of Outer Panels Pattern 1 Si001169 10 Removal Procedure 11 Remove the rear panel Step Procedure Points Rear panel R16640...

Страница 13: ...arance features The design of discharge grille is different depending on the model 2 Remove the suction grille The hooks are secured in the clearances of the outdoor heat exchanger fins 1 Unfasten the...

Страница 14: ...moval Procedure 4 Remove the right side panel 1 Remove the 5 screws 2 Slide the right side panel downward to unfasten the 2 hooks on the back side 3 Remove the right side panel Step Procedure Points R...

Страница 15: ...ont panel 2 1 Remove the screw 2 Slide the front panel 2 downward to unfasten the 3 hooks 3 Remove the front panel 2 The insulation sheet is inserted between the front panel 2 and the electrical box S...

Страница 16: ...lle and the outdoor fan first to remove the front panel 1 1 Remove the 4 screws on the discharge grille 2 Pull the bottom of the discharge grille and remove it 3 Remove the outdoor fan fixing nut Nut...

Страница 17: ...4 Remove the 3 screws on the partition plate 1 5 Remove the 2 screws at the bottom of the front 6 Remove the screw at the bottom of the left side 7 Remove the screw at the bottom of the back side Ste...

Страница 18: ...01169 16 Removal Procedure 8 The front panel 1 has a hook on its front Lift the front panel 1 9 Remove the front panel 1 7 Remove the rear panel 1 Cut the clamp 2 Remove the 3 screws Step Procedure Po...

Страница 19: ...h wires Detach the connection wires and the power supply wires 5 Remove the 2 screws on the partition plate 2 6 Lift up slightly and remove the partition plate 2 7 Remove the screw on the bottom frame...

Страница 20: ...ve mounting plate 9 Lift the rear panel upward to unfasten the 2 hooks 10 Push the hooks of the outdoor temperature thermistor holder from inner side of the rear panel and detach it Step Procedure Poi...

Страница 21: ...Si001169 Removal of Outer Panels Pattern 2 Removal Procedure 19 11 Remove the rear panel Step Procedure Points Rear panel R16640...

Страница 22: ...0 minutes or more after turning off all power supplies before disassembling work Step Procedure Points 1 Remove the screw on the stop valve mounting plate 2 Remove the screw on the partition plate 1 3...

Страница 23: ...ad wire When reassembling do not use these 3 hooks 6 Disconnect the connectors of the front side S20 electronic expansion valve coil S80 four way valve coil S90 thermistors Step Procedure Points S70 F...

Страница 24: ...he compressor lead wire is fixed on the partition plate 1 with a clamp 8 Pull out the clamp and release the compressor lead wire 9 Disconnect the relay connector for the overload protector and the com...

Страница 25: ...of the thermistor harness from the hole of the electrical box 12 Slide the electrical box leftward to unfasten the hook on the right side of the box 13 Lift up the electrical box and remove it Step Pr...

Страница 26: ...pplies before disassembling work Step Procedure Points 1 Remove the cover Preparation Remove the electrical box according to the Removal of Electrical Box 2 Disconnect the connectors S52 S102 from the...

Страница 27: ...he terminal board and the earth wire 5 Unfasten the hook on the right 6 Open the terminal board 7 Disconnect the harnesses 1 Black 2 White 3 Red L1 Black L2 Brown N1 White N2 Blue Step Procedure Point...

Страница 28: ...rnesses for the reactor HR1 HR2 HR1 white HR2 blue The harness for HR2 has a ferrite core 9 Remove the 3 screws of the main PCB 10 Release the 4 hooks 11 Lift up and remove the main PCB Step Procedure...

Страница 29: ...Remove the electrical box according to the Removal of Electrical Box 2 3 Remove the 2 lower screws first Then remove the 2 upper screws Be sure to remove the lower screws first If the top screws are...

Страница 30: ...r heat exchanger thermistor is different depending on the model You can remove the thermistor ASSY with the electrical box on 1 Disconnect S90 from the electrical box main PCB 2 Release the thermistor...

Страница 31: ...ve the sound blanket top upper 4 Remove the discharge pipe thermistor 5 At the back side open the outdoor temperature thermistor holder Step Procedure Points Sound blanket top upper R16920 R9635 Disch...

Страница 32: ...Removal Procedure 6 Release the outdoor temperature thermistor 3 Remove the four way valve coil 1 Remove the screw 2 Remove the four way valve coil Step Procedure Points Outdoor temperature thermisto...

Страница 33: ...r supplies before disassembling work Step Procedure Points 1 Open the sound blanket outer 2 Remove the sound blanket top upper The sound blanket is fragile Carefully pass the discharge pipe through it...

Страница 34: ...ound blanket outer 5 Open the sound blanket inner 6 Remove the sound blanket inner The sound blanket is fragile Be careful of the notches of the compressor mount 4 locations Step Procedure Points Soun...

Страница 35: ...ng Be sure to wait for 10 minutes or more after turning off all power supplies before disassembling work Step Procedure Points 1 Remove the terminal cover 2 Pull out the 3 lead wires U red V yellow W...

Страница 36: ...y non oxidation brazing 2 It is required to prevent the carbonization of the oil inside the four way valve and the deterioration of the gaskets affected by heat Keep below 120 C For the sake of this w...

Страница 37: ...Revision History Month Year Version Revised contents 08 2012 Si001169 First edition...

Страница 38: ...ries supplied or specified by Daikin Ask a qualified installer or contractor to install those parts and accessories Use of unauthorised parts and accessories or improper installation of parts and acce...

Отзывы: