29
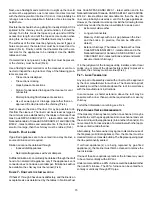
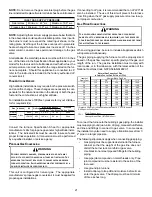
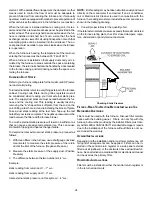
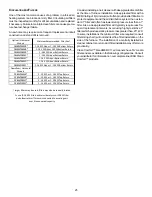
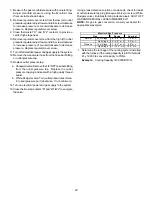
7. Measure the gas manifold pressure with burners firing.
Adjust manifold pressure using the
Manifold Gas
Pressure
table shown below.
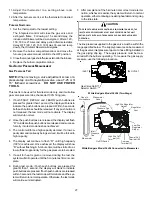
8. Remove regulator cover screw from the low (LO) outlet
pressure regulator adjust tower and turn screw clockwise
to increase pressure or counterclockwise to decrease
pressure. Replace regulator cover screw.
9. Close thermostat “R” and “W2” contacts to provide a
call for high stage heat.
10. Remove regulator cover screw from the high (HI) outlet
pressure regulator adjust tower and turn screw clockwise
to increase pressure or counterclockwise to decrease
pressure. Replace regulator cover screw.
11. Turn off all electrical power and gas supply to the system.
12. Remove the manometer hose from the hose barb fitting
or outlet pressure tap.
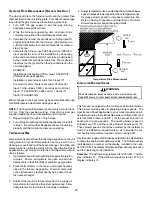
13. Replace outlet pressure tap:
a. Honeywell valve: Remove the 1/8" NPT hose barb fitting
from the outlet pressure tap. Replace the outlet
pressure tap plug and seal with a high quality thread
sealer.
b. White-Rodgers valve: Turn outlet pressure test screw
in to seal pressure port (clockwise, 7 in-lb minimum).
14. Turn on electrical power and gas supply to the system.
15. Close thermostat contacts “R” and “W1/W2” to energize
the valve.
Using a leak detection solution or soap suds, check for leaks
at outlet pressure tap plug (Honeywell valve) or screw (White-
Rodgers valve). Bubbles forming indicate a leak. SHUT OFF
GAS AND REPAIR ALL LEAKS IMMEDIATELY!
NOTE:
For gas to gas conversion, consult your dealer for
appropriate conversion.
Range
Nom inal
Natural
Low Stage
1.6 - 2.2" w .c.
1.9" w .c.
High Stage
3.2 - 3.8" w .c.
3.5" w .c.
Propane
Low Stage
5.7 - 6.3" w .c.
6.0" w .c.
High Stage
9.7 - 10.3" w .c.
10.0" w .c.
M anifold Gas Pre s s ure
Gas
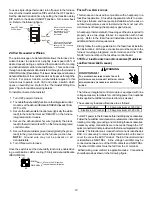
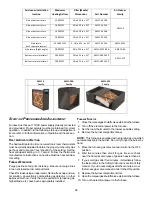
1. Determine the tonnage of the cooling system installed
with the furnace. If the cooling capacity is in BTU/hr divide
it by 12,000 to convert capacity to TONs.
Example:
Cooling Capacity of 30,000 BTU/hr.
Содержание DC80VC
Страница 51: ...51 THIS PAGE LEFT INTENTIONALLY BLANK ...

