166
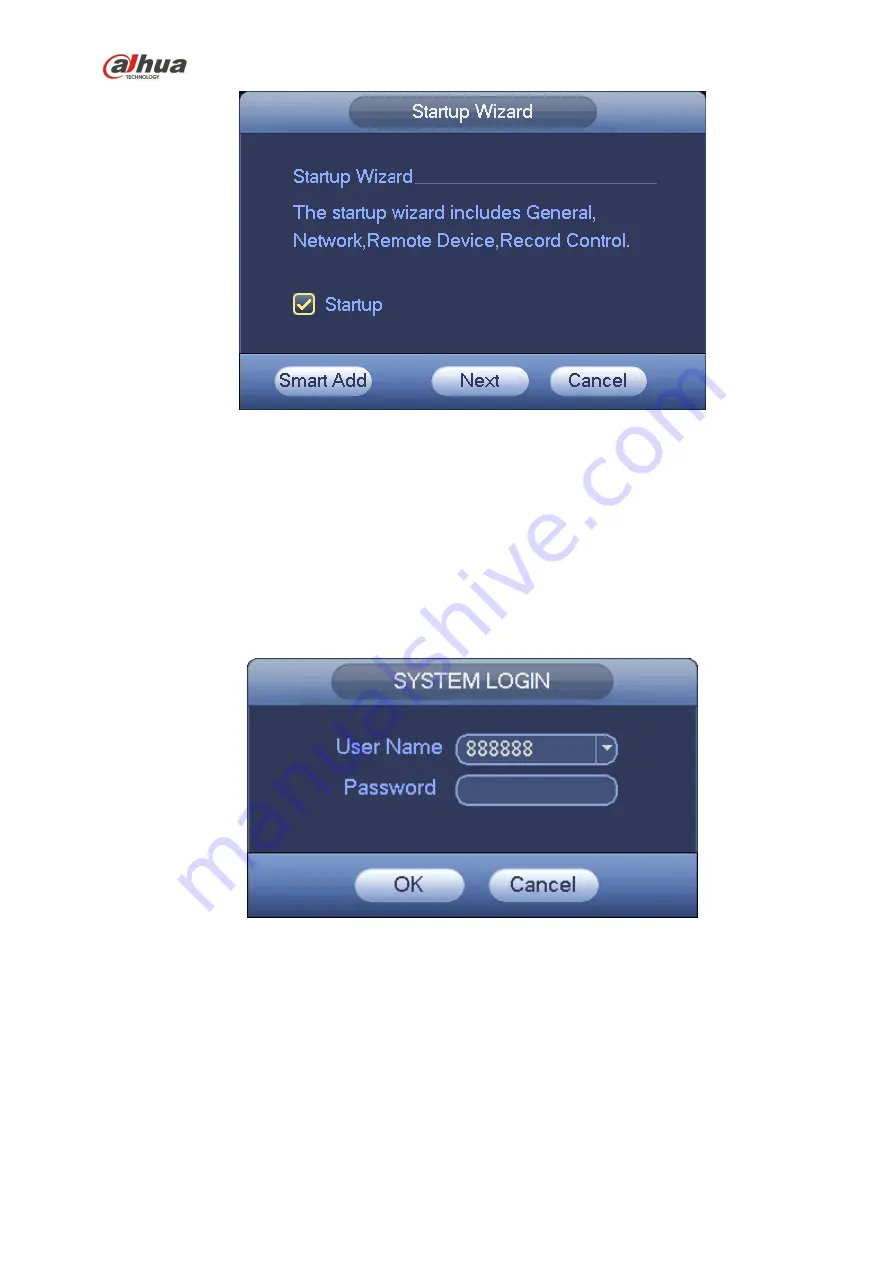
Figure 4-5
Click Smart add, Cancel button or Next button, system goes to login interface. See Figure 4-6.
System consists of three accounts:
Username
: admin.
Password
: admin. (administrator, local and network)
Username
: 888888.
Password
: 888888. (administrator, local only)
Username
: default.
Password
: default (hidden user).
Hidden user “default” is for system interior use
only and can not be deleted. When there is no login user, hidden user “default” automatically login.
You can set some rights such as monitor for this user so that you can view some channel view
without login.
Figure 4-6
Note:
For security reason, please modify password after you first login.
Within 30 minutes, three times login failure will result in system alarm and five times login failure will result
in account lock!
For detailed smart add information, please refer to chapter 4.5.
Click OK button, you can go to General interface. See Figure 4-7.
For detailed information, please refer to chapter 4.16.1.
Содержание Lite NVR4116HS-4KS2
Страница 159: ...144 Figure 3 3 3 5 4 NVR11HS 41HS W S2 Series Please refer to Figure 3 4 for connection sample...
Страница 160: ...145 Figure 3 4 3 5 5 NVR41HS W S2 Series Please refer to Figure 3 5 for connection sample...
Страница 163: ...148 Figure 3 7 3 5 8 NVR42N Series Please refer to Figure 3 8 for connection sample Figure 3 8...
Страница 171: ...156 Figure 3 18 3 5 19 NVR78 Series Please refer to Figure 3 19 for connection sample...
Страница 172: ...157 Figure 3 19 3 5 20 NVR78 16P Series Please refer to Figure 3 20 for connection sample...
Страница 173: ...158 Figure 3 20 3 5 21 NVR78 RH Series Please refer to Figure 3 21 for connection sample...
Страница 174: ...159 Figure 3 21 3 5 22 NVR70 Series Please refer to Figure 3 22 for connection sample...
Страница 175: ...160 Figure 3 22 3 5 23 NVR70 R Series Please refer to Figure 3 23 for connection sample...
Страница 176: ...161 Figure 3 23 3 5 24 NVR42V 8P Series Please refer to Figure 3 24 for connection sample...
Страница 177: ...162 Figure 3 24...
Страница 188: ...173 Figure 4 19 Click smart add button you can see device enables DHCP function See Figure 4 20 Figure 4 20...
Страница 243: ...228 Figure 4 89 Figure 4 90...
Страница 244: ...229 Figure 4 91 Figure 4 92...
Страница 259: ...244 Figure 4 110 Figure 4 111...
Страница 260: ...245 Figure 4 112 Figure 4 113...
Страница 261: ...246 Figure 4 114 Figure 4 115...
Страница 263: ...248 Figure 4 117 Figure 4 118...
Страница 290: ...275 Figure 4 148 In Figure 4 148 click one HDD item the S M A R T interface is shown as in Figure 4 149 Figure 4 149...
Страница 355: ...340 Figure 5 55 Figure 5 56...
Страница 356: ...341 Figure 5 57 Figure 5 58 Figure 5 59...
Страница 367: ...352 Figure 5 73 Figure 5 74...


