Dahua IPC-HFW2300R-Z Скачать руководство пользователя страница 3


ii 

Thunder-proof device is recommended to be adopted to better prevent thunder. 

The grounding studs of the product are recommended to be grounded to further enhance the reliability 

of the camera. 


6. Daily Maintenance 

Please shut down the device and then unplug the power cable before you begin daily maintenance 

work.  

Do not touch the CCD (CMOS) optic component. You can use the blower to clean the dust on the lens 

surface. 

Always use the dry soft cloth to clean the device.  If there is too much dust, please use the water to 

dilute the mild detergent first and then use it to clean the device. Finally use the dry cloth to clean the 

device. 

Please put the dustproof cap to protect the CCD (CMOS) component when you do not use the camera. 

Dome enclosure is the optical component, do not touch the enclosure when you are installing the 

device or clean the enclosure when you are doing maintenance work. Please use professional optical 

clean method to clean the enclosure. Improper enclosure clean method (such as use cloth) may result 

in poor IR effect of camera with IR function.   


7. Accessories 

Be sure to use all the accessories recommended by manufacturer. 

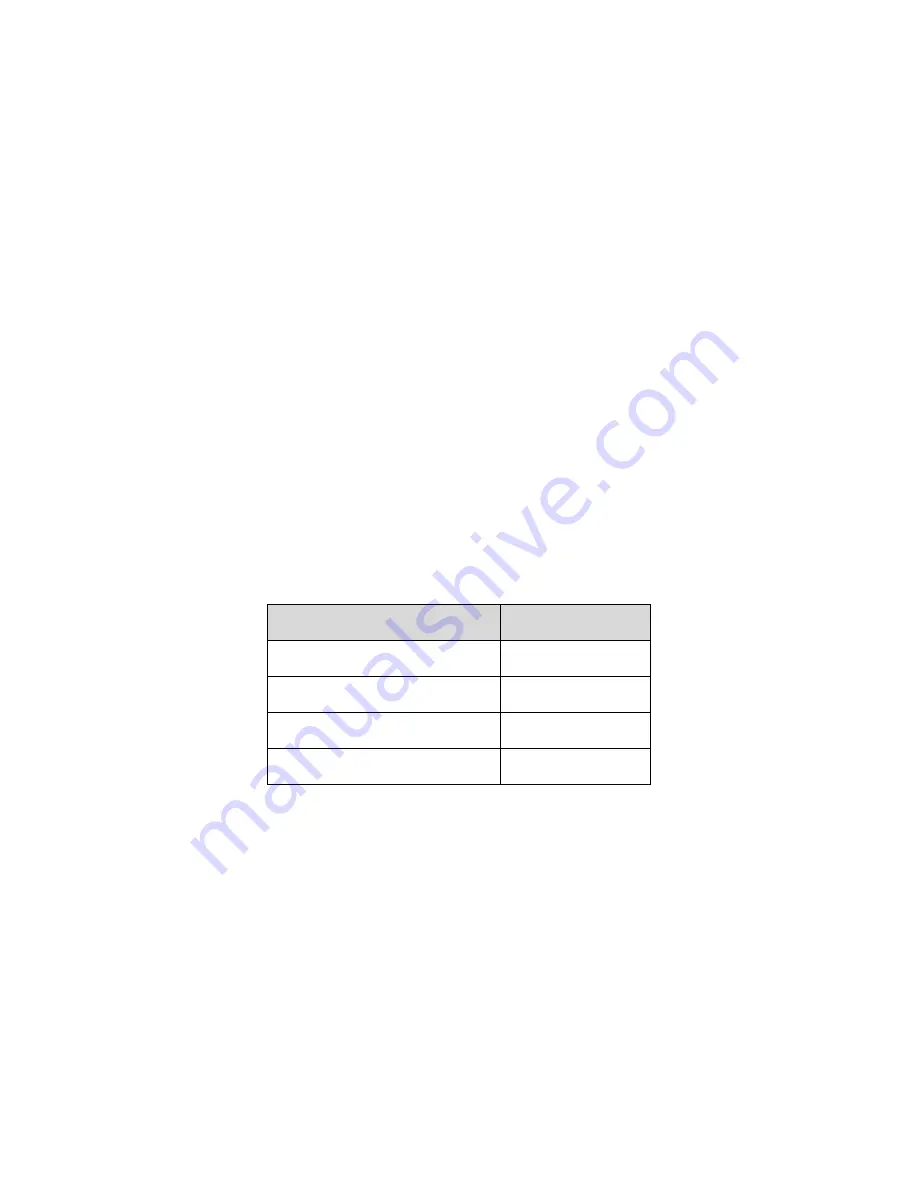
Before installation, please open the package and check all the components are included. 

Contact your local retailer ASAP if something is broken in your package. 


Accessory Name


Amount


Network Camera Unit  

Quick Start Guide  

Installation Accessory Bag 

CD 


Содержание IPC-HFW2300R-Z

Страница 1: ...HD IR Vari Focal Fixed Network Camera Quick Start Guide Version 1 0 1...

Страница 2: ...installation We are not liable for any problems caused by unauthorized modification or attempted repair 2 Transportation security Heavy stress violent vibration or water splash are not allowed during...

Страница 3: ...the dry cloth to clean the device Please put the dustproof cap to protect the CCD CMOS component when you do not use the camera Dome enclosure is the optical component do not touch the enclosure when...

Страница 4: ...nal Cable 1 1 2 Framework and Dimension 2 2 Device Installation 3 3 Quick Configuration Tool 6 3 1 Overview 6 3 2 Operation 6 4 Web Operation 8 4 1 Network Connection 8 4 2 Login and Main Interface 8...

Страница 5: ...ure 1 1 Please refer to the following sheet for detailed information SN Port Port Name Connection Note 1 LAN Network port Ethernet port Connect to standard Ethernet cable Note Before making crystal he...

Страница 6: ...Framework and Dimension Please refer to the following figure for dimension information The unit is mm See Figure 1 2 and Figure 1 3 Figure 1 2 Dimension illustration 1 Figure 1 3 Dimension illustrati...

Страница 7: ...ceiling Step 2 Dig a hole according to position of hole on installation position map Step 3 Open accessories bag take out expansion bolts and insert them into the holes you just dug Step 4 Open acces...

Страница 8: ...ner hex screwdriver to loosen adjusting screw shown in Figure 2 2 Step 7 Adjust the device in all possible directions and set its monitoring direction Step 8 Use inner hex screwdriver to tighten the a...

Страница 9: ...wn in Figure 2 3 by cross head screwdriver and take off the lower cover Step 10 Adjust the lens focus lever and set its monitoring direction more accurately by external focus Step 11 Use cross head sc...

Страница 10: ...1 Double click the ConfigTools exe icon you can see an interface is shown as in Figure 3 1 In the device list interface you can view device IP address port number subnet mask default gateway MAC addr...

Страница 11: ...ss user name password and port Please modify the corresponding information to login Please note the port information here shall be identical with the port value you set in TCP port in Web Network inte...

Страница 12: ...he PC and the network camera respectively Network camera default IP address is 192 168 1 108 Subnet mask is 255 255 255 0 Gateway is 192 168 1 1 Use order ping network camera address to check connecti...

Страница 13: ...after you logged in for one minute For detailed plug in installation please refer to the Web Operation Manual included in the resource CD After you logged in you can see the main window See Figure 4...

Страница 14: ...riendly use period EFUP period the toxic or hazardous substance or elements contained in products will not leak or mutate so that the use of these substances or elements will not result in any severe...

Отзывы: