91
Please note the above interface may vary due to different protocols. The button is grey
and can not be selected once the current function is null.
Right click mouse or click the ESC button at the front panel to go back to the Figure
Icon
Function
Icon
Function
Preset
Flip
Tour
Reset
Pattern
Aux
Scan
Aux
on-off
button
Rotate
Go to menu
4.5.3.1 PTZ Function Setup
Click
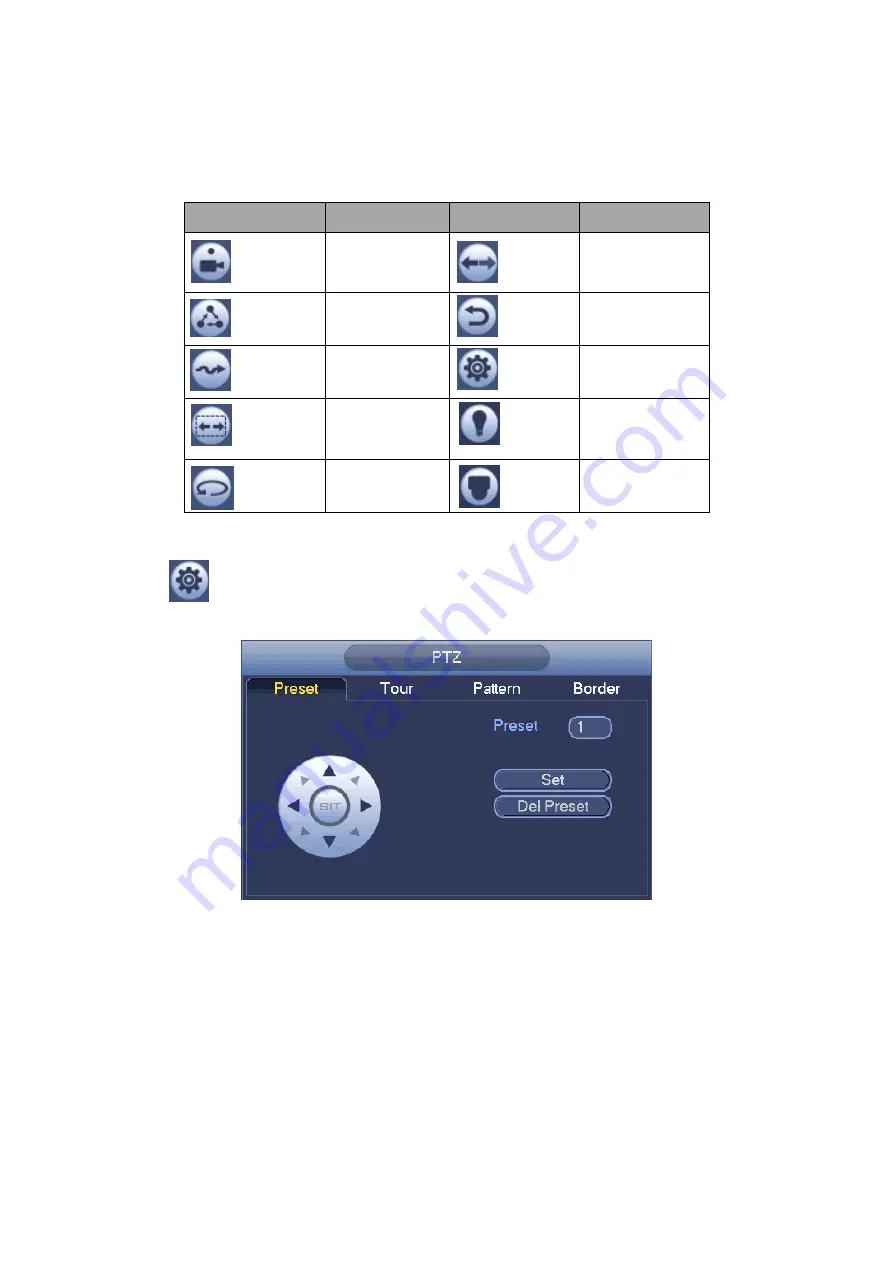
, you can go to the following interface to set preset, tour, pattern, and scan. See
Figure 4-23
Preset Setup
In
Figure 4-23, click preset button and use eight direction arrows to adjust camera to the
proper position. The interface is shown as in Figure 4-24.
Click Set button and then input preset number.
Click Set button to save current preset.
Содержание HDCVI series
Страница 1: ...Dahua HDCVI Standalone DVR User s Manual Dahua HDCVI Standalone DVR User s Manual V1 6 1 ...
Страница 172: ...162 Figure 4 104 Figure 4 105 ...
Страница 173: ...163 Figure 4 106 Figure 4 107 ...
Страница 189: ...179 Figure 4 124 Figure 4 125 ...
Страница 190: ...180 Figure 4 126 Figure 4 127 ...
Страница 191: ...181 Figure 4 128 Figure 4 129 ...
Страница 194: ...184 Figure 4 133 Figure 4 134 ...
Страница 201: ...191 Figure 4 144 Figure 4 145 4 11 4 1 2 2Trigger Snapshot ...
Страница 203: ...193 Figure 4 147 Figure 4 148 4 11 4 1 2 3Priority ...
Страница 220: ...210 Figure 4 169 For digital channel the interface is shown as below See Figure 4 170 Figure 4 170 4 11 5 6 ATM POS ...
Страница 234: ...224 Figure 4 187 ...
Страница 252: ...242 Figure 5 26 5 8 2 Network 5 8 2 1 TCP IP The single Ethernet port interface is shown as in Figure 5 27 Figure 5 27 ...
Страница 269: ...259 Figure 5 55 Figure 5 56 ...
Страница 282: ...272 Figure 5 71 Figure 5 72 ...
Страница 289: ...279 Figure 5 81 Figure 5 82 Figure 5 83 Please refer to the following sheet for detailed information ...
Страница 332: ...322 448K 196M 512K 225M 640K 281M 768K 337M 896K 393M 1024K 450M 1280K 562M 1536K 675M 1792K 787M 2048K 900M ...


