Dahua Multi-sensor Wedge Dome Network Camera Quick Start Guide
iv
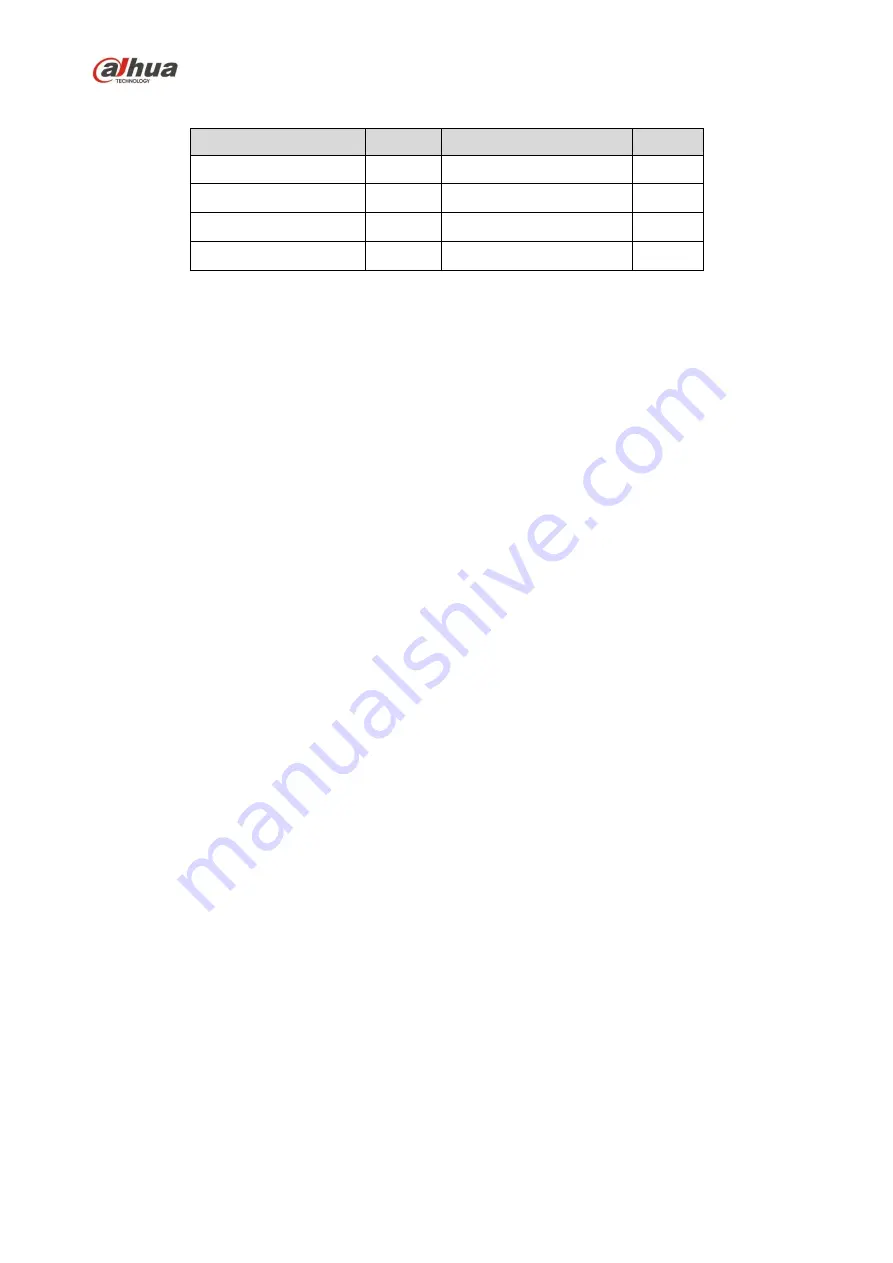
Accessory Name
Amount
Network Camera Unit
1
Installation Position Map
Quick Start Guide
Waterproof Connector
Screw Package
CD
Aviation Port
Wrench
Страница 1: ...Dahua Multi sensor Wedge Dome Network Camera Quick Start Guide Dahua Multi sensor Wedge Dome Network Camera Quick Start Guide Version 1 0 0 ...
Страница 2: ...ck caused by improper handling or installation Environment Do not aim the device at strong light to focus such as lamp light and sun light otherwise it might cause over brightness or light marks which are not the device malfunction and affect the longevity of Charge Coupled Device CCD or Complementary Metal Oxide Semiconductor CMOS Do not place the device in a damp or dusty environment extremely h...
Страница 3: ...way If stained with grease or fingerprint use soft cloth to gently wipe the water drop or oil and wait till it is dry and then use oil free cotton cloth or lens cleaning paper soaked with alcohol or detergent to wipe from the lens center outward till it is clean We are not liable for any problems caused by unauthorized modification or attempted repair The dome cover is a kind of optical component ...
Страница 4: ...his device may not cause harmful interference This device must accept any interference received including interference that may cause undesired operation 2 FCC compliance This equipment has been tested and found to comply with the limits for a digital device pursuant to part 15 of the FCC Rules These limits are designed to provide reasonable protection against harmful interference This equipment g...
Страница 5: ...e Dome Network Camera Quick Start Guide iv Accessory Name Amount Accessory Name Amount Network Camera Unit 1 Installation Position Map 1 Quick Start Guide 1 Waterproof Connector 1 Screw Package 1 CD 1 Aviation Port 1 Wrench 1 ...
Страница 6: ...ructure 1 1 1 Device External Cable 1 1 2 Framework and Dimension 2 2 Device Installation 3 2 1 Install SD Card Optional 3 2 2 Fix Device 3 2 3 Connect Device Cable 5 2 4 Adjust Device Angle 5 3 Network Configuration 7 3 1 Device Initialization 7 3 2 Modify IP Address 8 3 3 Login WEB Interface 9 ...
Страница 7: ...re 1 1 for cable information Figure 1 1 Please refer to Table 1 1 for detailed information SN Name M12 4 cored aviation port Table 1 1 Please refer to Figure 1 2 for cable information Figure 1 2 Please refer to Table 1 2 for the lens information Component Name Function Lens 1 Lens of different models supports different focal length If two lenses of the device support different focal length then th...
Страница 8: ...ing to the label instruction when using the device Caution It may cause damage to the device if it fails to power the device according to the device label Network port Table 1 3 1 2 Framework and Dimension Note The following figure is for reference only which is used to know the device dimension Please refer to the following figure for dimension information The unit is mm inch See Figure 1 3 Figur...
Страница 9: ...se wrench to open device cover You can see SD card slot and reset button after you open the cover Step 2 Find the location of SD card slot adjust the direction of SD card and insert the SD card into the slot and install the SD card well which is shown in Figure 2 1 Figure 2 1 Note Long press the reset button for 5 10 seconds to realize device reset function Step 3 Install the cover back to place 2...
Страница 10: ...ng to the requirement of wiring If it is to pull out the cable from top it needs to dig a Cable Exit Hole on the mounting surface according to installation position map If it is to pull out the cable from side first it needs to remove the reserved gap on the enclosure and then lead out the cable from the lateral cable slot which is between the mounting surface and pedestal Step 5 Align the screw f...
Страница 11: ... into the main body of the waterproof connector Step 2 Pull the network cable without crystal head through main body of waterproof connector fixing rubber ring and waterproof locking cover make the crystal head of network cable and then insert it into the network cable Step 3 Put the main body of waterproof connector on the network port and rotate it clockwise to lock the network port and waterpro...
Страница 12: ...Quick Start Guide 6 Note The range of lens adjusting angle horizontal 90 90 vertical 0 65 image rotation direction 0 360 Figure 2 4 Step 2 Fix the enclosure on the device pedestal after adjustment is completed so far installation has been finished ...
Страница 13: ...in the same network segment In order to make the camera have access to network smoothly please plan available IP segment according to the actual network environment The following figures are for reference only different models may have different interfaces 3 1 Device Initialization Step 1 Double click ConfigTool exe and open quick config tool Step 2 Click to enter the interface where you can modif...
Страница 14: ...prompt Step 6 Click Initialization the system begins to initialize the device means initialization succeeded means initialization failed Click the icon to check more details Step 7 Click OK to complete device initialization 3 2 Modify IP Address Step 1 Double click ConfigTool exe and open quick config tool Step 2 Click to enter the interface where you can modify IP address click Search Setting the...
Страница 15: ...omatically acquire IP address from the DHCP server Step 6 Click OK to complete modification of device IP address 3 3 Login WEB Interface Step 1 Open IE browser enter the modified camera IP address into the address bar and then press Enter button Please operate according to the interface prompt if the interface displays guide of Software License Agreement and Online Upgrade Step 2 Enter username an...
Страница 16: ...ti sensor Wedge Dome Network Camera Quick Start Guide 10 Figure 3 3 Dahua Technology USA Inc 23 Hubble Irvine CA 92618 Tel 949 679 7777 Fax 949 679 5760 Email sales usa dahuatech com Website us dahuasecurity com ...