Dahua DH-IPC-D1BX0-B Скачать руководство пользователя страница 2

    I 

Foreword 

General 

This  Quick  Start  Guide  (hereinafter  referred  to  be  "the  Guide")  introduces  the  functions, 

installation, and operations of the camera. 

Safety Instructions 

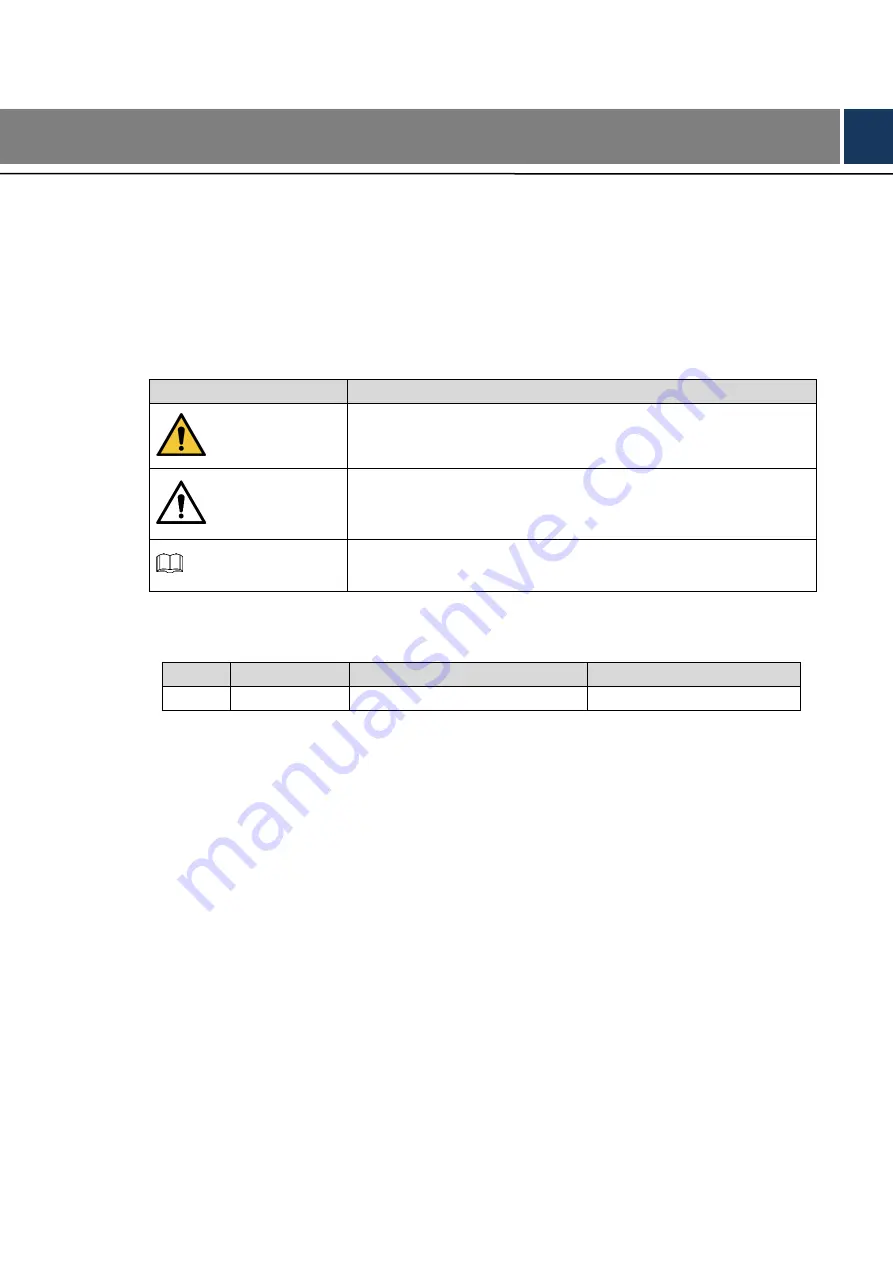
The following categorized signal words with defined meaning might appear in the Guide. 

Signal Words 

Meaning 

WARNING

Indicates a medium or low potential hazard which, if not avoided, 

could result in slight or moderate injury. 

CAUTION

Indicates a potential risk which, if not avoided, could result in 

property damage, data loss, lower performance, or unpredictable 

result. 

NOTE


Provides additional information as the emphasis and supplement 

to the text. 

Revision History 

No. 

Version 

Revision Content 

Release Time 

V1.0.0 

First Release. 

August 11, 2018 

Privacy Protection Notice 

As the device user or data controller, you might  collect personal data of others such as face, 

fingerprints, car plate number, Email address, phone number, GPS and so on. You need to be 

in  compliance  with  the  local  privacy  protection  laws  and  regulations  to  protect  the  legitimate 

rights  and  interests  of  other  people  by  implementing  measures  include  but  not  limited  to: 

providing  clear  and  visible  identification  to  inform  data  subject  the  existence  of  surveillance 

area and providing related contact. 

About the Guide 

The Guide is for reference only. If there is inconsistency between the Guide and the actual

product, the actual product shall prevail.

We are not liable for any loss caused by the operations that do not comply with the Guide.

The  Guide  would  be  updated  according  to  the  latest  laws  and  regulations  of  related

regions. For detailed information, see the paper manual, CD-ROM, QR code or our official

website.  If  there  is  inconsistency  between  paper  manual  and  the  electronic  version,  the

electronic version shall prevail.

Содержание DH-IPC-D1BX0-B

Страница 1: ...EZ IP HD Indoor Wi Fi Dome Network Camera Quick Start Guide V1 0 0 ...

Страница 2: ...ght collect personal data of others such as face fingerprints car plate number Email address phone number GPS and so on You need to be in compliance with the local privacy protection laws and regulations to protect the legitimate rights and interests of other people by implementing measures include but not limited to providing clear and visible identification to inform data subject the existence o...

Страница 3: ...ns description or errors in print If there is any doubt or dispute please refer to our final explanation Upgrade the reader software or try other mainstream reader software if the Guide in PDF format cannot be opened All trademarks registered trademarks and the company names in the Guide are the properties of their respective owners Please visit our website contact the supplier or customer service...

Страница 4: ...on or unstable lighting Keep the device away from any liquid to avoid damage to the internal components Keep the indoor device away from rain or damp to avoid fire or lightning Keep sound ventilation to avoid heat accumulation Transport use and store the device within the range of allowed humidity and temperature Heavy stress violent vibration or water splash are not allowed during transportation ...

Страница 5: ... or fingerprints wipe gently with moisten oil free cotton with diethyl or moisten soft cloth You can also air blower to remove dust Please strengthen the protection of network device data and personal information by adopting measures which include but not limited to using strong password modifying password regularly upgrading firmware to the latest version and isolating computer network For some d...

Страница 6: ...15 of the FCC Rules This equipment generate uses and can radiate radio frequency energy and if not installed and used in accordance with the instructions may cause harmful interference to radio communication For class B device these limits are designed to provide reasonable protection against harmful interference in a residential installation However there is no guarantee that interference will no...

Страница 7: ...rk Configuration 2 Initializing Device 2 2 1 Modifying Device IP Address 3 2 2 Logging in Web Interface 4 2 3 3 Installation 7 Packing List 7 3 1 Dimension 7 3 2 Installing Device 8 3 3 3 3 1 Installation Type 8 3 3 2 Detaching the Dome 9 3 3 3 Installing the Dome 9 3 3 4 Attaching Device 9 3 3 5 Adjusting Lens Angle 12 ...

Страница 8: ...1 2 Table 1 1 Cable information No Port Name Function 1 Ethernet port Connects to network with network cable 2 12V DC power input Inputs 12V DC power Please be sure to supply power as instructed in the Guide Device abnormity or damage could occur if power is not supplied correctly Table 1 2 LED indicator description LED Indicator Status Device Status Red light on Booting Device malfunction Failed ...

Страница 9: ...k segment properly to connect the device to the network The following figures and interfaces are for reference only and the actual product shall prevail Initializing Device 2 1 Double click ConfigTool exe to open the tool Step 1 Click Step 2 The Modify IP interface is displayed See Figure 2 1 Modify IP Figure 2 1 Click Search setting Step 3 The Setting interface is displayed Enter the start IP add...

Страница 10: ... the details Click Finish Step 9 The device status in the Modify IP interface Figure 2 1 turns to Initialized Modifying Device IP Address 2 2 You can modify IP address of one or multiple devices in one time This section is based on modifying IP addresses in batch Modifying IP addresses in batch is available only when the corresponding devices have the same login password Do Step 1 to Step 4 in 2 1...

Страница 11: ...lect DHCP Click OK Step 4 Logging in Web Interface 2 3 Open IE browser then enter the IP address of the device in the address bar and then Step 1 press Enter If the setup wizard is displayed finish the settings as instructed Enter the user name and password in the log in box and then click Login Step 2 For first time login click Click Here to Download Plugin and then install the plugin as Step 3 i...

Страница 12: ...nd then select Camera at the home interface Step 2 The Live Preview interface is displayed Tap the sign and then tap Add Device Step 3 The Add Device interface is displayed See Figure 2 5 Add Device Figure 2 5 You can scan the QR code or select other connection type to add the camera For the Step 4 detailed configuration see the corresponding users manual After adding camera is finished tap Start ...

Страница 13: ...6 Live preview Figure 2 6 ...

Страница 14: ...as electric drill is not provided in the packing The operation manual and related tool are contained in the disk or the QR code and the actual packing shall prevail Dimension 3 2 Following figures are for reference only and the actual product shall prevail Device dimension mm in ...

Страница 15: ...8 Installing Device 3 3 3 3 1 Installation Type ...

Страница 16: ...the Dome 3 3 3 Installing the Dome 3 3 4 Installing SD Card optional Press the reset button to start WPS pairing press and hold the reset button for 10 s to reset the camera to factory settings IPC D1B20P W IPC D1B20N W ...

Страница 17: ...10 3 3 5 Attaching Device Make sure the mounting surface is strong enough to hold at least three times of the weight of the device and bracket IPC D1B40P W IPC D1B40N W ...

Страница 18: ...11 Cable going through the mounting surface ...

Страница 19: ...12 Cable going through the side cable tray 3 3 6 Adjusting Lens Angle ...

Отзывы: