Daewoo Lucoms LXC-540X Скачать руководство пользователя страница 8

English-9

English - 8

CDT Size

15-inch

Diagonal visible image area

14-inch

Dot Pitch

0.28 mm

Synchronization

Horizontal

30 - 54 KHz

Vertical

50 - 160 Hz 

Plug and Play

VESA DDC Compatible

Power Saving

EPA, VESA DPMS, Nutek Compliant

Power Source

100-240 Vac, 50/60Hz (Free Voltage)

Power Consumption

70 W

Dimension-W x H x D

360 x 377 x 389 mm

(set with stand)

Weight-unpacked

25.4/11.5

(lbs/Kg)

Operating Temperature

10 ~ 40°C /50 ~ 104°F

SPECIFICATIONS

Self Diagnosis

When the monitor doesn’t  display, if you press any key, Self
Diagnosis screen is displayed.  Self Diagnosis function checks
if the status of the monitor is No Signal or Out of range.

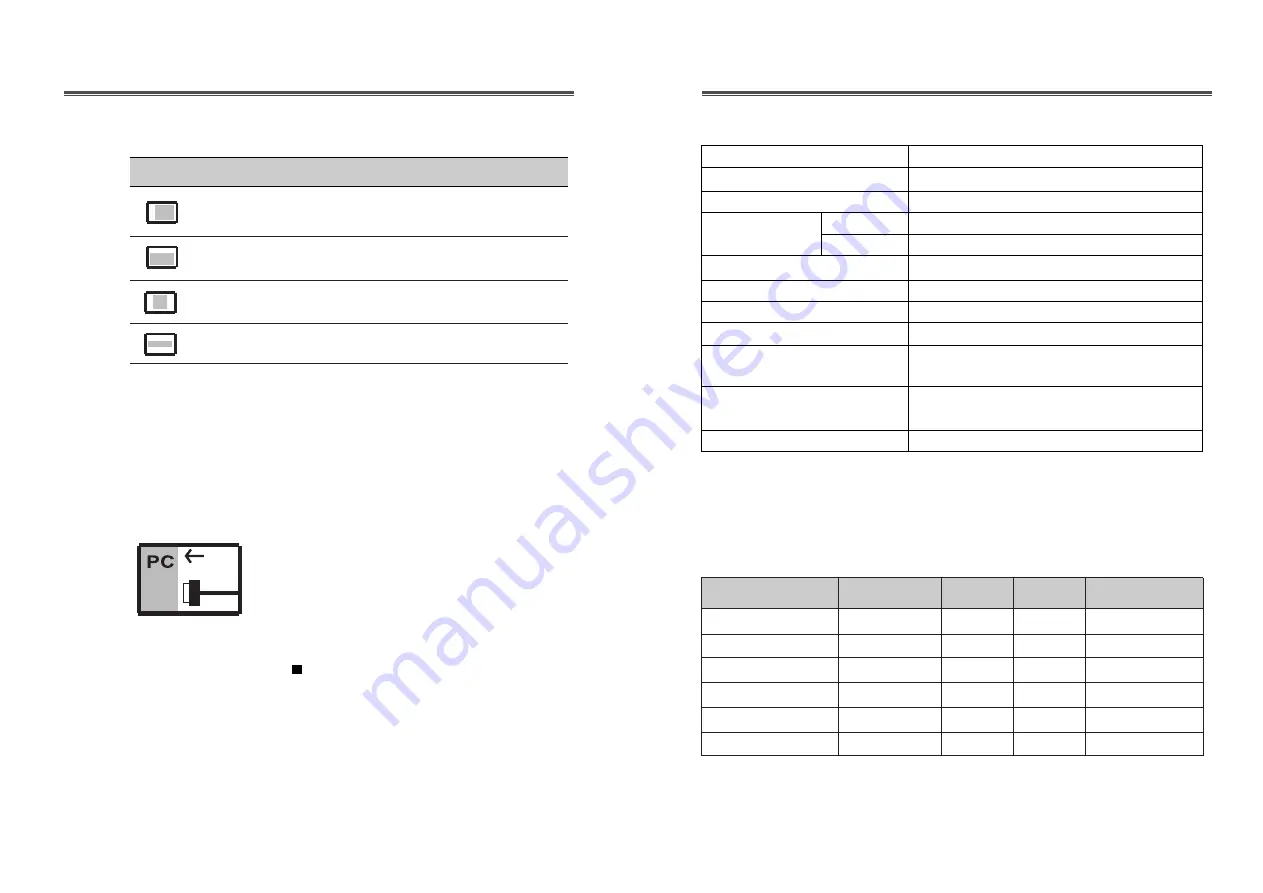
No Signal screen is displayed when
the D-Sub signal connector is not
connected or the status of the monitor
is on DPMS mode.

Out of Range screen is displayed
when the applied frequency is under
or over normal range.

Normal range

H : 30 - 54 KHz
V : 50 - 160 Hz

ICON      CONTROL                     FUNCTION

FACTORY PRESET TIMINGS

Mode 

H.Freq (KHz)        V.Freq(Hz)

Remark

VGA

640 

X  

480

31.5

60

Non-interlaced

VESA VGA 75

640 

X  

480

37.5

75

Non-interlaced

VGA

720 

X  

400

31.5

70

Non-interlaced

VESA 46K

800 

X  

600

46.9

75

Non-interlaced

VESA SVGA 85

800 

X  

600

53.7

85

Non-interlaced

VESA 48K

1024 

X  

768

48.3

60

Non-interlaced

Resolution

(dots 

X

lines)

This specification can be changed without any prior notice to improve the
quality of the product.

Adjust the width (horizontal size) of the
display.

H. SIZE 

Adjust the position of the display
horizontally (left or right) .

H. CENTER

Adjust the position of the display
vertically (up or down)

.

V. CENTER

Adjust the  height (vertical size) of the
display.

V. SIZE

Содержание Lucoms LXC-540X

Страница 1: ...GUIDE USER S GUIDE USER S GUIDE USER S GUIDE USER S GUIDE USER S GUIDE USER S GUIDE USER S GUIDE USER S GUIDE USER S GUIDE USER S GUIDE USER S GUIDE USER S GUIDE USER S GUIDE USER S GUIDE USER S GUIDE...

Страница 2: ...es or other hazards Refer all servicing to qualified service personnel 16 Unplug this monitor from the wall outlet and refer servicing to qualified service personnel under the following conditions a W...

Страница 3: ...Ger tes sichergestellt ist Falls Sie dennoch Fragen haben auf die die Bedienungsanleitung keine hinreichende Antwort geben kann so kontaktieren Sie bitte den n chsten Fachh ndler Maschinenl rminforma...

Страница 4: ...llowing checklist Color monitor Power cord User s Guide Tilt swivel stand Warranty Card Optional If any item is missing or damaged please contact your dealer Please keep the box and packing materials...

Страница 5: ...onfiguration fast and effortless The monitor features Advanced Color Controls for fine tuning to meet your own personal tastes or application requirements Use the on screen controls to adjust the colo...

Страница 6: ...e next function on the OSD window CONNECTING THE SIGNAL CABLE AND POWER CORD 1 Turn off the computer and monitor 2 Connect the 15 pin D sub connector to the output port of the video card in your compu...

Страница 7: ...u may shorten the life span of CRT Thus it is recommended to verify the selected mode before use Hot Key When there is no OSD if you press this CONTRAST button you can adjust the contrast directly Whe...

Страница 8: ...or is not connected or the status of the monitor is on DPMS mode Out of Range screen is displayed when the applied frequency is under or over normal range Normal range H 30 54 KHz V 50 160 Hz ICON CON...

Страница 9: ...le to the video card Adjust H V Size or H V Center to get the proper image Keep the devices that may cause electrical interference away from the monitor See the FCC information at the front cover of t...

Страница 10: ...S N XL78601000...

Отзывы: