


English - 5
English - 4
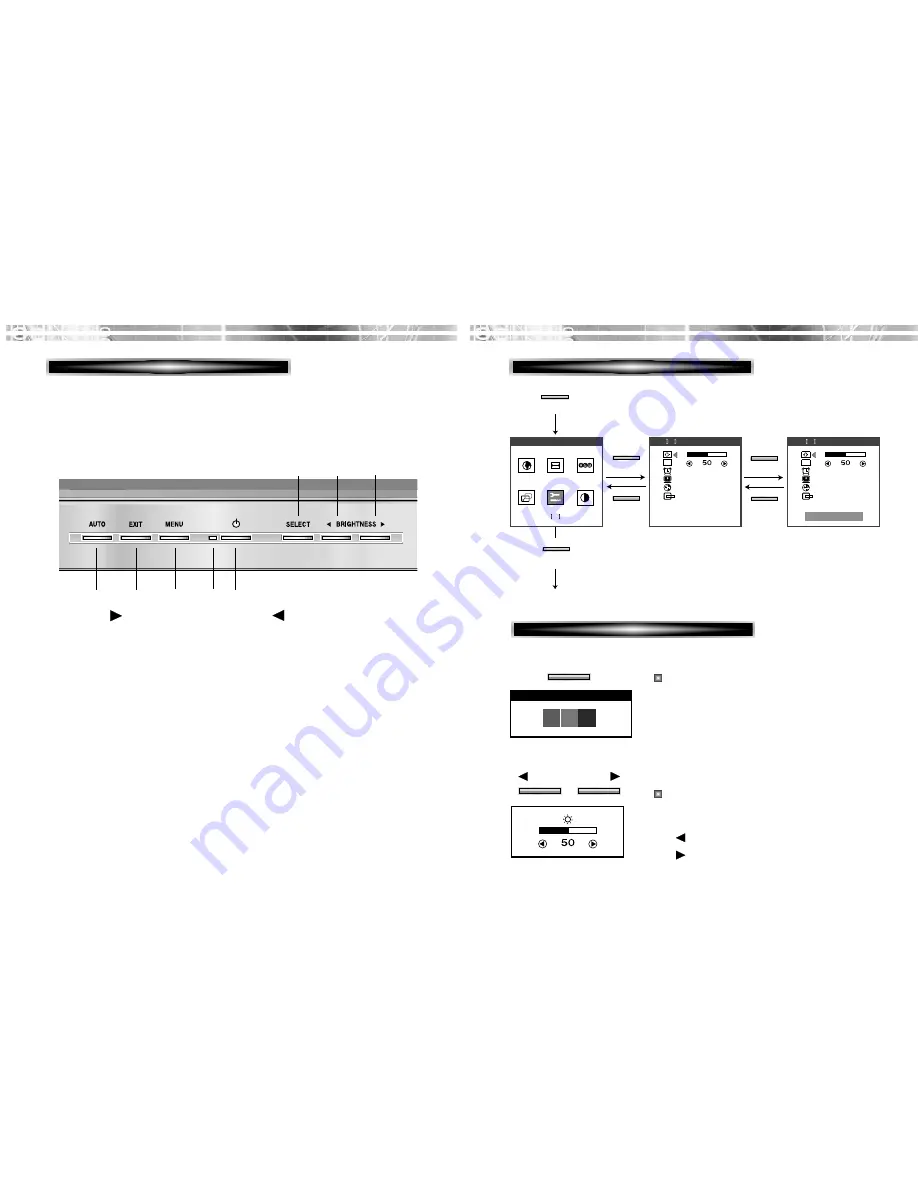
KEY PROCESS
OSD OFF
MENU
EXIT
EXIT
EXIT
OSD
OSD
S H A R P N E S S
S H A R P N E S S
U T L T Y
U T L T Y
U T L T Y
1280X1024 80K 75
SELECT
SELECT
HOT KEY
OPERA
OPERA
TION & ADJUSTMENT
TION & ADJUSTMENT
CONTROL PANEL
SELECT
EXIT
AUTO
swithes the monitor on
and off.
shows both normal operation
and power management status
with power indicator light.
POWER Indicator
POWER
3
1
1
3
2
4
6
5
7
7
8
8
4
5
2
moves cursor to the right or
low window in the OSD
window and increases the
value of any selected
function.
moves cursor to the left or
high window in the OSD
window and decreases value
of any selected function.
moves from top menu to sub
menu in the OSD window
and opens the function
window for the selected icon.
MENU
6
turns the OSD window on.
turns the OSD (On-Screen
Display) window off and
moves from sub menu to top
menu in the OSD window.
launches the AUTO
TRACKING function
directly.
*
( )
*
( )
*
( )
*
( )
: Hot Key
When there is no OSD, if you press this
AUTO button, you can use the best display
performance fit for a current mode.
When there is no OSD, if you press this
BRIGHTNESS button, you can adjust the
brightness directly.
: decreases brightness
: increases brightness
AU TO T R AC K I N G
AUTO
BRIGHTNESS


