Refrigerator Leveling &
Door Adjustment ( If needed. )
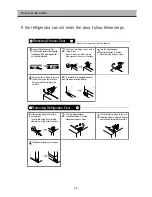
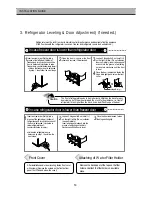
Refrigerator must be level in order to maintain optimal performance and desirable front appearance.
(If the floor beneath the refrigerator is uneven, freezer and refrigerator doors look unbalanced.)
In case freezer door is lower than refrigerator door
...
The front of refrigerator needs to be higher just a little than the back for easy
door closing, but if the wheel is raised too much for door balance, i.e. front of
refrigerator is too higher than the back, it can be difficult to open the door.
2
Open the doors, unscrew the front
cover and remove, if it is attached.
1
Insert a screw driver (flat tip) into a
groove of the left wheel (bottom of
freezer) and turn it clockwise until the
door is balanced. (clockwise to raise
freezer door ; counterclockwise to lower)
Unless the freezer door is balanced
by step 1, then follow the next steps.
3
Loosen 3 hinge bolts(1 on the left + 2
on the right) a little. (Do not unfasten
them completely.) Insert a hexagonal
wrench into the groove of adjusting
nut and turn clockwise until the door
is level.
4
Once the door is balanced, fasten the
hinge bolts tightly and screw the front
cover.
2
Loosen 3 hinge bolts(2 on the left + 1
on the right) a little. (Do not unfasten
them completely.)
Insert a hexagonal wrench into the
groove of adjusting nut and turn
clockwise until the door is level.
1
Insert a screw driver (flat tip) into a
groove of the right wheel (bottom of
refrigerator) and turn it clockwise until
the door is balanced. (clockwise to
raise refrigerator door ;
counterclockwise to lower)
Unless the refrigerator door is
balanced by step 1, then follow the
next steps.
Hinge Bolt
3
Once the door is balanced, fasten
the hinge bolts tightly.
In case refrigerator door is lower than freezer door
...
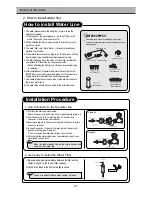
Remove the back paper of the tape on the filter
holder and attach the filter holder on a suitable
place.
After installation and/or door leveling, fasten front cover
with screws.(Remove the screws on the front bottom
panel first. Click and screw the cover)
Attaching of W ater Filter Holder
Front Cover
Caution
3. Refrigerator Leveling & Door Adjustment( If needed.)
INSTALLATION GUIDE
50
Содержание FRS-T20DA Series
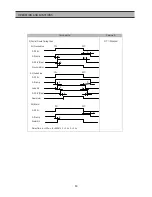
Страница 3: ...2 1 EXTERNAL SIZE FRS T20DA EXTERNAL VIEWS ...
Страница 4: ...3 FRS T20FA EXTERNAL VIEWS ...
Страница 6: ...5 3 Cold Air Circulation Freezer Compartment Refrigerator Compartment EXTERNAL VIEWS ...
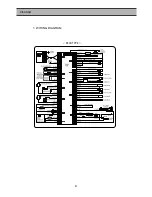
Страница 42: ...41 RSCR TYPE 1 WIRING DIAGRAM DIAGRAM ...
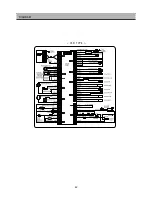
Страница 43: ...42 DIAGRAM CSR TYPE ...
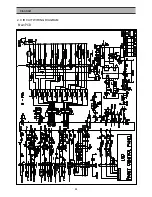
Страница 44: ...43 DIAGRAM 2 CIRCUIT WIRING DIAGRAM Main PCB ...
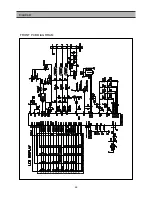
Страница 45: ...44 FRONT PCB DIAGRRAM DIAGRAM ...
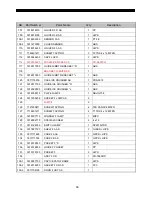
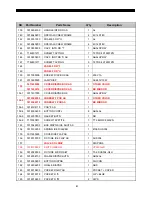
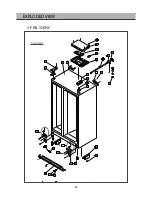
Страница 52: ...CABINET 51 EXPLODED VIEW 1 FRS T20DA ...
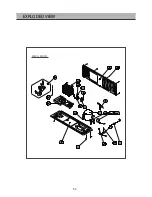
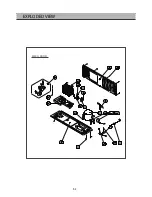
Страница 53: ...EXPLODED VIEW MECH ROOM 52 ...
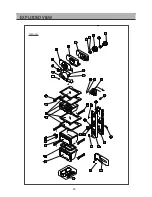
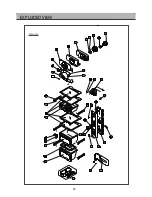
Страница 54: ...EXPLODED VIEW R Room 53 ...
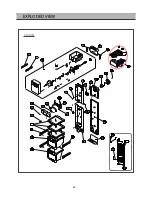
Страница 55: ...54 EXPLODED VIEW F ROOM ...
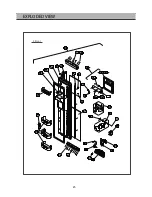
Страница 56: ...55 EXPLODED VIEW F Door ...
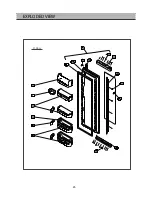
Страница 57: ...56 EXPLODED VIEW R Door ...
Страница 64: ...CABINET 63 EXPLODED VIEW 3 FRS T20FA ...
Страница 65: ...EXPLODED VIEW MECH ROOM 64 ...
Страница 66: ...EXPLODED VIEW R Room 65 ...
Страница 67: ...66 EXPLODED VIEW F ROOM ...
Страница 68: ...67 EXPLODED VIEW F Door ...
Страница 69: ...68 EXPLODED VIEW R Door ...

