Chapter 3 : Operating Your TV
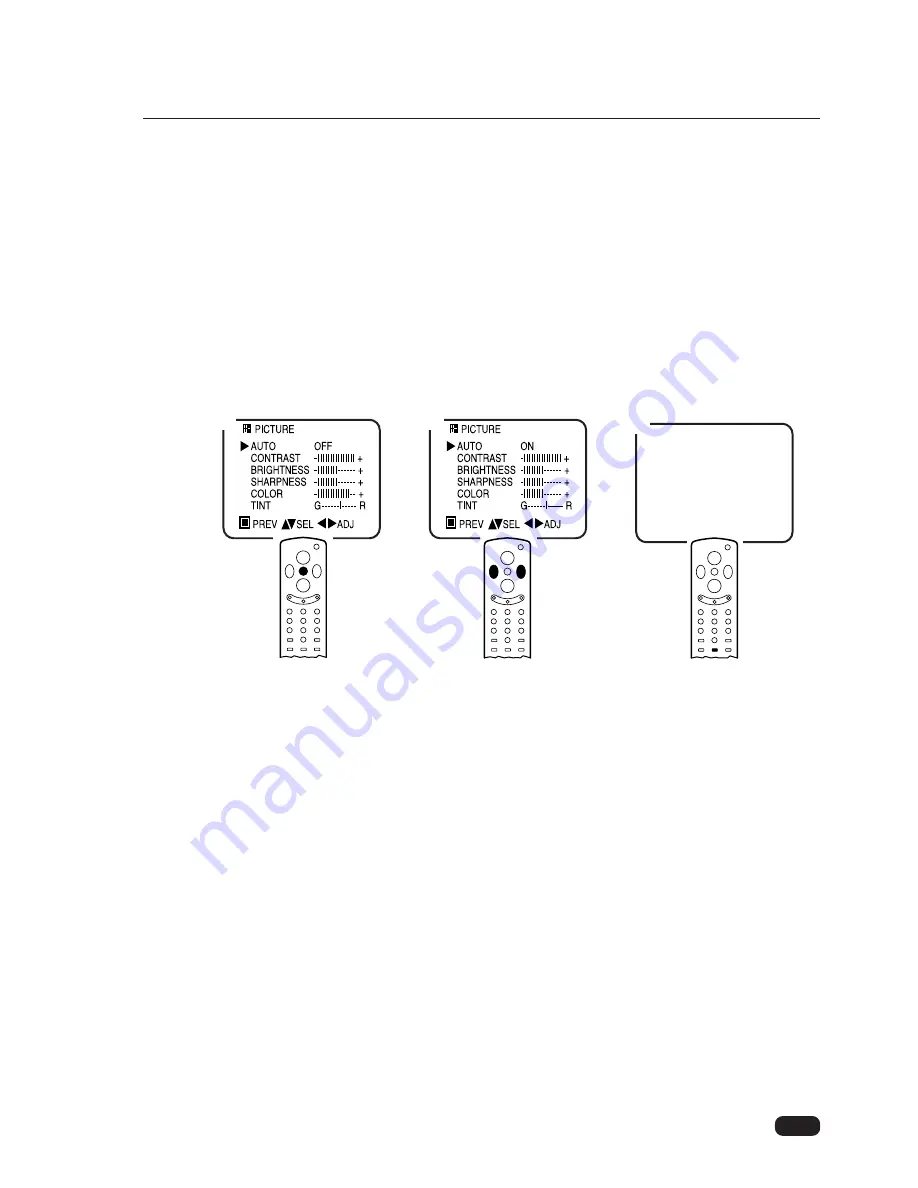
Returning to the factory settings
If you would like to return to the original video settings, as they were calibrated at the
factory, follow these steps :
1
Complete steps 1-3 in the “Adjusting Video Settings” section, on the previous page.
2
Press the
C
VOL
B
buttons to set the AUTO setting to ON. This will return all video
settings to their default levels, as set at the factory.
3
You can also return to the factory settings during normal TV viewing by pressing the
AUTO.PICT button on the remote control.
The TV will remember the “custom” settings you had previously chosen. When you
set AUTO to OFF again, your previous custom settings will be restored.
Descriptions of video settings
The contrast setting controls the relation between the light and black areas of the screen.
If the light areas are too bright and are losing details, adjust the contrast towards the “-”
position; if the picture is gray and lacks contrast, adjust the contrast towards the “+”
position.
The brightness settings controls the overall amount of light in the picture. If the picture
is too bright, adjust the brightness setting towards the “-” position; if the picture is too
dark, adjust the brightness towards the “+” position.
Sharpness controls how the TV displays edges of objects on-screen. If the TV shows
multiple vertical lines at the edges of an object, adjust sharpness towards the “-” posi-
tion; if the vertical edges of on-screen objects are fuzzy, adjust sharpness towards the
“+” position.
The color setting controls the intensity of color. If the color is over-saturated, adjust the
color towards the “-” position; if the color is washed out, adjust the color towards the
“+” position.
The tint setting controls the relationship of red and green in a picture. Tint is especially
noticeable in flesh tones. If flesh tones seem too red or purple, adjust the color towards
“G”; if the flesh tones are too green, adjust the color towards “R”.
15
3
1
2


