12
Channel skipping
- You can select skip „YES” or
„NO” using the remote control
RED „Skip” button (A11).
A program with skip „YES”
doesn’t appear on screen
when changing channels with
the PROGRAM UP (A6) /
DOWN (A21) buttons.
Manual Channel Tuning
Choose a starting point
- Select with „Program” the
program from which you want
to start manual tuning. Then the
channel number, the frequency,
the name and the program
number of this program are
displayed in the Install menu.
TV system modifi cation
If necessary, you can modify the
TV system :
- Select „system” function.
- Adjust choosing between
FRANCE (L/L’), GB (I), EURO
(B/G), E/ EURO (D/K) systems.
Then, the program displayed on
the screen is changed to the
chosen system.
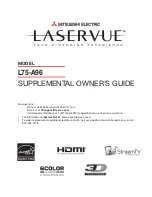
Channel deleting
- Select the program to delete using
the remote control CURSOR UP
(A6) / DOWN (A21) buttons.
- Press the remote control YELLOW
„Delete” button (A26). The deleted
program is moved to program
number 99 with skip changed to
„YES”. The existing 99 program is
moved to program number 98 and
so on.
Channel searching
- Select the „Frequency” function.
- Press, and hold for more than 1
second, the remote control
CURSOR RIGHT (A20) [LEFT
(A7)] buttons to start up [down]
manual tuning.
- Searching will stop automatically at
the next channel found (to stop
tuning, press the remote control
MENU button (A19)).
Note:
You can directly locate a
program by entering the data
into the „channel” or the
„frequency” function.
Perform fi ne tuning
- If you are unable to get a good
picture or reasonable quality sound
due to poor reception, it is possible
to perform fi ne tuning.
- Select the „frequency” function.
- Press, for less than 1 second, the
remote control CURSOR
RIGHT(A20) [LEFT(A7)] buttons to
perform up [down] fi ne tuning in
steps of 0.05MHz (50 kHz).
Channel order changing
- Select the program to move using the
remote control CURSOR UP (A6) / DOWN
(A21) buttons.
- Press the remote control GREEN „Move”
button (A12): the program line background
is highlighted in green, and can be moved
to another position using the remote control
CURSOR UP (A6)/ DOWN (A21) buttons.
- When the desired position is reached,
confi rm the new position pressing the
remote control GREEN „Confi rm” button
(A12). Then the program line background
will return again to grey.
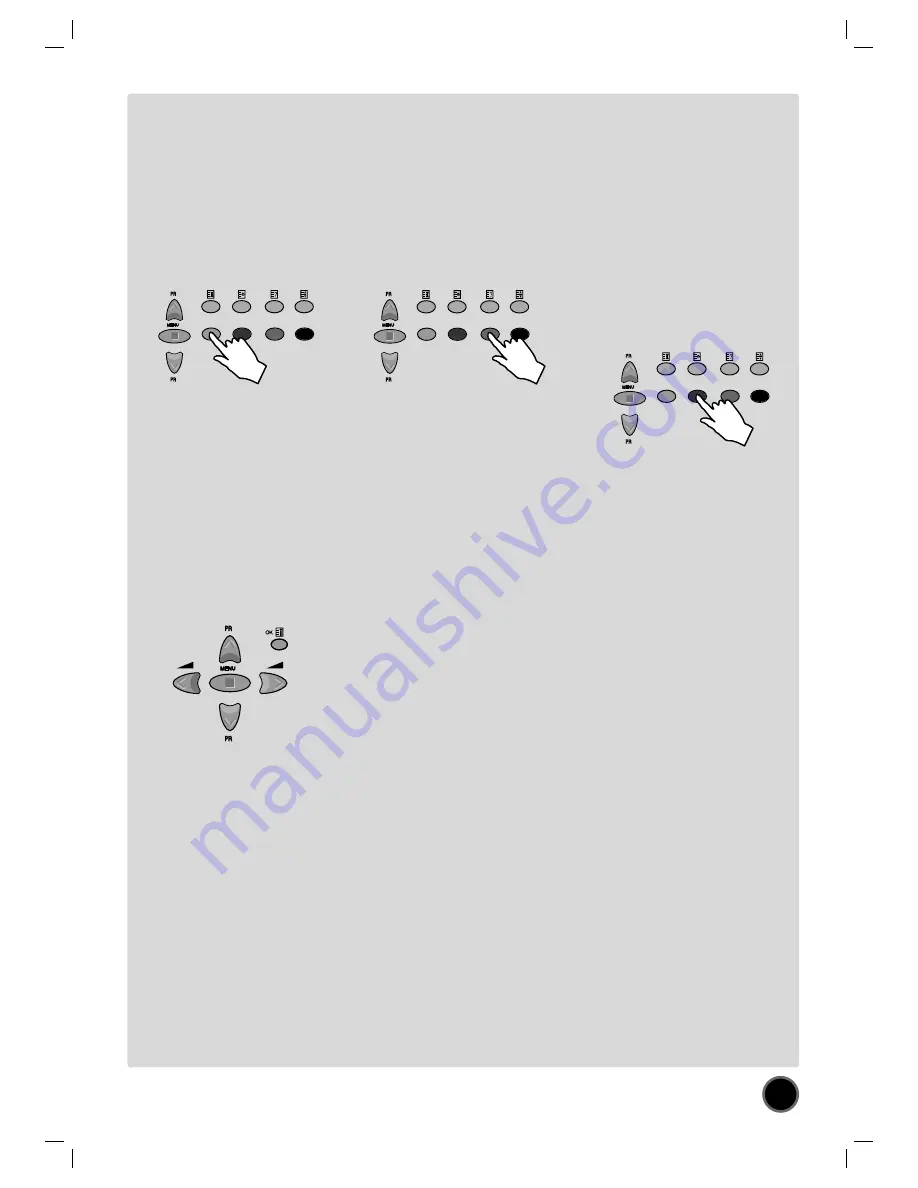
Enter station name
It is possible to enter your own choice of name
for each program. You can change an existing
name, or enter a name where none exists. If
none exists „- - - - - - -” will be shown in the
Install menu, and program status display ( see
the section PROGRAM STATUS DISPLAY on
page 8).
- Select the „NAME” function.
- Select one of the 7 character positions by
using the remote control CURSOR RIGHT
(A20) / LEFT (A7) buttons to move the cursor.
- Then use the CURSOR UP (A6) /DOWN (A21)
buttons to select the desired character for
that position.
- Repeat the last two instructions for other
positions, as desired.
- Once the name has been entered, press the
OK button (A18) to store it. The name will be
memorised to the program number currently
shown on the „Store To” line. The „Store To”
program number will highlight in red briefl y.
Store program in memory
- Select the „store to” function
- Enter the program number you want to
store to either by using the remote control
CURSOR RIGHT (A20) / LEFT (A7) buttons, or
directly by using the remote control NUMBER
0...9 buttons (A3).
- Press the OK button (A18) to confi rm.
Remarks:
this function can also be used if you
want to copy a program already
memorised to another program
number.
Содержание DTC-20, DTC-21, DTY-21, DTY-25
Страница 18: ...DMP3901900...