background image

Basic

O

peration

18

19

Initial Installation

Setting up the player

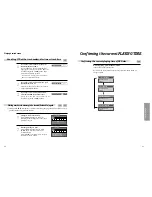
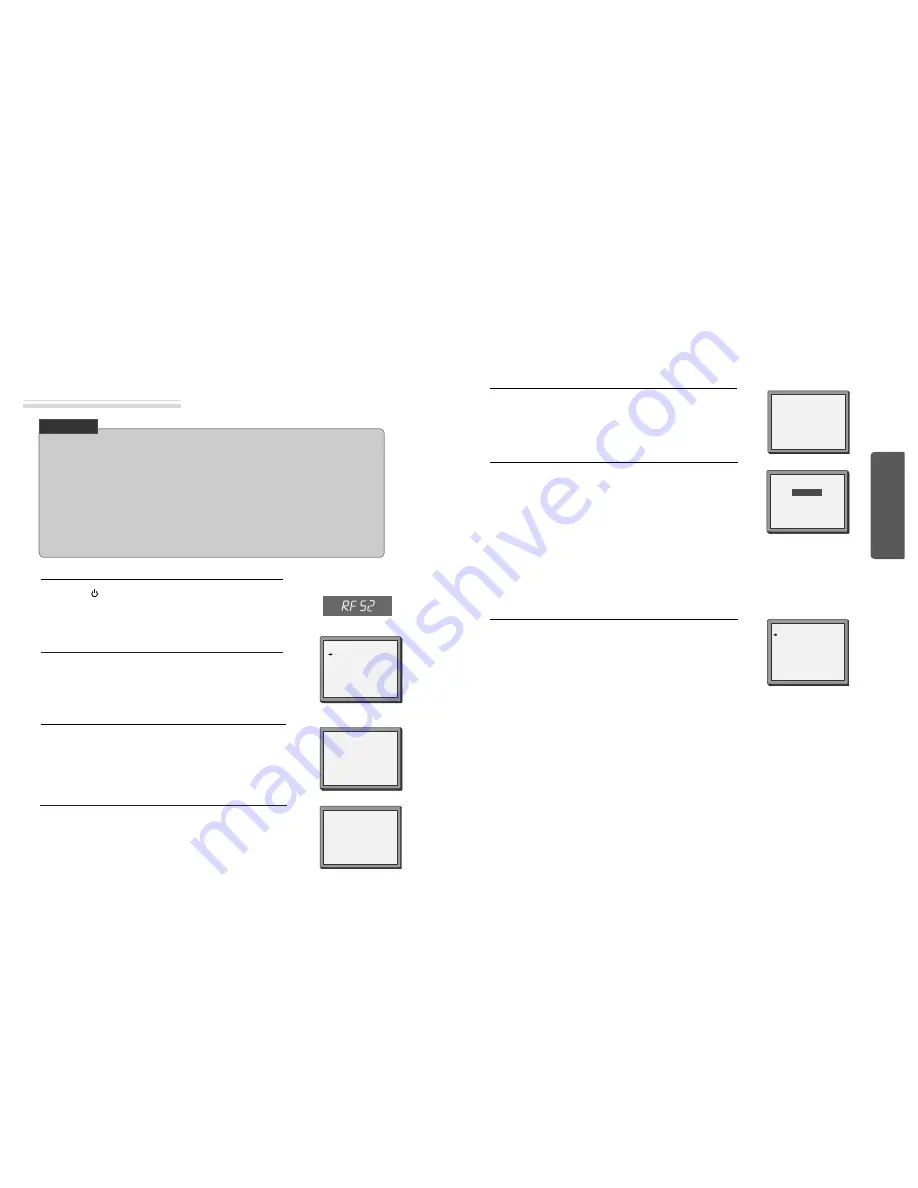
Switch the TV on.

You can also start "AUTO SEARCH" in the SETUP "PR PRESET" 

"AUTO SEARCH".

To tune in new stations (manual tuning) and to enter station names see page 27-28. 

SETUP:END

PLEASE WAIT...

CH 25

You should see this picture the first time you switch on the TV
and player.

Select the wanted language with PR+ or PR- button. Press OK to
confirm.

2

Press 

on the remote control and RF52 will be displayed on

the front of your player.
Select a free channel on your TV and manual tune the channel
until the blue screen as shown in step 2 appears. Refer to the TV
manual for more details.

1

OK for "AUTO SEARCH!".
"AUTO SEARCH" tunes in all the stations you can receive in your
country.

3

• If you don't see the menu picture below after you press the menu button it may be because you

don't use a RCA cable and you need to tune the television to the player (see 'Connecting your
player through RF lead' on page 12). Normally a new player outputs a signal via the RF lead on
transmission channel 52. Search for the menu picture with the channel tuning function of your TV
set (see its user manual). Some televisions allow you to key in the transmission channel number in
their tuning set-up menu.

• In case there will be interference problems with other transmission channels when the player

outputs a signal on transmission channel 52, the AUTO SEARCH process usually recommends an
alternative, as in step 4.

• There is a another way of setting RF output channel, if needed please see 'Connections and

Assembling on page 35'. It does not apply to models which do not generate the RF output signal.

CHECK IT!

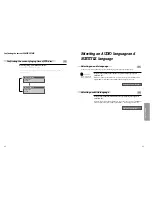
Press the [OK] button to confirm the recommended RF channel.

Should you wish the stations to have the same numbers as those
used on the TV, follow the instructions in "Sorting programme
locations" on page 29.

Else ...
exit the basic installation function and enjoy your player.

6

Should you wish the stations to have the same numbers as those
used on the TV, follow the instructions in "Sorting programme
locations" on page 29. 

Else ...
Press the SETUP button to exit the set-up menu and enjoy your
player

7

PLEASE CHANGE THE TV 
CH TO 54.

IMPORTANT!

If other stations are positioned on near the current RF OUTPUT
CH, the guide message appears automatically.

The player recommends the optimal RF OUTPUT CH number
automatically.

5

• If the signal from the player is coming into the TV through

the RF lead, the picture will disappear when you press OK
at step 7. You will need to re-tune your television to the new
UHF transmission channel.

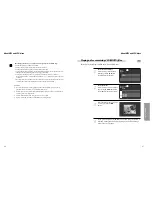
MANUAL SET

PR01 P-01

PR08 P-08

PR02 P-02

PR09 P-09

PR03 P-03

PR10 P-10

PR04 P-04

PR11 P-11

PR05 P-05

PR12 ----

PR06 P-06

PR13 ----

PR07 P-07

PR14 ----

PR+/-:SELECT
OK:CONFIRM        SETUP:END

Up [PR+], down [PR-], OK and 'confirm'

• Notice the on-screen prompts which the video recorder generates to tell you which button to press. In general

the up and down 'navigation' buttons select or highlight something and the OK button confirms it .

• [PR+] and [PR-] are the same buttons as 'up' and 'down'.
• In the DVD section it is usually the left and right buttons which 'select'.

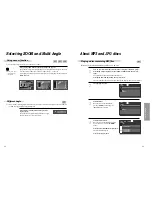
LANGUAGE SET

ENGLISH

PYCCKNZ

Ô

ESKY

MAGYAR

PR+/-:SELECT
OK:CONFIRM              SETUP:END

If the clock has not been set, the clock setting screen will appear.

Please see “Setting time and date” on page  20.

4

CLOCK SET

0-9:SETUP (HOUR)

/

:CORRECT   SETUP:END

TIME  - - : - - 

DATE  - - / - - /- - - - 

RF OUTPUT SET

0-9:SELECT(21-69)
OK:CONFIRM      SETUP:END

CURRENT

CH 52

RECOMMENDED CH 

54

Содержание DE-7800N

Страница 1: ...ate OSD ON OFF 20 Output Select 21 DVD Playback 22 VCR Playback 23 Recording 24 VCR Operation Tuning in New Stations 27 Timer Recording 30 More Functions 32 Connections and Assembling 35 DVD Operation...

Страница 2: ...READ INSTRUCTIONS All the safety and operating instructions should be read before the unit is operated 2 RETAIN INSTRUCTIONS The safety and operating instructions should be retained for future referen...

Страница 3: ...hnician to perform safety checks recommended by the manufacturer to determine that the unit is in safe operating condition 23 WALL OR CEILING MOUNTING The product should be mounted to a wall or ceilin...

Страница 4: ...by wind and rain For clean screen contact and consult your nearest service center about checking and replacement In recording important screen Be sure to record the screen and check whether recording...

Страница 5: ...jack with amp or unit embedded with digital audio decoder A V OUTPUT Jack A V INPUT Jack Connection to ANTENNA Cable Connection to TV Main body Rear Panel Timer Recording Standby Timer Recording Erro...

Страница 6: ...d SPEED button 4 VCR Record button 5 VCR TV VCR button 6 3D button This button is not available for this set 7 VCR CM SKIP 8 VCR Replay button 9 POWER button 0 DVD SELECT button VCR INPUT Selection bu...

Страница 7: ...circular cable RF cable surplus cable plugged in ANT IN jack in rear panel of TV Connect the cable to ANT jack in rear panel of DVD Video Connect TV to DVD Video Connect TV jack in DVD Video with ANT...

Страница 8: ...tached recording tab in DVD Video Turn on DVD Video Press INPUT button of remote control and adjust DVD Video to display AV or AV F in TV screen Press PLAY button in Camcorder or playback video Press...

Страница 9: ...ct in stereo unit Select External Input connected with DVD Video Playback DVD disc or Hi Fi videotape you can hear sound in speaker of stereo unit Use in COMPONENT In jack attached in TV or amp suppor...

Страница 10: ...erate the RF output signal CHECK IT Press the OK button to confirm the recommended RF channel Should you wish the stations to have the same numbers as those used on the TV follow the instructions in S...

Страница 11: ...characters are not displayed in the normal picture 3 This player is set to OSD On Screen Display ON mode before shipping and you can change it to OFF mode VCR SETUP CLOCK SET LANGUAGE SET RF OUTPUT S...

Страница 12: ...EN CLOSE button on remote control to remove the tape 5 If the product which has a auto detector detects a contaminated head s it shows the conditions to notice the contamination on screen In case of t...

Страница 13: ...nutes the recording is released automatically 6 To exit recording press STOP button 7 Recording To Record With VCR To Enjoy a TV Channel or DVD during recording Recording This product incorporates cop...

Страница 14: ...ation number or P xx It s simplest to use the same location number on both the TV and video and confirm 3 Set the station you want the programme location number the proper broadcast system for your lo...

Страница 15: ...AERIAL AUTOSEARCH CH__ FINE TUNING NAME O___ If the location numbers used for programmes stored in your TV and player are different you can change them on the player To do this move the stations to t...

Страница 16: ...recording on the cassette the video switches automatically to LP for double recording capacity The recorder will eject cassettes which have the safety tab removed The player will be powered on and re...

Страница 17: ...counter display Remaining time and cassette length Searching for a recorded program via index Reset the counter COUNTER RESET 0 00 00 If you press the PLAY button for 5secs during stop or still mode i...

Страница 18: ...hoice of sound output Connections and Assembling If you are using a RCA cable select the AV input on the TV to see the picture from the player If you are not using a RCA cable select the button number...

Страница 19: ...apter or track or first scene of current chapter or track Press the TITLE PBC or MENU button A list of the titles on the disc is displayed For the case of VCD disc menu screen will appear only when th...

Страница 20: ...back mode repeat playback starts as below Playing desired scene Repeating a defined period Repeating a defined period from A to B Playing desired scene If you want to search with a title number or cha...

Страница 21: ...c Storing a marker in the memory Press MARK during play and press ENTER at the starting point to be viewed listened to again 1 Recalling Clearing a marker Press MARK during playback Press to select th...

Страница 22: ...anguage appears in playback mode If DVD disc includes audio information every time the user presses AUDIO button English ENG French FRE Spanish SPA and others appear one by one Keep pressing SUBTITLE...

Страница 23: ...G discs This unit will play MP3 files recorded on CD R and CD RW discs Turn on your television and select the channel assigned to this DVD player Press the DVD button and press the OPEN CLOSE button t...

Страница 24: ...s which exist for CD RW discs we cannot guarantee that each CD RW can be played with this unit The CD R must be recorded with the standard format because it can not be played back according to the rec...

Страница 25: ...o the language codes on next page Press CLEAR if an incorrect language code is entered 3 Selecting Subtitle language Set your preferred subtitle with ENTER If the subtitle language is set and recorded...

Страница 26: ...ech 7285 Hungarian 7773 Maori 8373 Singhalese 8673 Vietnamese 6789 Welsh 7289 Armenian 7775 Macedonian 8375 Slovak 8679 Volap k 6865 Danish 7365 Interlingua 7776 Malayalam 8376 Slovenian 8779 Wolof 68...

Страница 27: ...automatically and DVD logo moves continuously if the resume stop stop open status is maintained for about 5 minutes 3 Restoring DEFAULTS This feature resets every function to its original Factory Defa...

Страница 28: ...possible Photo CD Possible except KODAC CD REGION MANAGEMENT INFORMATION This unit is designed and manufactured to respond to the Region Management information that is recorded on a DVD disc The regio...

Страница 29: ...side with clean clothes Do not use any type of solvent such as thinner benzol benzene commercial cleaning goods or antistatic sprays Handling Disc Cleaning Disc The others In case of a old or contamin...

Страница 30: ...ideotape is the one recorded by other products or old one stripe may appear on the screen Try to adjust the screen by TRACKING button Try to use a head cleaner Try to use a head cleaner Try to adjust...

Страница 31: ...t the function ANGLE is supported only in a DVD contains multi angle scenes Also a user can confirm the support with the ANGLE mark on screen Please check the degree of remote control distance or any...

Страница 32: ...he OK ENTER button 5 Select the channel that needs to be moved and press the OK ENTER button 6 Press the OK ENTER button in order to select the PR number which you want to place the current selected c...

Страница 33: ...N 97P95600D0 AM Please read this manual carefully before connecting your DVD VCR and operating it for the first time Keep the manual in a safe place for future reference ENGLISH DE 7800N DVD PLAYER VI...

Отзывы: