D-Link DNS-343 User Manual
61
Connecting a UPS to the DNS-343
To add an Uninterrupted Power Supply (UPS), carry out the following steps:
• Turn off the DNS-343 if it is not already powered down.
• Connect the UPS to the USB port on the back of the DNS-343.
• Connect the power of the DNS-343 to the UPS.
• Turn on the UPS.
• Turn on the DNS-343.
• Verify the UPS is properly connected and powered on by going to the Device Information window.
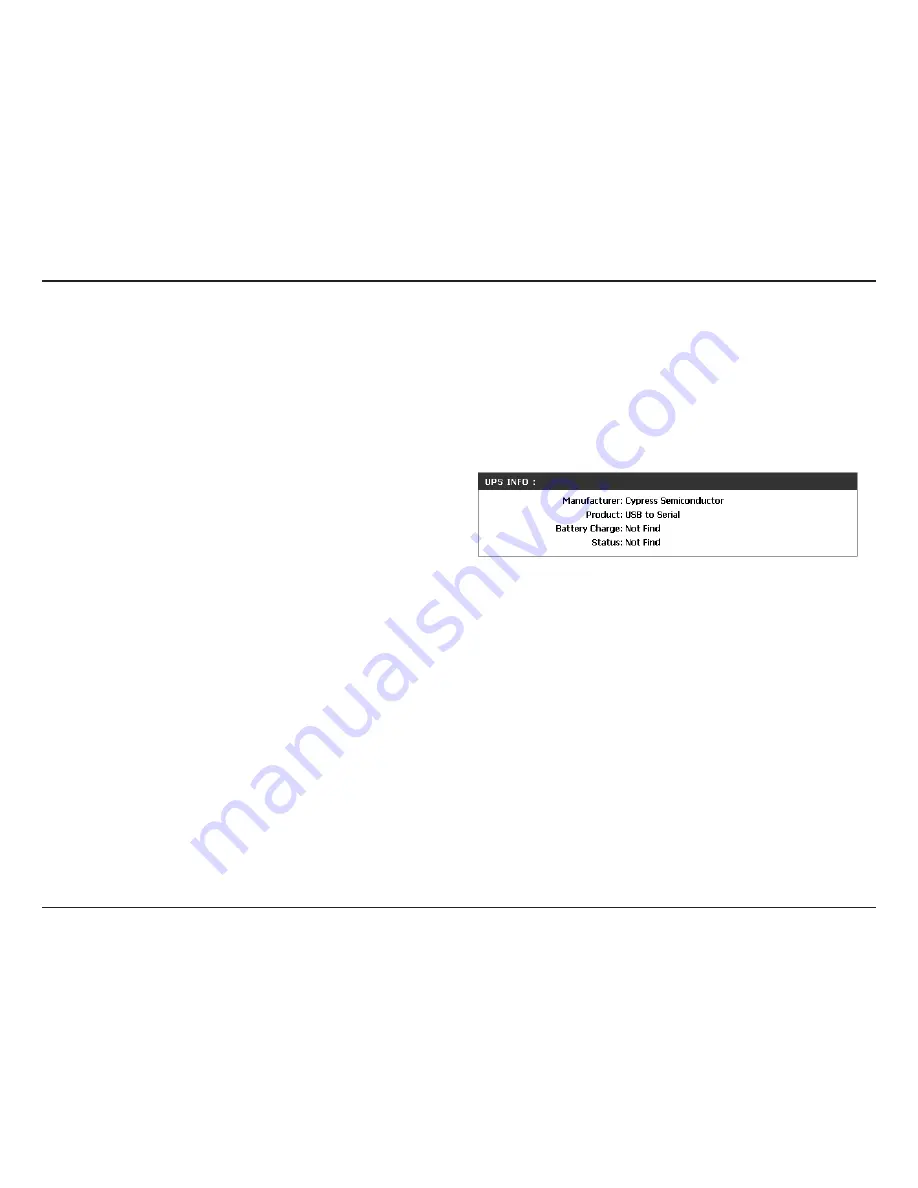
The UPS Information screen displays information
about the UPS Manufacturer and the Product name.
Battery Charge indicates the battery power state of the
UPS (not all UPS’ support this function).
The Status field will display one of the three messages
below:
1. OL: This indicates that the UPS is online.
2. OB: This indicates that the UPS is running on
battery, meaning that there has been a power
failure. The DNS-343 is consuming the battery
power of the UPS and any data should be saved
immediately to prevent any work being lost.
3. LB: This indicates that the UPS has low battery
power.
UPS Info:
Battery Charge:
Status:
When a UPS (Uninterrupted Power Supply) USB management connection is connected to the DNS-343, the Status screen hides the printer information and displays
information about the UPS connected. The screenshot on the right-hand side shows the Status screen when a UPS is attached to the DNS-343. The following parameters
are displayed in the UPS Info section:
Содержание ShareCenter DNS-343
Страница 1: ...Document Created by Nick Schuster ...


