DnS-315
3
EN
G
LIS
H
PrODUCT
SETUP
QUIcK InStaLLatIOn
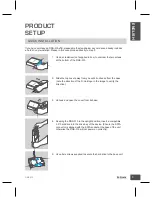
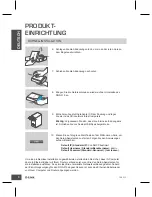
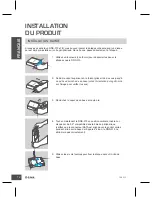
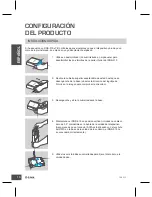
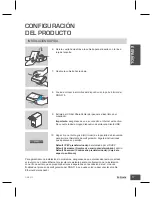
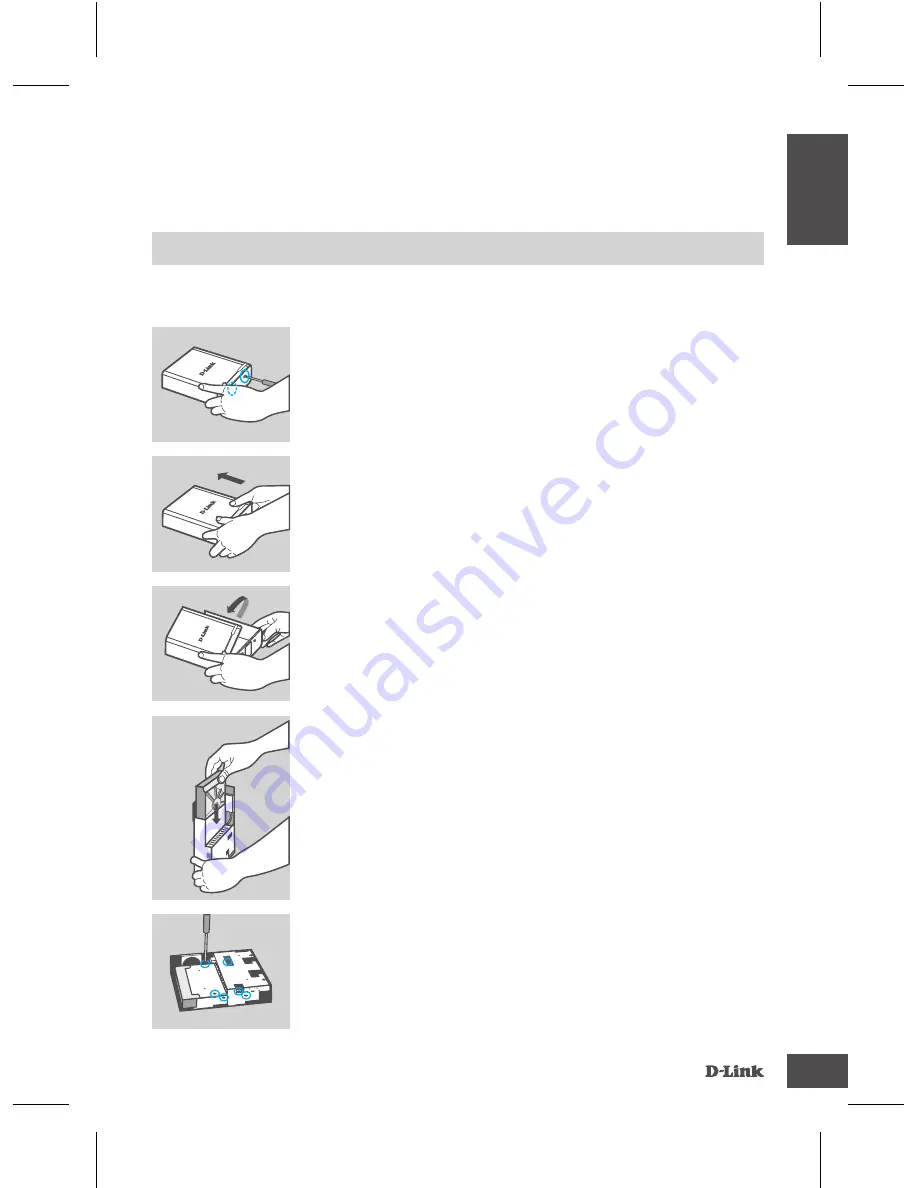
5. Use all six screws supplied to secure the hard drive to the base unit.
1. Use a screwdriver (not supplied in box) to unscrew the two screws
at the bottom of the DNS-315.
2. Slide the top cover away from you until it unhooks from the base
(note the direction of the D-Link logo in the image to verify the
direction).
3. Unhook and open the cover from its base.
4. Keeping the DNS-315 in the upright position, insert a compatible
3.5” hard drive into the drive bay of the device. (Ensure the SATA
connector is aligned with the SATA socket at the base of the unit
otherwise the DNS-315 will not power on correctly).
If you have purchased a DNS-315-xTB, please skip the steps below as your device already includes
a hard drive pre-installed. Please in this case proceed directly to step 9

