12
D-Link E15 User Manual
Section 3 - Configuration
WPS-PBC Configuration
Step 1 - Initiate WPS Mode
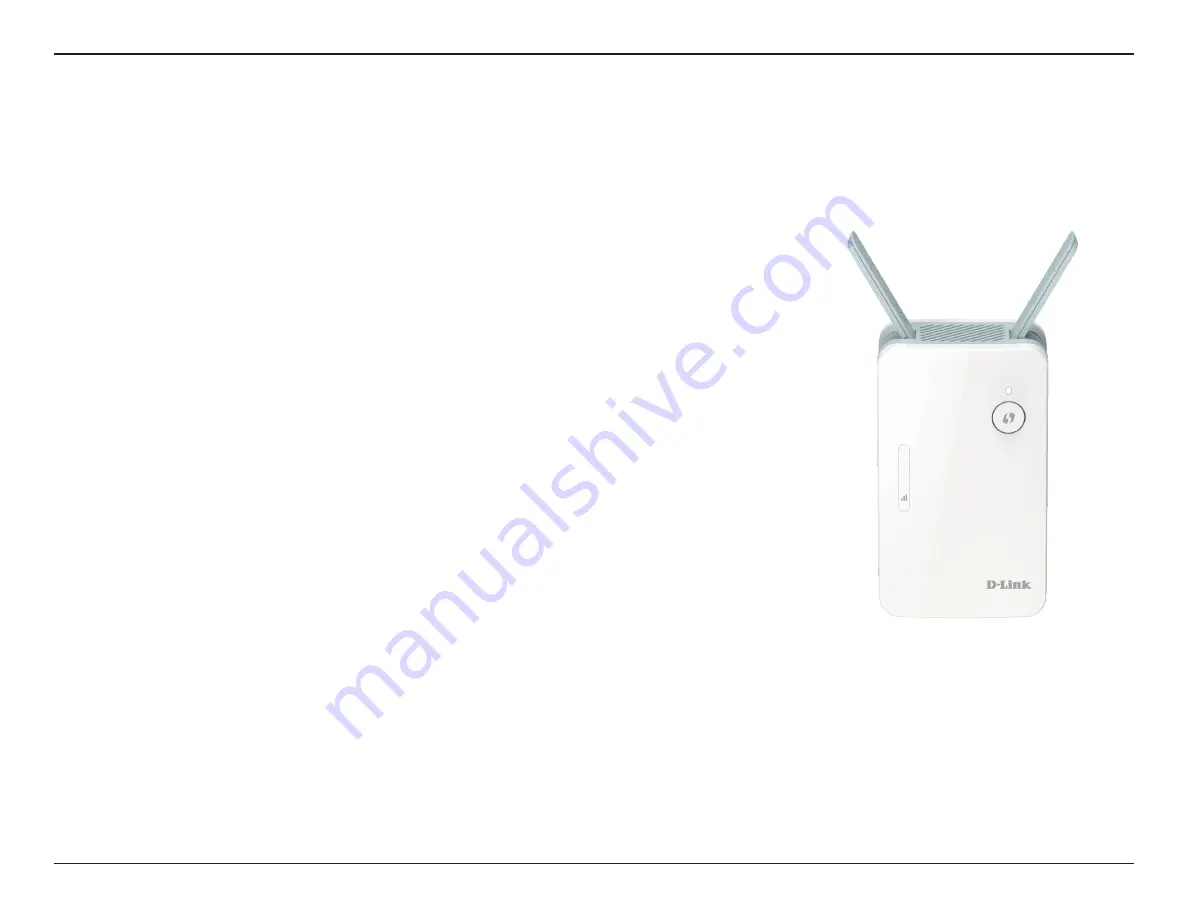
While the Status LED is blinking orange, push the WPS button on the main wireless
router or AP, and then push the WPS button on the E15. The Status LED will start to
flash white. Please allow up to two minutes for the process to finish. The Status LED
will turn solid white when the E15 has connected successfully to the source wireless
router or access point.
Step 2 - Connecting Devices to the E15
The E15 is now ready to share the extended Wi-Fi network with your PCs and mobile
devices. You may use the WPS method to connect devices to the extended network
created by the E15 using the same network name (SSID) of the main router. The
password will also be the same as the wireless network you are extending.
The Smart Connect feature will present a single wireless network. When connecting
clients to the extended network, they will be automatically added to the best band,
either 2.4 GHz or 5 GHz. To disable the Smart Connect feature and individually
configure 2.4 GHz and 5 GHz SSIDs, refer to “Extender Settings” on page 27.
Wi-Fi Protected Setup (WPS) makes connecting your E15 easy. To use WPS, first make sure the main router or access point features a
WPS Button or has a virtual WPS Button.


