


D-Link DWR-830 User Manual
59
Section 3 - Configuration
Firewall
Security
The Security tab allows you to configure your router’s firewall settings and enable features to protect your network from outside intrusions and
malicious attacks.
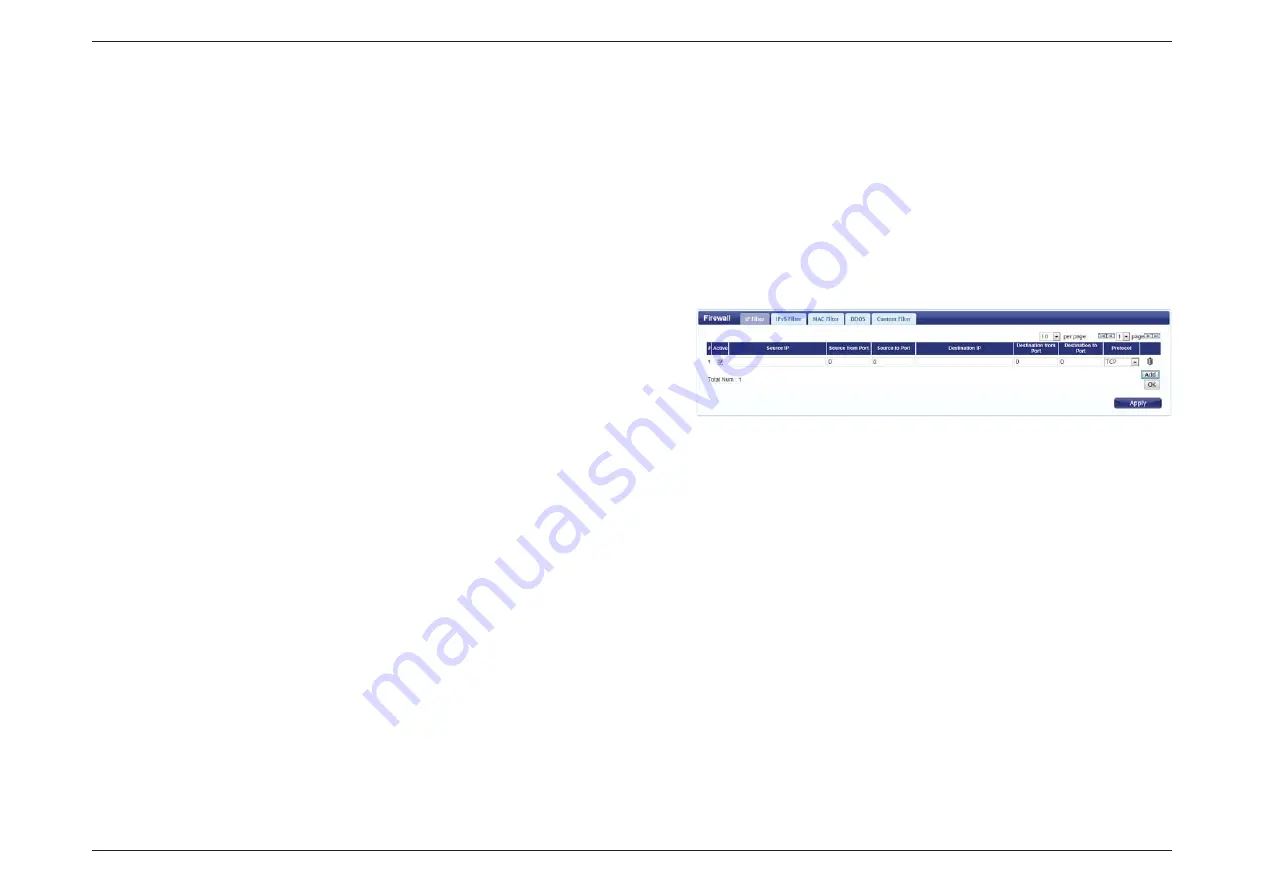
Click
Add
to add a new filtering rule.
Check the box to activate the IP filter rule.
Enter the source IP address to be filtered.
Enter the starting port on the source IP.
Enter the ending port on the source IP.
Enter the destination IP address to be filtered.
Enter the starting port of the destination IP.
Enter the ending port of the destination IP.
Select the protocol for the IP filter rule.
Click the icon to delete the IP filtering rule.
Click
OK
to save the filtering rule. Click
Apply
to save the
current configuration.
Active:
Source IP:
Source From
Port:
Source To Port:
Destination IP:
Destination From
Port:
Destination To
Port:
Protocol:
Delete:
IP Filter


