DSL-300G Quick Installation Guide
Configure your computer’s Ethernet network interface to “Obtain an IP Address automatically”. Please
refer to
Configuring IP Settings on Your Computer
section in the Manual or User’s Guide page 5
(on CD) if you are not sure how to do so. Once that is done, you could then insert the DSL-300G CD
into your CD-ROM drive. For computers running non-Windows operating systems, follow the
instructions for your OS that configure the computer to receive an IP address from the modem, that is,
configure the computer to be a DHCP client, and then refer to
Configure the DSL-300G Modem
section below.
Run the Installation Utility
Now you have set your computer to “Obtain an IP Address automatically”, continue with the following
instructions to run the installation utility:
1.
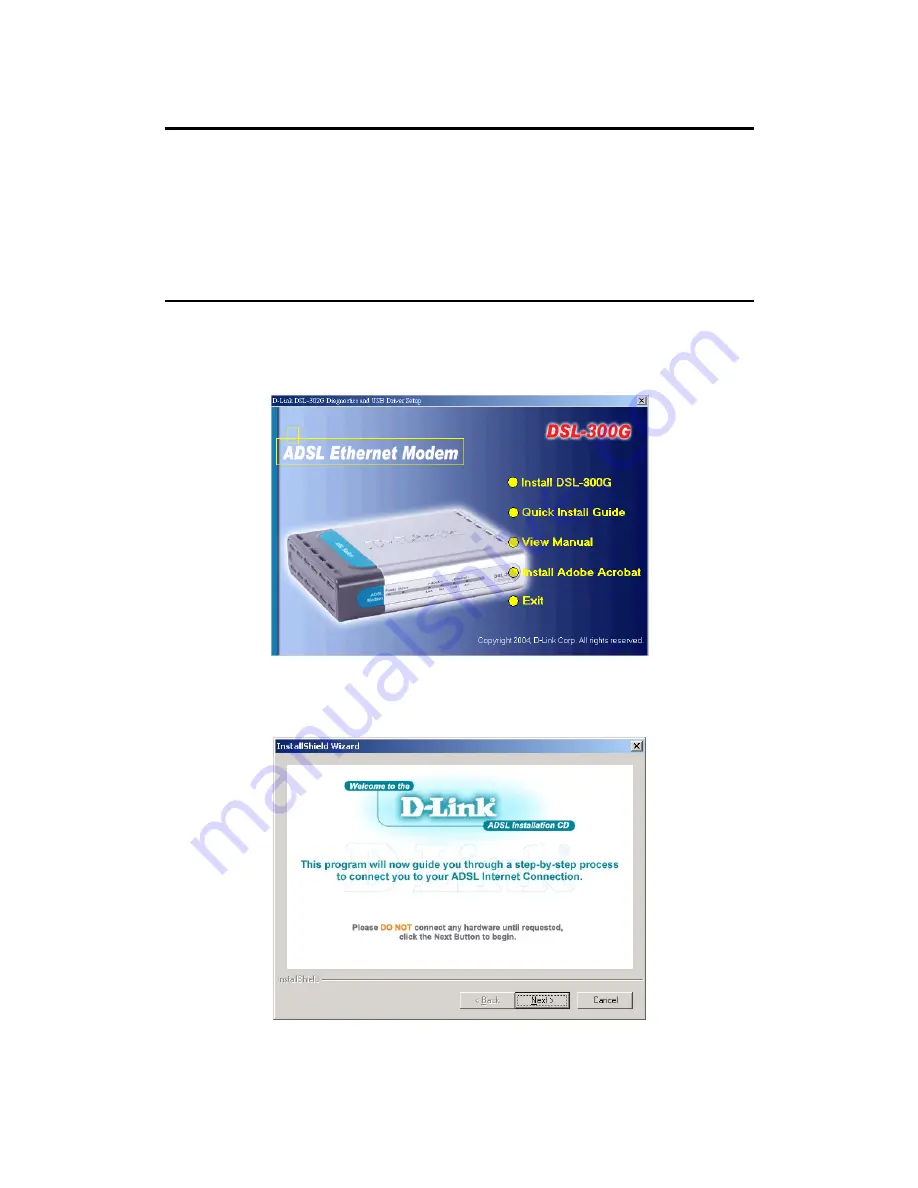
Insert the DSL-300G CD into the CD-ROM drive. Within a few seconds you should see the
following dialog box:
2.
Click on
Install DSL-300G
to launch the installation process. If you do not see the auto-run
dialog box pictured above, explore the CD and then double-click the application file
autorun.exe
.
3.
Click the
Next
button in the first InstallShield dialog box.
4.
Enter your name and company information, then click
Next
.
1


