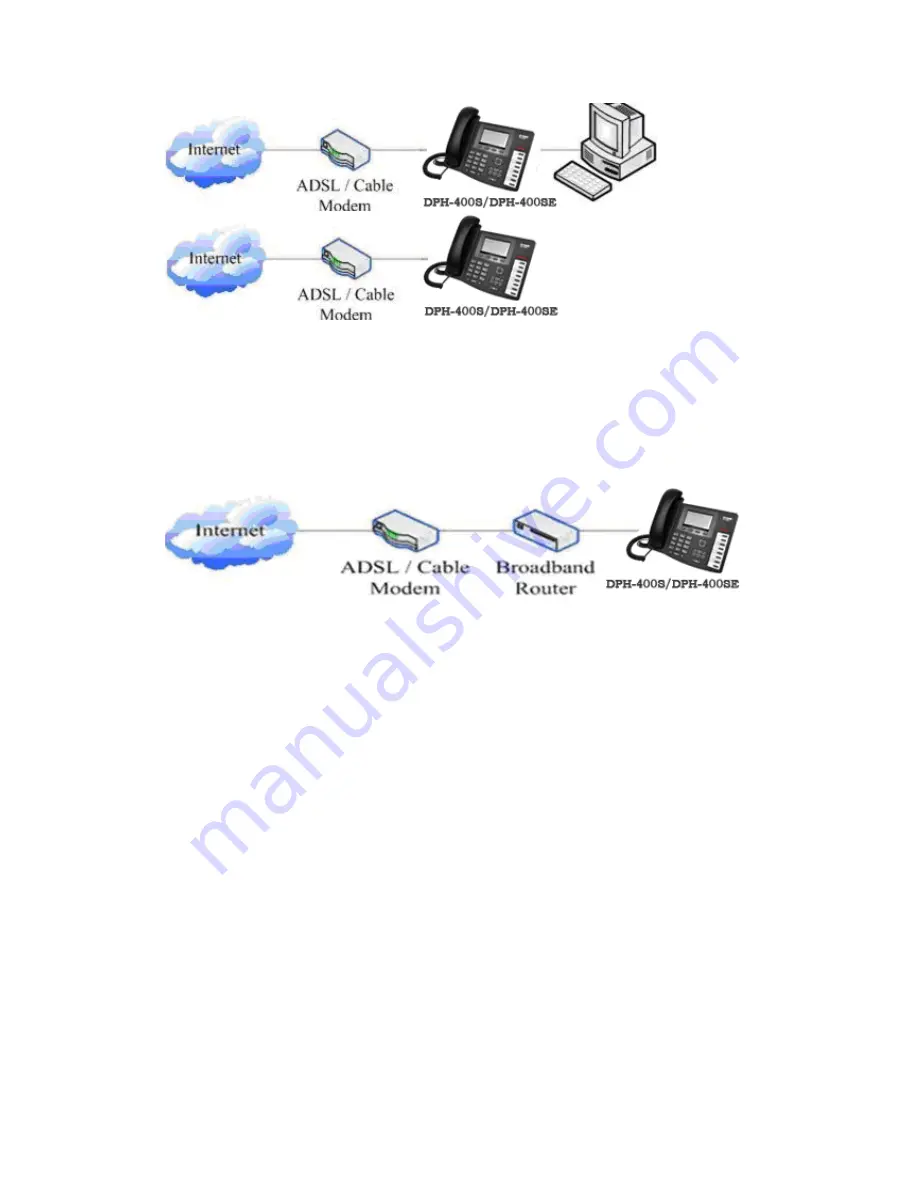
Shared network connection—Use this method if you have a single Ethernet port
in your workspace with your desktop computer already connected to it. First,
disconnect the Ethernet cable from the computer and attach it to the WAN port
on the back of your phone. Next, use the Ethernet cable in the package to
connect LAN port on the back of your phone to your desktop computer. Your IP
Phone now shares a network connection with your computer. The following
figure is for your reference.
Step 2: Connect the handset to the handset port by the handset cable in the
package.
Step 3: connect the power supply plug to the DC 5V adapter port on the back
of the phone. Use the power cable to connect the power supply to a standard
power outlet in your workspace.
Step 4: push the on/off switch on the back of the phone to the one side, then
the phone’s LCD screen displays “INITIAZING”. Later, a ready screen typically
displays the date, time.
If your LCD screen displays different information from the above, you need
refer to the next section “Initial setting” to set your network online mode.
If your VoIP phone registers into corporate IP telephony Server, your phone is
ready to use.
2.1.2
Power adaptor connection
Make sure that the power you use is comply with the parameters of power
adaptor.
1.
Plug power adaptor to power socket.
2.
Plug power adaptor’s DC output to the DC5V port of
DPH-400S/DPH-400SE to start up.
3.
There will be displayed black line and “INITIALIZING” on the screen. After