111
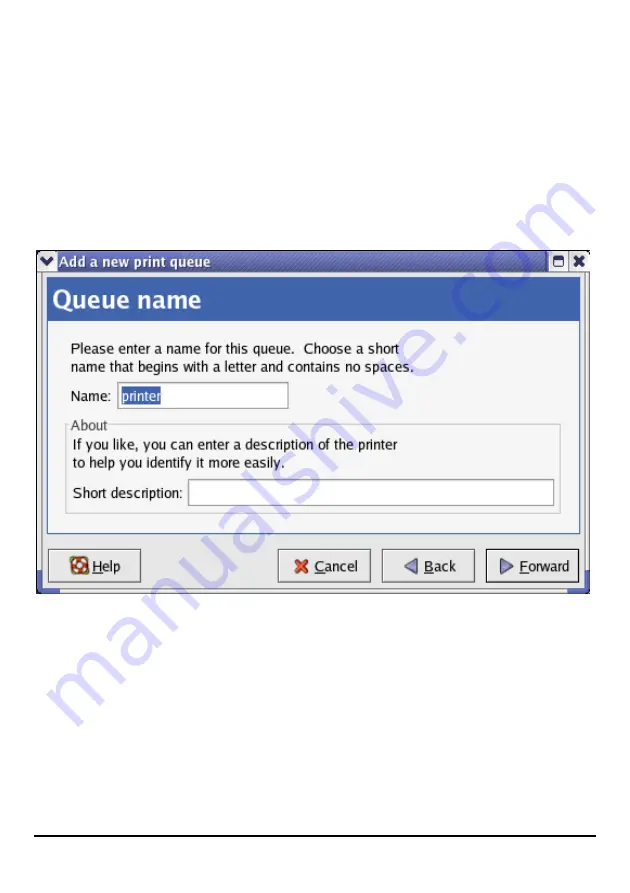
6. Enter a unique name for the printer in the
Name
text field. The printer name
cannot contain spaces and must begin with a letter. The printer name may contain
letters, numbers, dashes (-), and underscores (_). Optionally, enter a short
description for the printer, which can contain spaces. Then click
Forward
to enter
Queue type
window.
7. Select Networked UNIX (LPD) in the Select a queue type pull down menu,
enter the IP address of the print server to which the printer is attached in Server
field, and type the port name in queue field. Click Forward to select the type of
printer.
Содержание DP 301U
Страница 1: ...1 D Link DP 301U Fast Ethernet Print Server Manual Rev 03 November 2007 ...
Страница 12: ...8 USB LED Faulty Component 1 long 18 short USB error 1 long 19 short PCI error ...
Страница 37: ...33 If yes then click Finish button to exit the installation window and now you may start your printing tasks ...
Страница 52: ...48 ...
Страница 54: ...50 HELP The Help screen provides you brief information about the print server for your reference ...
Страница 55: ...51 Reboot If you want to reset the print server you may just click the Reboot for restarting ...
Страница 56: ...52 Refresh Printer Status Click Printer to refresh printer status ...
Страница 57: ...53 TCP IP Printing for Windows Vista Go to Start Control Panel Printers ...
Страница 58: ...54 Click Add a printer Select the first option Add a local printer and then click Next ...
Страница 60: ...56 ...
Страница 62: ...58 ...
Страница 63: ...59 ...
Страница 65: ...61 Click Next ...
Страница 66: ...62 After clicked Print a test page a small dialogue box will show up as below Click Close ...
Страница 67: ...63 Click Finish The printer is now ready for printing with Windows Vista on your network ...
Страница 71: ...67 Select Custom and click Settings ...
Страница 73: ...69 ...
Страница 74: ...70 Click Next ...
Страница 75: ...71 Click Finish ...
Страница 78: ...74 Click Finish The printer is now ready for printing with Windows XP on your network ...
Страница 80: ...76 Select the first option Local printer attached to this computer and click Next ...
Страница 82: ...78 Click Next ...
Страница 84: ...80 Select Custom and click Settings ...
Страница 86: ...82 ...
Страница 87: ...83 Click Next Click Finish ...
Страница 90: ...86 Select Yes to print a test page click Next ...
Страница 91: ...87 Click Finish The printer is now ready for printing with Windows 2000 on your network ...
Страница 93: ...89 Highlight Client and click Add At this window click Have Disk ...
Страница 97: ...93 ...
Страница 99: ...95 Click OK Windows will ask for a restart Click Yes ...
Страница 114: ...110 Printer Configuration Tool menu 5 The Add a new print queue menu appears click Forward to continue ...
Страница 116: ...112 8 Select the printer model ...
Страница 131: ...127 When the Installable Options pop up window shows up as below click Continue button ...
Страница 134: ...130 To print open a document and select File Print from the menu Select Edit Printer List from the Printer dialog box ...
Страница 144: ...140 Contacting Technical Support ...


