2
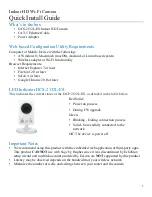
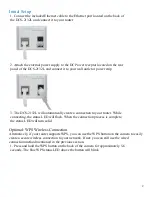
Initial Setup
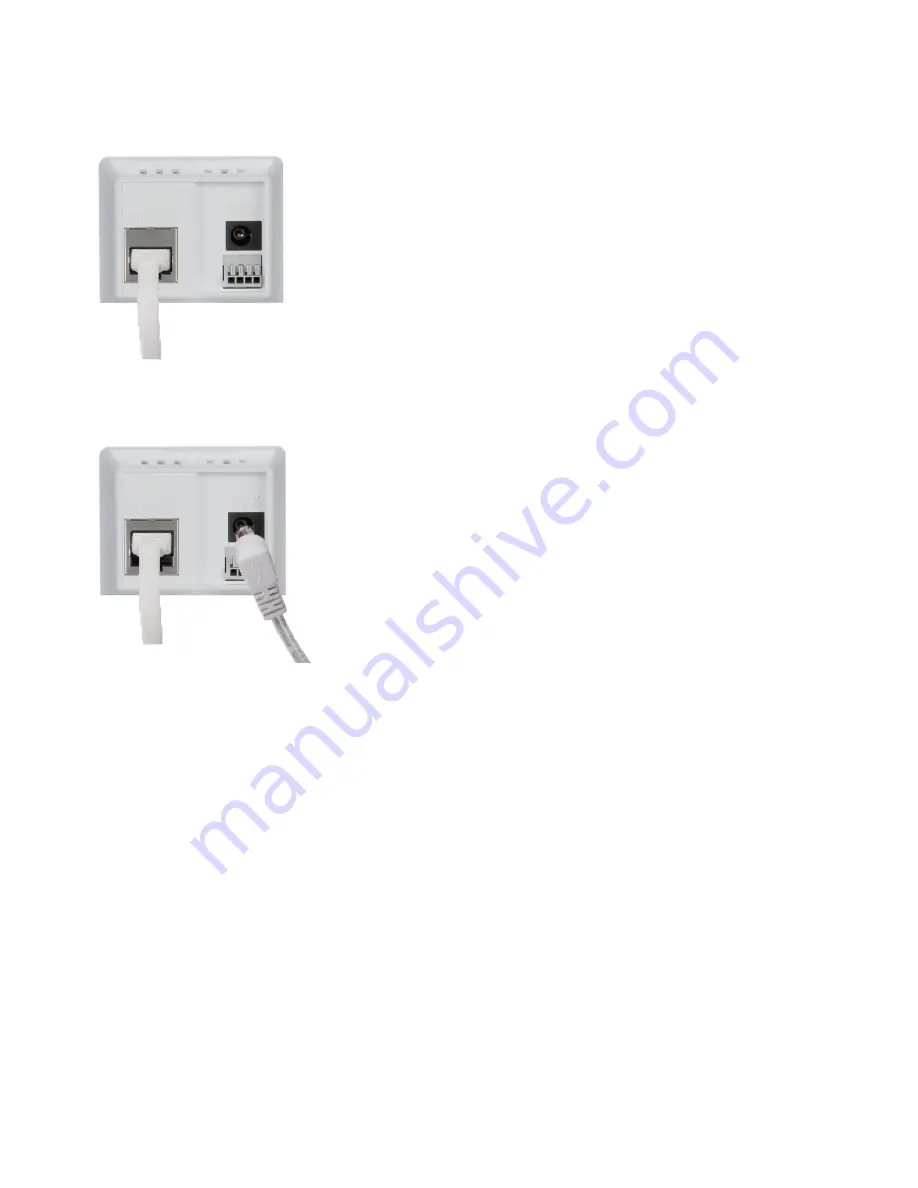
1. Connect the included Ethernet cable to the Ethernet port located on the back of
the DCS-2132L and connect it to your router
2. Attach the external power supply to the DC Power receptor located on the rear
panel of the DCS-2132L and connect it to your wall outlet or power strip
3. The DCS-2132L will automatically create a connection to your router. While
connecting, the status LED will flash. When the connection process is complete,
the status LED will turn solid
Optional: WPS Wireless Connection
Alternatively, if your router supports WPS, you can use the WPS button on the camera to easily
create a secure
wireless connection to your network. If not: you can still use the wired
connection method mentioned in the
previous section.
1. Press and hold the WPS button on the back of the camera for approximately 5-6
seconds. The blue WPS status LED above the button will blink