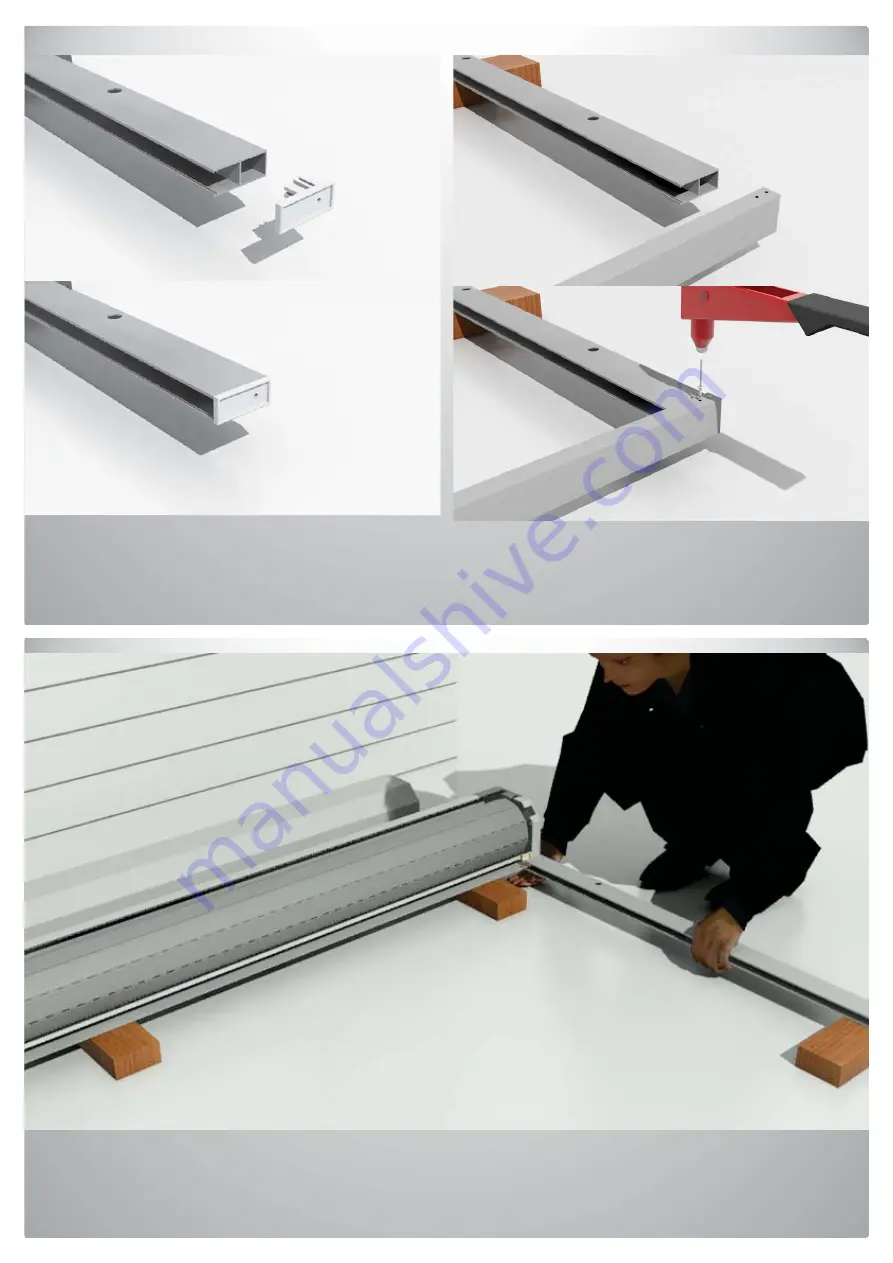
Step 19: Slide the bottom caps in place if sill angle is not required.
If sill angle is required, secure the sill angle with supplied rivets in the pre-drilled holes.
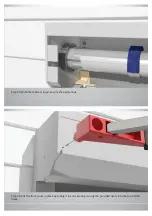
Step 20: Shutter is now ready to be secured on the wall. Put one hand underneath the pelmet box and the
other holding the shutter guide. Avoid tilting the guides as this may break the legs.
Содержание EZY-FIT DIY
Страница 2: ...This page is intentionally left blank ...
Страница 18: ...Step 27 Enjoy your roller shutter ...


