©2005 Cypress Computer Systems,Inc. • www.cypressworld.com 3/30/05
Page 1
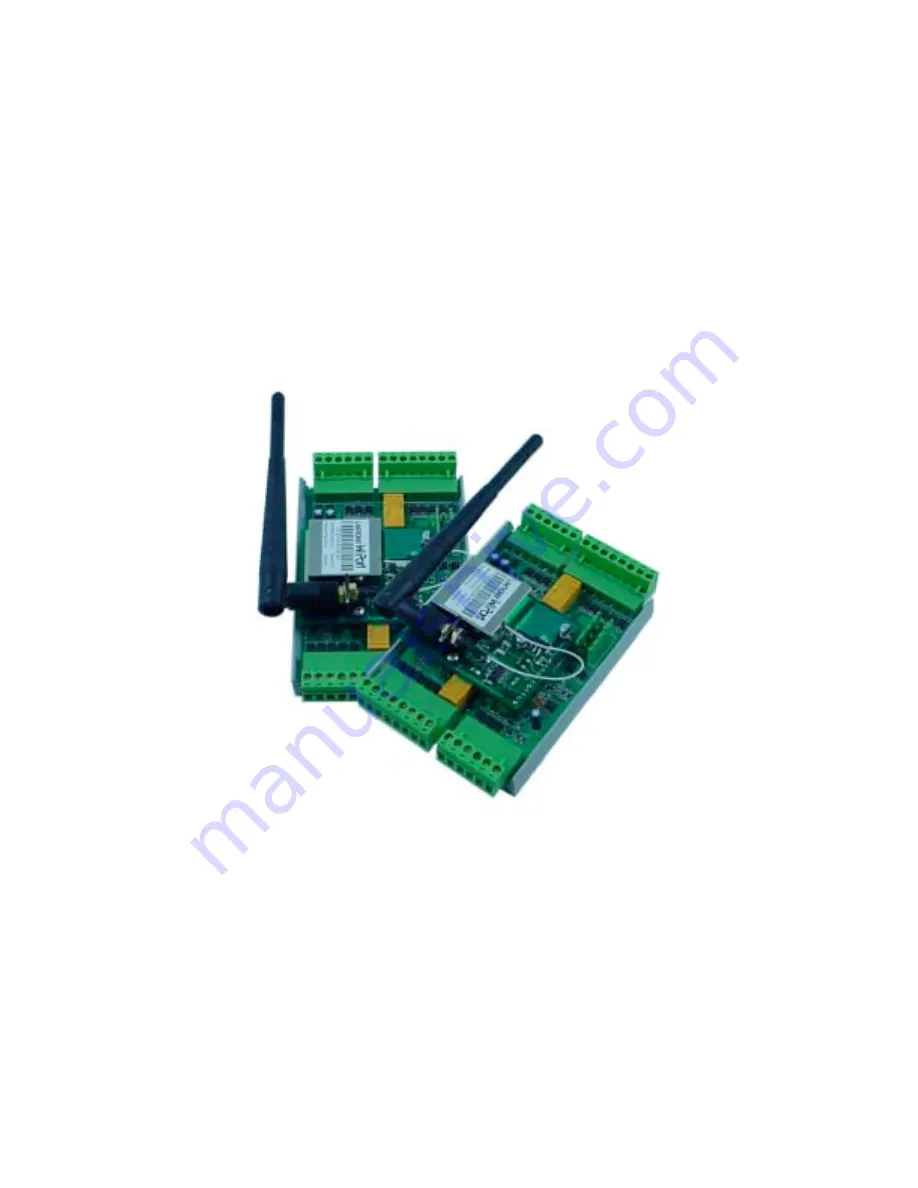
DPX-7212
Cypress Duprex
Wireless LAN
version
MAN-SY-DPX-7212-v102
User Manual
Страница 1: ... 2005 Cypress Computer Systems Inc www cypressworld com 3 30 05 Page 1 DPX 7212 Cypress Duprex Wireless LAN version MAN SY DPX 7212 v102 User Manual ...
Страница 2: ...prex Remote Unit R Gnd 8 24 VDC Panel Port 1 Signals 8 24 VDC Ground 5 VDC F 2F Data 0 Clock Data 1 Data LED Alarm Relay N C Alarm Relay Com Alarm Relay N O Alarm Programming Resistor Aux 3 Programming Resistor Aux Digital I O 1 Input Aux Digital I O 2 Output Aux Digital I O 3 Output 8 24 VDC Ground 5 VDC Data 1 Data LED Alarm Relay N C Alarm Relay Com Alarm Relay N O Alarm Programming Resistor Au...
Страница 3: ...er Strobed Rising Edge MR 5 Strobed Rising Edge Dorado 644 Strobed Rising Mag Tek Strobed Falling Edge Reserved Unsupervised F 2F x ON All settings except Switch 5 are the same for Central and Remote units DIP Switch Settings Quick Reference DPX 7212 To gain access to the DIP Switch Un plug the WiFi Module by removing this screw Factory Defaults Strap Switch 1 2 Strap on off In on on In on off Out...
Страница 4: ...tructions may cause harmful interference to radio communications However there is no guarantee that interference will not occur in a particular installation If this equipment does cause harmful interference to radio or television reception which can be determined by turning the equipment off and on the user is encouraged to try to correct the interference by one or more of the following measures R...
Страница 5: ...see the Amber communication LED on both units flash to indicate a change of state If everything operates up to this point the units are ready to be installed NOTE The units are shipped from the factory with a default TCP IP Address for each unit As shipped they will communicate with each other without changing any settings If more than one pair are operating within range of each other at the defau...
Страница 6: ...pical connections All you need to do is apply power to both units They will start communicating immediately unless there are other units with the same IP addresses No router is necessary for initial bench testing DPX 7212 User Manual Initial Setup and Installation Power Supply 12 VDC R Power Supply 12 VDC R ...
Страница 7: ...t will be necessary to have a wireless 802 11 router to change the TCP IP settings It is beyond the scope of this manual to describe switch router and other complex network settings and topologies It will be incumbent upon the end user or system administrator to determine how to configure their network equipment to allow operation of the DPX 7212 units During the configuration process some setting...
Страница 8: ...inished If the diagnostic LED turns Red a problem has occurred with the reprogramming process If this happens recycle power to the unit A steady Green LED will indicate a successful reset of the unit This mode sets the units to look for a DHCP host on the 802 11 network and is used only to establish initial communication with the Device Installer software for configuration purposes The units will ...
Страница 9: ... b Secure encryption of the data link is required See AN DPX 7212 1 which describes the process for securing the wireless link c More than one pair of units will be used at the same site d There is a need to change network names or channel numbers to eliminate interference If a wireless acess point is available when the units power up the units will connect the the access point and use its facilit...
Страница 10: ...om 3 30 05 Page 10 802 11 Wireless Access Point Host computer with Lantronix configuration software loaded Ethernet connection to Wireless Access Point DPX 7212 s to be configured C Standard setup for 802 11 configuration of DPX 7212 12 Volt Power Supply ...
Страница 11: ... 7 If the TCP IP address of the Remote is changed then the Central unit must change the Remote IP address setting in the Channel 1 setup menu This setting is left at 0 0 0 0 in the Remot e Channel 1 configuration 8 Select the Central unit from the Device Installer menu and click on the Telnet button This will open a text window for the Telnet session Press the Enter key 9 Press the Enter key again...
Страница 12: ...me 7 If the TCP IP address of the Remote is changed then the Central unit must change the Remote IP address setting in the Channel 1 setup menu This setting is left at 0 0 0 0 in the Remot e Channel 1 configuration 8 Select the Central unit from the Device Installer menu and click on the Telnet button This will open a text window for the Telnet session Press the Enter key 9 Press the Enter key aga...
Страница 13: ...t 0 0 0 0 Default C0 Default 10001 Default 00 Default 4C Default 00 Default 00 Default 00 00 Default 00 Default 00 Default 10001 192 168 1 59 C1 10001 Default 00 Default 4C Default 9600 Default 9600 Default DisConnMode SendChar 2 SendChar 1 DisConnTime FlushMode Remote Port Remote IP Address Connect Mode Port Number Flow I F Mode Baud rate Remote Unit Central Unit Parameter Table 1 ...
Страница 14: ... device to be configured with a mouse click The device will highlight in blue as shown above when selected Verify which device is to be configured by the MAC address The MAC address is printed on the WiPort module i e make sure you are configuring the correct Central unit or Remote unit Note If the unit s do not appear in the device list check power and network settings You will not be able to pro...
Страница 15: ...ld com 3 30 05 Page 15 Setting IP Address DPX 7212 3 Click on Assign IP The dialog box above will open Select Assign a specific IP address and click Next 4 Enter the IP address for the unit in dot notation The Netmask can also be entered at this time ...
Страница 16: ... 2005 Cypress Computer Systems Inc www cypressworld com 3 30 05 Page 16 Setting IP Address DPX 7212 5 Click on Assign 6 Click on Finish The new TCP IP address should now be assigned to the unit ...