www.cybersnipa.com
USB Camera Manual
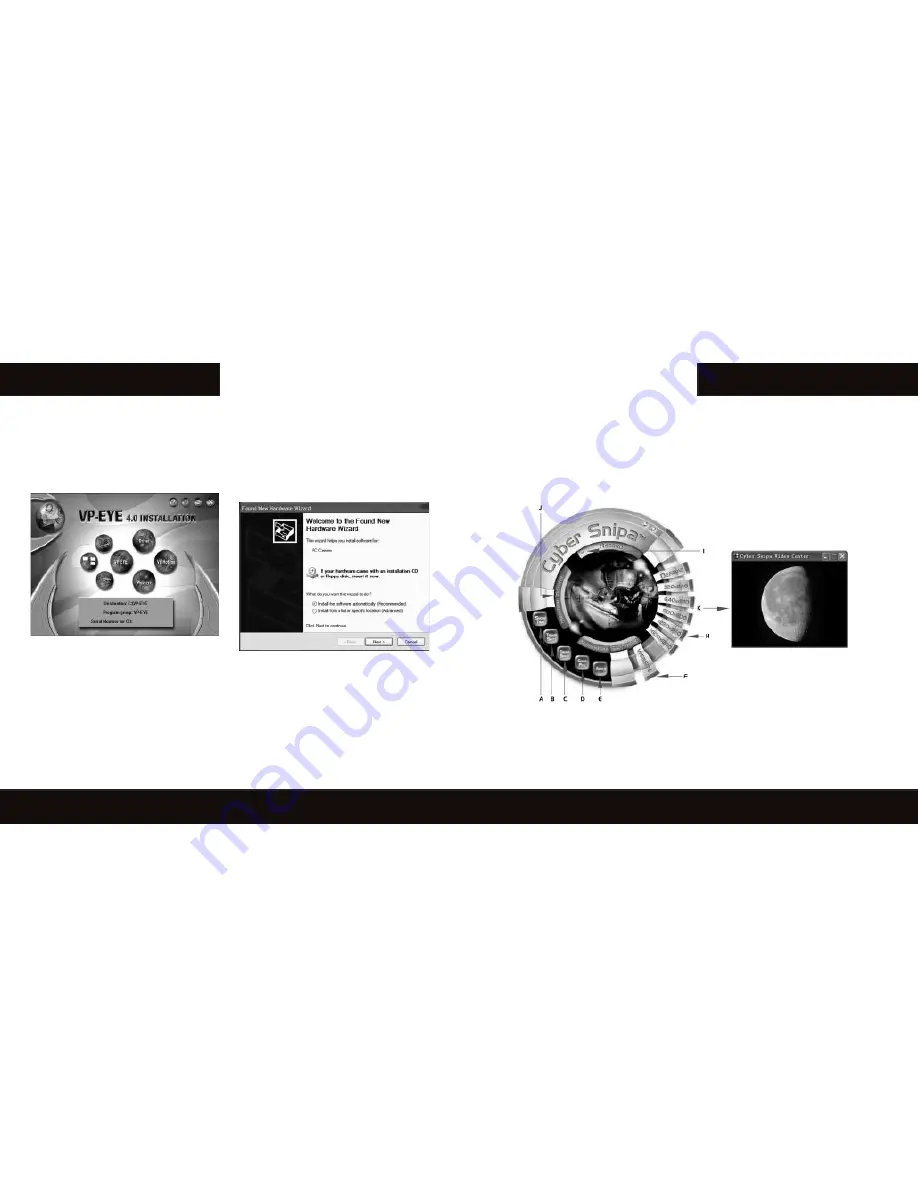
3.4 Step 3> Install Cyber Snipa Video Centre
1.Return to Install/AutoRun screen and click
on Step 3.
2.Follow prompts and proceed to Step 4
3.5 Step 4> VP-Eye Applications (optional)
1. Return to Install/AutoRun Screen and Click
on Step 4. The following screen will appear.
2. Click on left icon picture to define
capture directory.
3. Click on the VP EYE Icon to install the
application.
4. After files have been installed close the
install screen by clicking ‘X’ in the top right
corner.
3.6 Final Step
• Ensure that Steps 1 – 4 have been complete
before this stage.
• Plug USB camera into your USB port. A
found new hardware message should
appear followed by a hardware installation
Wizard Window.
• Select default setting for wizard driver setup.
• Ignore the warning and follow prompts
until finished.
• You are now ready to use your Web Cam.
6
A. Show Time - Display date & time in red
within capture screen.
B. Timer Shot - Captures and saves a bitmap
picture after five seconds. Timer adjustable by
clicking on “Save file” options button. Ref. D)
C. Snap Shot – Capture and saves an instant
bitmap picture.
D. Save File - Displays and allows capture
of destination path and filename of bitmap
capture file.
7
4. C
YBER
S
NIPA
™ V
IDEO
C
ENTER
A
PPLICATION
U
SER
G
UIDE
4.1 G
ETTING
S
TARTED
The Cyber Snipa Application can be started by
clicking on the Video Center icon or by using the
Start menu.
The Following window should appear:-
Содержание spotter webcam
Страница 1: ...CAMERA USER MANUAL ...
Страница 2: ...www cybersnipa com USB Camera Manual ...


