User Manual
–
VisiTouch Series
VisiTouch Series
–
User Manual
A
PR
.
2020
V1.1
39/45
8.
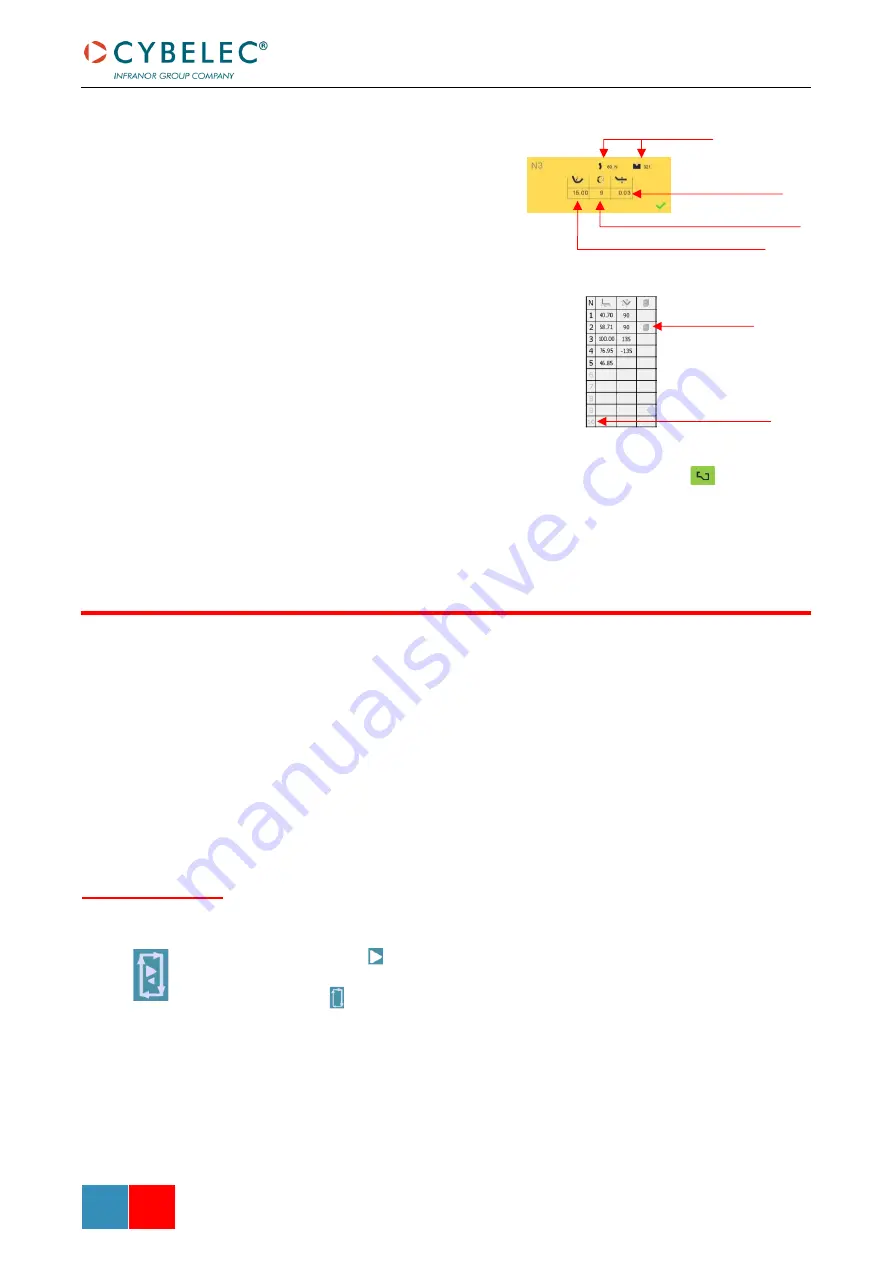
A yellow pop-up is displayed, in
which it possible to:
•
Activate (and deactivate) a
special tool by touching its icon
and select it from a list by
pressing
???
•
Change the value of the radius
(see also Step bending) and
define how many steps the NC
will make to execute it.
9.
A small More icon shows that
something special is programmed
on the bend.
10.
To remove the icon (and special
parameters), return to the yellow
popup, touch all the activated
functions to make them turn gray,
and select OK.
11.
Once all the segments and angles are adjusted, press this button
to access
All program corrections are made in the
. According to his preferences,
the operator can choose to execute all the steps of the program one after the other, making
corrections along the way. Or he can choose to apply all the corrections necessary to the
same step before moving to the next one using the
Corrections can be made to:
•
The angle (Y1 + Y2, see
and/or crowning if available, see
•
The back-gauge position (X and R, if available), see
The semi-automatic mode allows repeating the same sequence indefinitely. It is used
when the operator wants to apply corrections to his part one bend after another. He can
thus execute the same step until he gets the desired result, before moving to the next
one by means of the
button.
The semi-automatic mode is activated (and deactivated) by touching for more than one
second on the button.
B
ENDING AND
C
ORRECTIONS
Semi-Automatic
mode
Special tools
Maximum distance
to ideal curve
Number of steps to
execute the step bending
Large radius value
More icon
–
means special
functions on bend
Touching a step
number allows
deleting it or
inserting a new one
right after it


