background image

1

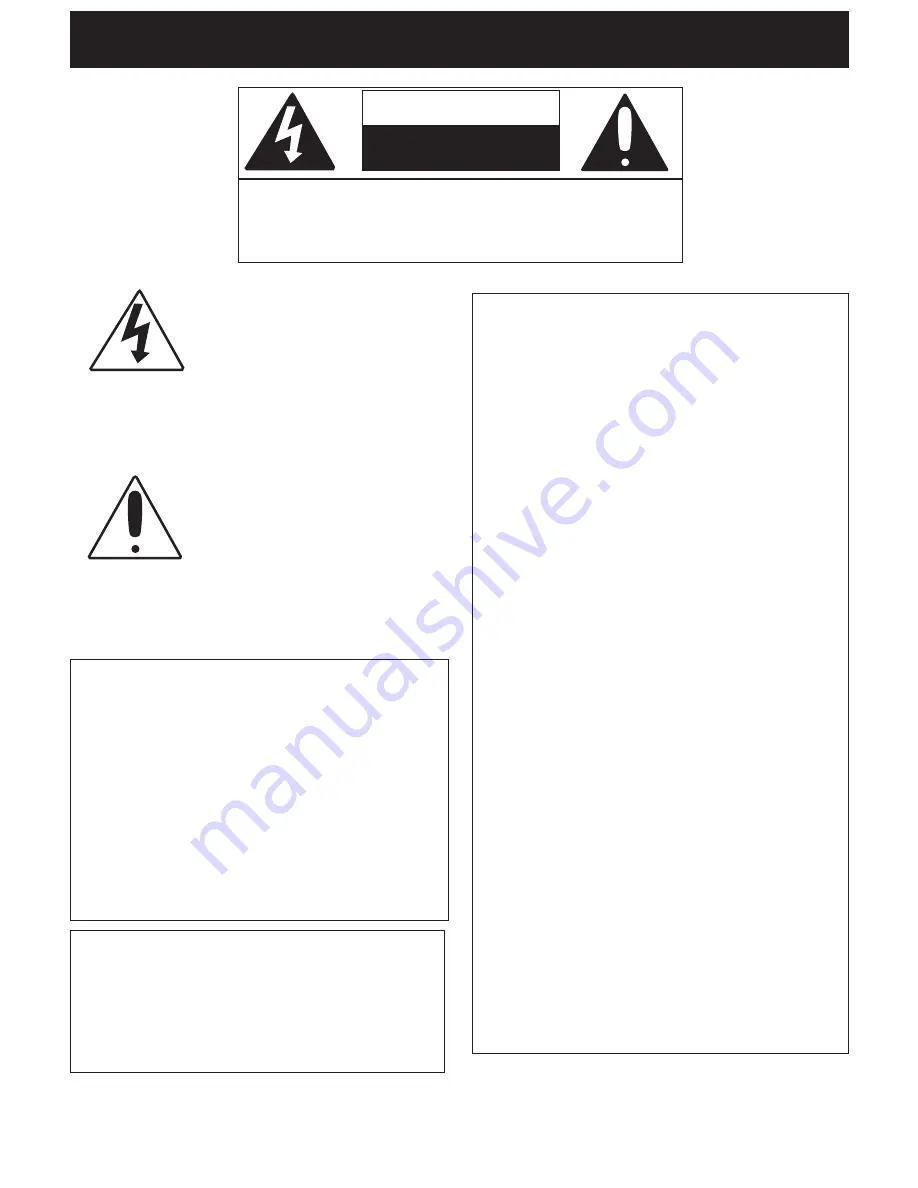
CAUTION: TO REDUCE THE RISK OF ELECTRIC

SHOCK, DO NOT REMOVE COVER (OR BACK). NO

USER-SERVICEABLE PARTS INSIDE. REFER SERVIC-

ING TO QUALIFIED SERVICE PERSONNEL.

CAUTION

RISK OF ELECTRIC SHOCK

DO NOT OPEN

DANGEROUS VOLTAGE:

The lightning flash with arrowhead

symbol, within an equilateral trian-

gle is intended to alert the user to

the presence of uninsulated dan-

gerous voltage within the product’s

enclosure that may be of sufficient

magnitude to constitute a risk of

electric shock to persons.

ATTENTION:

The exclamation point within an

equilateral triangle is intended to

alert the user to the presence of

important operating and mainte-

nance (servicing) instructions in

the literature accompanying the

appliance.

FCC WARNING:

This equipment may generate or use

radio frequency energy. Changes or

modifications to this equipment may

cause harmful interference unless the

modifications are expressly approved in

the instruction manual. The user could

lose the authority to operate this

equipment if an unauthorized change or

modification is made.

SURGE PROTECTORS:

It is recommended to use a surge

protector for AC connection. Lightning

and power surges ARE NOT covered

under warranty for this product.

INFORMATION:

This equipment has been tested and

found to comply with the limits for a

Class B digital device, pursuant to Part

15 of the FCC Rules. These limits are

designed to provide reasonable

protection against harmful interference

in a residential installation. This

equipment generates, uses and can

radiate radio frequency energy and, if

not installed and used in accordance

with the instructions, may cause harmful

interference to radio communications.

However, there is no guarantee that

interference will not occur in a particular

installation. If this equipment does

cause harmful interference to radio or

television reception, which can be

determined by turning the equipment off

and on, the user is encouraged to try to

correct the interference by one or more

of the following measures:

* Reorient or relocate the receiving

antenna.

* Increase the separation between the

equipment and receiver.

* Connect the equipment into an outlet

on a circuit different from that to which

the receiver is connected.

* Consult the dealer or an experienced

radio/TV technician for help.

SAFETY INSTRUCTIONS

Содержание DPF712

Страница 1: ...DIGITAL PHOTO FRAME MODEL NO DPF712 OWNER S MANUAL PLEASE READ BEFORE OPERATING THIS EQUIPMENT...

Страница 2: ...SURGE PROTECTORS It is recommended to use a surge protector for AC connection Lightning and power surges ARE NOT covered under warranty for this product INFORMATION This equipment has been tested and...

Страница 3: ...o protect it from overheating These openings must not be blocked or covered The openings should never be blocked by placing the product on a bed sofa rug or other similar surface This product should n...

Страница 4: ...by the manufacturer 21 DAMAGE REQUIRING SERVICE Unplug the product from the wall outlet and refer servicing to qualified service personnel under the following conditions a When the power supply cord...

Страница 5: ...d that you cannot insert this plug into your outlet you may have an obsolete non polarized outlet Please do not try to defeat this safety feature by using a non polarized adapter or by filing the wide...

Страница 6: ...SB JACK 3 HEADPHONE JACK 4 DC JACK 5 LEFT BUTTON 6 RIGHT BUTTON 7 MENU ALARM OFF BUTTON 8 POWER SNOOZE BUTTON 9 ENTER MODE BUTTON 10 VOLUME DOWN BUTTON 11 VOLUME UP BUTTON 12 REMOTE SENSOR 5 MAIN UNIT...

Страница 7: ...TON NEXT SKIP FORWARD BUTTON PREVIOUS SKIP BACKWARD BUTTON FORWARD BUTTON REVERSE BUTTON 16 9 4 3 BUTTON MUTE SNOOZE BUTTON VOL UP BUTTON VOL DOWN BUTTON RIGHT BUTTON TFT OFF BUTTON PLAY PAUSE BUTTON...

Страница 8: ...ton cell battery contains mercury don t put in the trash Recycle or dispose as hazardous waste NOTE You may need to remove a protective covering from the remote s battery compartment before using the...

Страница 9: ...NTER button open control bar d Shift down when zoom in picture Left button a Move left the cursor at the menu b Back to up level folder in file list c Switch the last file at playing interface d Shift...

Страница 10: ...outlet Press POWER BUTTON then the screen will display LOADING interface Exhibit 1 1 Function select In the function select menu you can Press UP DOWN LEFT RIGHT to select to play picture music movie...

Страница 11: ...3 File List Screen With USB device Memory cards rightly inserted into the Digital Picture Frame volume label list screen displays Exhibit 4 Actions a Press UP DOWN to select a volume label then press...

Страница 12: ...OPERATING INSTRUCTIONS 11 Exhibit 4 Volume Label List Exhibit 5 File Play List Music Photos C Music 1 4 Photos Movic Muise 6 JPG 1 JPG 2 JPG 3 JPG 4 JPG 5 JPG C Photos 1 10...

Страница 13: ...ting the file has been selected b Press LEFT to locate and enter the copy to destination directory c Press MENU and Return Paste Del menu displays on the screen Exhibit 6 d Select Paste and press ENTE...

Страница 14: ...to return to the file list 4 Playback screens Actions During Playback press ENTER and info bar displays on the screen Then select a function item by pressing LEFT RIGHT and press ENTER to perform the...

Страница 15: ...TRUCTIONS 14 4 2 Picture display screen Exhibit 9 Picture Playback with Info Bar Info bar layout and functions Status indicator Play Pause Stop Picture rotate Zoom Previous picture Next picture 0 00 0...

Страница 16: ...en Exhibit 10 Music Playback with Info Bar Info bar layout and functions Status indicator Play Pause Stop Previous song Fast backward Fast forward Next song Show file info ID3 tag display Play mode St...

Страница 17: ...alendar Screen Actions Press MENU to return to function select menu Press UP DOWN to move to the previous or next month Display Information Monthly calendar display Picture display Time display Alarm...

Страница 18: ...e screen displays current date and time Exhibit 12 Press any button to return to the previous mode 7 Setup Menu Press MENU to return to function select menu Exhibit 13 Exhibit 13 Setup Screen 17 2007...

Страница 19: ...ock setup Alarm setup Video setup Screen brightness contrast and color setups Default setup recover the factory default setup Check out the information of current software edition The buttons operatio...

Страница 20: ...or Transmitting Type Normally White Screen Size Diagonal 7 0 17 78cm Outline Dimension 164 9mm W X 100mm H X 5 7mm D Active Area 154 08mm W X 86 58mm H Screen Resolution 1440 Horzontal X 234 Vertical...

Страница 21: ......

Отзывы: