4. assembly instructions (cont.)
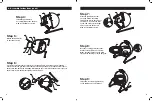
Step 6:
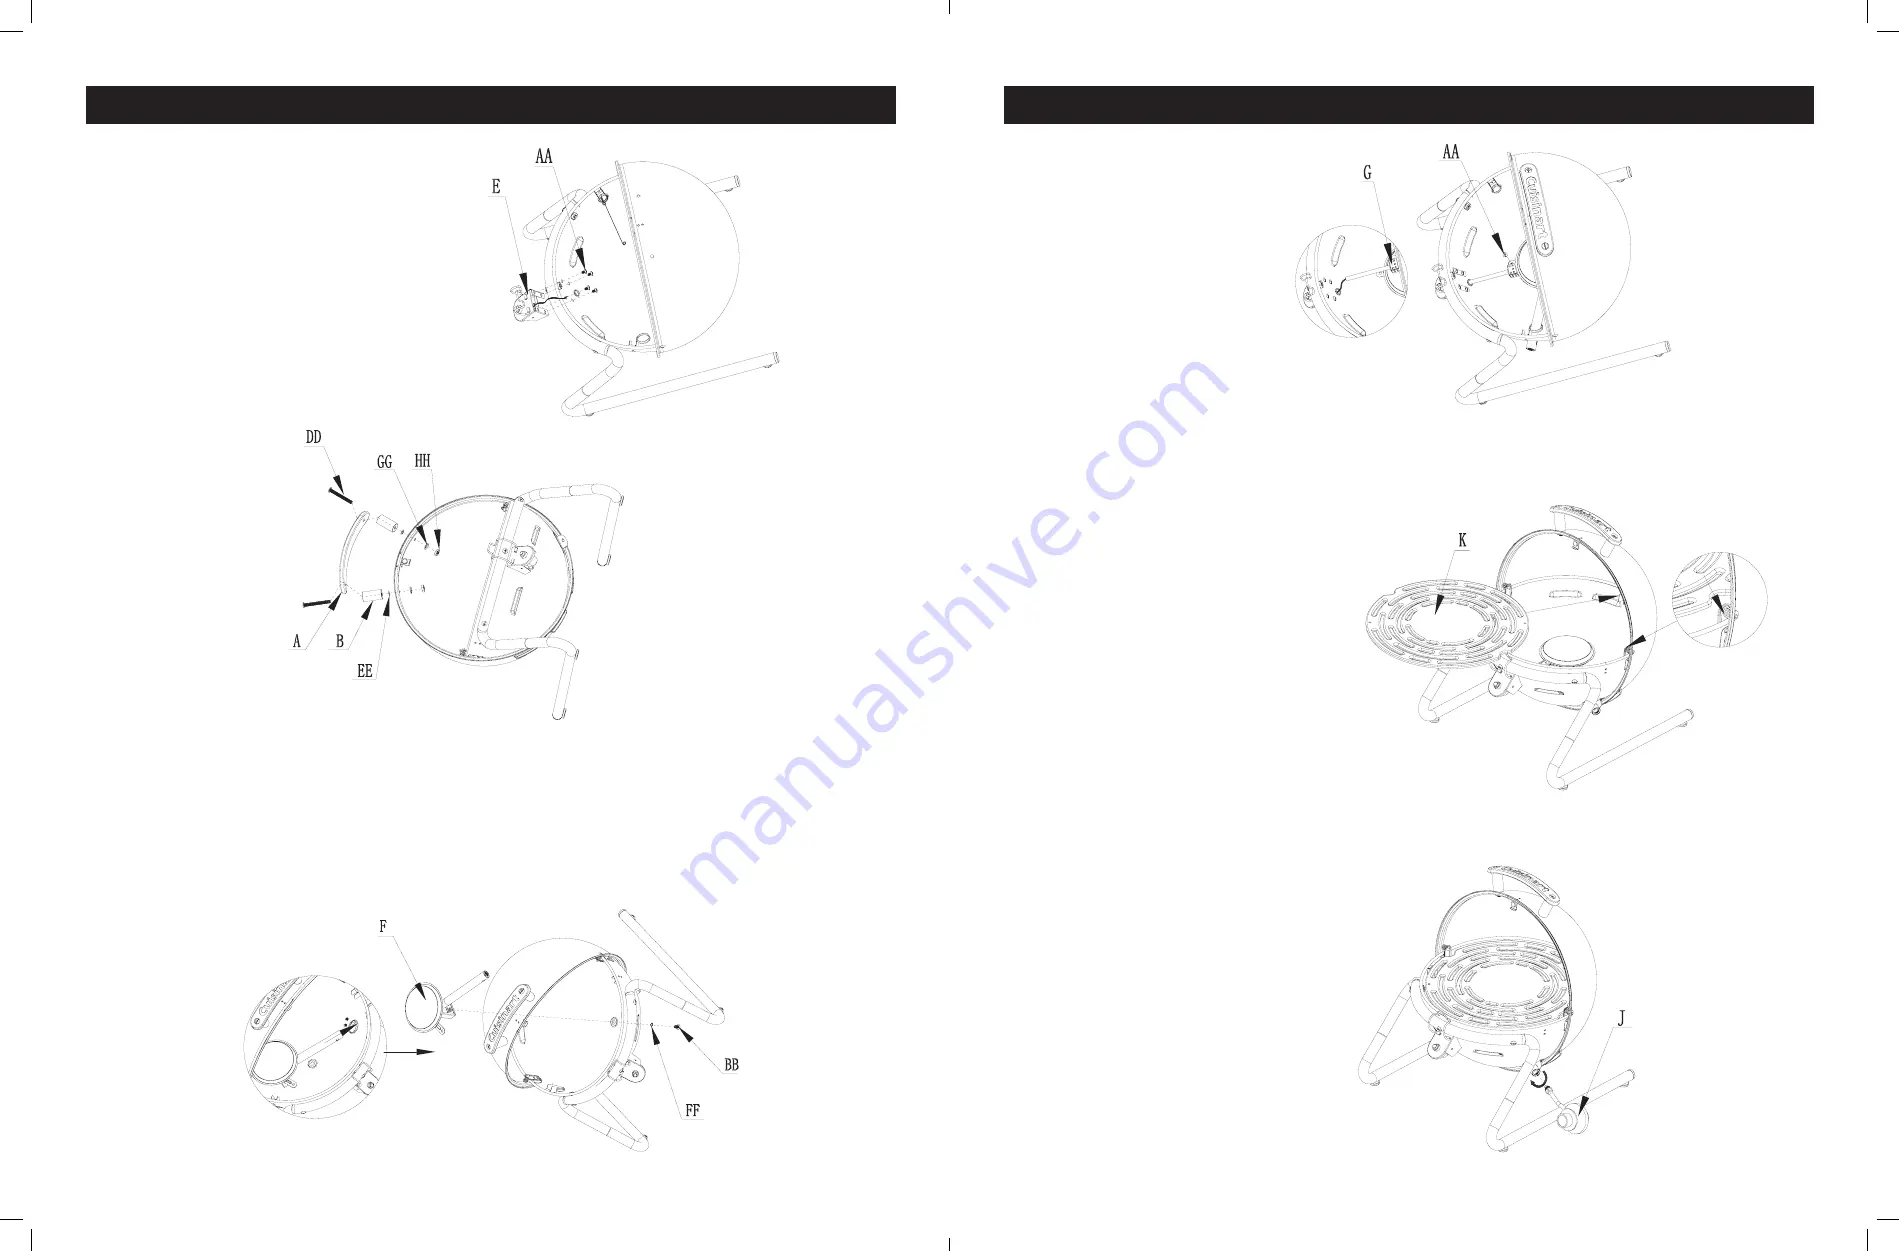
The burner assembly (F) is comprised of a round burner, a gas tube and a mounting
bracket. Slide the gas tube end of the burner throughout the hole in the bottom side of
the firebox and lineup the mounting bracket with the screw hole at the bottom center of
the firebox. Screw the burner tightly onto the firebox.
Step 9:
Insert and screw the regulator (J)
to the tubing end of the burner.
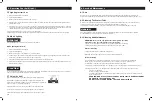
Step 4:
Install the push button
assembly (E) onto the firebox
with screws (AA) as shown.
Step 7:
Slide the ignition wire from
the push button assembly
through the hole in the front of
the firebox. Connect the wire
to the end of the electrode (G)
and secure it on the burner
with screw (AA) as shown
Step 5:
Attach the handle (A)
to the lid as shown.
Step 8:
Rest the cooking grate (K) on the
brackets in the firebox as shown.
Make sure the indents on the grate
line up with the hinges inside the grill.
8
9


