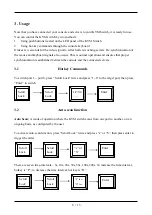
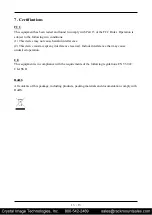
background image


4  /  13 


1.3


LED Panel 


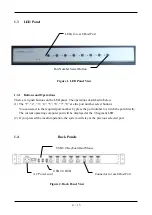
Figure 1. LED Panel View 


1.3.1


Buttons and Operations 

There are 8 push buttons on the LED panel. The operations described in below. 
(1)


The “1”, “2”, “3”, “4”, “5”, “6”, “7”, “8” are the port number select buttons   
You can select to the required port number by press the port number to switch the port directly. 

      The current operating computer port will be displayed at the 7-Segment LED. 
(2)


If you pressed the invalid operation, the system will stay at the previous selected port. 
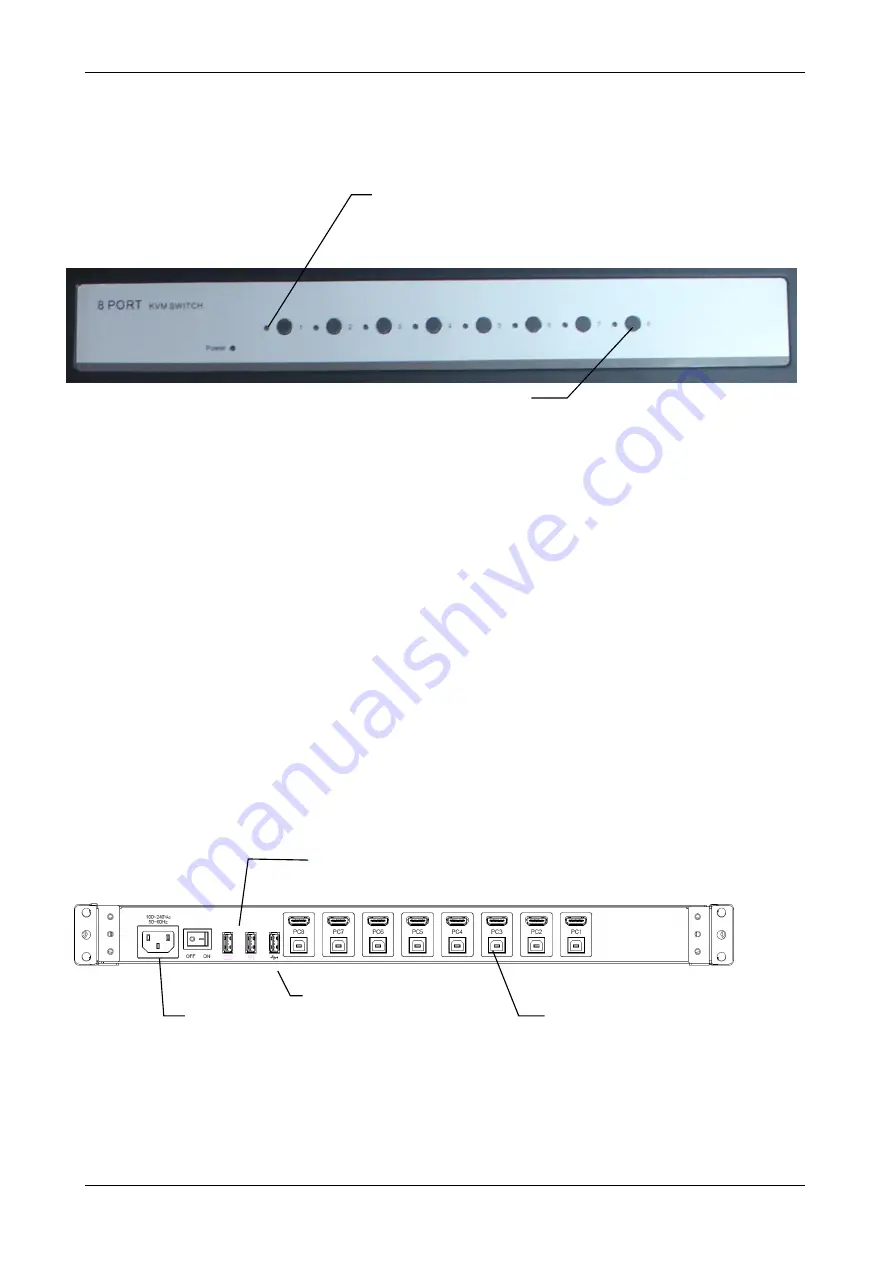


1.4


Back Panels 


Figure 2. Back Panel View 


AC Power cord 

USB 2.0 HUB 

Connector for each Host Port 

LEDs for each Host Port 

Port Number Select Button 

USB 2.0 Keyboard and Mouse 

Содержание RM-F117A-HDMI8

Страница 1: ...1RU 17 3 LCD Console Drawer with Integrated HDMI KVM Switch Part RM F117A HDMI8 User Manual...

Страница 2: ...k Panels 4 1 5 USB2 0 Hub at Front 5 2 Hardware Installation 6 2 1 Computer Server Installation 6 2 1 1 Connecting KVM switch to the host system 6 2 2 Power Up Sequence 7 3 Usage 8 3 1 Hotkey Commands...

Страница 3: ...8 Single Link HDMI computers and 2 additional USB 2 0 devices 2 port USB 2 0 hub built in 1 located on rear and 1 located on front Built in 2 x 2 watts stereo speaker Supported video resolution up to...

Страница 4: ...to the required port number by press the port number to switch the port directly The current operating computer port will be displayed at the 7 Segment LED 2 If you pressed the invalid operation the...

Страница 5: ...5 13 1 5 USB2 0 Hub at Front It provides a front port USB2 0 HUB for convenient access the USB devices at front USB2 0 HUB port...

Страница 6: ...itch of the host system perform the following steps Step 1 Turn Power ON to the KVM Switch Step 2 Connect the shared USB keyboard mouse and other shared USB devices to the KVM switch Step 3 Connect ea...

Страница 7: ...orrectly The recommended Power Up sequence is as follows Monitor KVM Switch finally the Computers Verify that all servers connected to the KVM Switch are powered on If any connected servers have not b...

Страница 8: ...ween the console and the connected servers 3 1 Hotkey Commands To switch port 1 port 8 press Scroll Lock twice and press 1 8 to the target port then press Enter to switch 3 2 Auto scan function Auto S...

Страница 9: ...ly USB port is Hot pluggable but some OS Operation Systems do not support USB Hot Plug function If you apply Hot Plug to this kind of OS it will cause unpredictable behavior or shut down the Computer...

Страница 10: ...0 HUB port 1 x USB2 0 Type A connector front 2 x USB2 0 Type A connector rear Computers Selection 1 Hotkey 2 Push button Hotkey Scroll Lock Auto Scan Intervals Fixed time 5s 10s 20s 30s 50s 100s 200s...

Страница 11: ...use or pressing the mouse buttons when switching ports 3 No video signal is displayed on the LCD monitor Connect another monitor directly to the server to verify that your monitor is functioning prope...

Страница 12: ...he server Control requires that the console also has focus on the port and is viewing it HID Human Interface Device the USB device class that includes keyboards and mice Host Computer Port An interfac...

Страница 13: ...his device may not cause harmful interference 2 This device must accept any interference received Include interference that may cause undesired operation CE This equipment is in compliance with the re...

Отзывы: