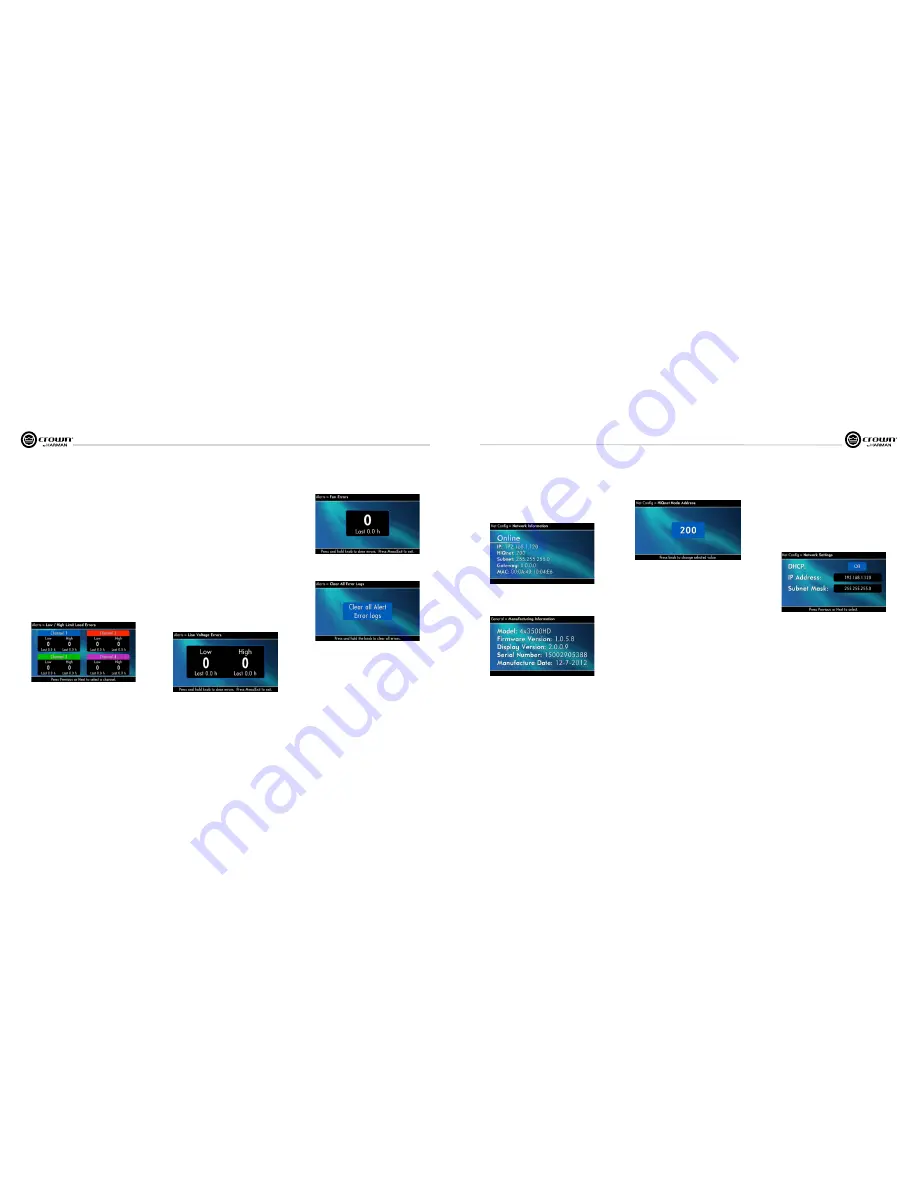
Operation Manual
I-Tech HD DriveCore Series Power Amplifiers
page 24
I-Tech HD DriveCore Series Power Amplifiers
Operation Manual
page 25
7 Advanced Operation
Low Limit Load Errors:
This screen lets you view low-load errors without
using the control software. A
low limit load error
occurs if the load
impedance falls below the value set with the
Low Limit spin control
on the
Amplifier Settings page in System Architect.
When an error occurs, the count displayed in this screen is incremented, and
the operating time since the error is displayed.
To clear this screen, press
Next
and the encoder wheel to select a channel
icon.
NOTE: You must use System Architect to enable error reporting and set its
limits.
High Limit Load Errors:
This screen lets you view high limit load errors
without using the control software. A
high limit load error
occurs if the load
impedance rises above the value set with the
High Limit
value
on the
software Control Panel.
When an error occurs, the count displayed in this screen is incre mented, and
the operating time since the error is displayed.
To clear this screen, press
Next
and the encoder wheel to select a channel
icon.
NOTE: You must use System Architect to enable error report ing and set its
limits.
Fan Errors:
When a fan error occurs, the count displayed in this screen is
incre mented, and the operating time since the error is displayed.
Clear All Error Logs:
In this screen, you can press and hold the encoder
wheel to clear all the error logs.
7.2.4 NETWORKING MENU
This menu has screens for setting up audio network parameters. Push an
Encoder knob to see the selections in the Networking Menu.
Network Info:
This screen displays information about the audio network: IP
address, HiQnet address, Subnet and MAC address. Section 12 of this manual
explains these terms.
Manufacturing Info:
This screen displays information about your I-Tech HD
amplifier: model number, firmware version, serial number, and amplifier date
code.
HiQnet Node Address:
This screen lets you set the HiQnet address of this
amplifier (a node in the network). Press the encoder wheel, then turn an
Encoder knob to set the address, then press the knob to save your setting.
7 Advanced Operation
Line Voltage Errors:
This screen lets you view line-voltage errors without
using the control software. A
line voltage error
occurs if the line voltage falls
outside the values set with the
High/Low Limits slider
on the Line Voltage
Page of the Control Panel.
When an error occurs, the count displayed in this screen is incre mented, and
the operating time since the error is displayed. The “Low” and “High”
indicators show whether the line voltage was below or above the line-voltage
limits.
To clear this screen, press
Next
and the encoder wheel to select a channel
icon. (The display will prompt you to confirm your choice by pressing and
holding the Encoder.)
NOTE: You must use System Architect to enable error report ing and set its
limits.
SLM (Sweep Load Monitoring) Errors:
This screen lets you view SLM
errors without using the control software.
When an error occurs, the count displayed in this screen is incremented, and
the operating time since the error is displayed.
To clear this screen, press and release an Encoder. The display will prompt you
to confirm your choice by pressing and holding the Encoder.
NOTE: You must use System Architect to enable error reporting and set its
limits.
DHCP:
Turn an Encoder knob to turn DHCP on or off, then press the knob to
confirm your selection. With DHCP enabled, the IP address of the amplifier
might change at power-up. See System Architect Help files for more
information on DHCP.
IP Address:
You set the IP address of the amplifier here. See Section 12 for
more information on IP Address. This function is disabled when DHCP is
enabled.
1. Tap the Encoder knob icon to access the left three digits, then turn the knob
to set the number.
2. Tap the Encoder again to access the middle three digits, then turn the knob
to set the number.
3. Tap the Encoder again to access the next digit to the right, then turn the knob
to set the number.
4. Tap the Encoder again to access the right-most digit, then turn the knob to
set the number.
5. Tap the Encoder again to save the IP address.
Subnet Mask:
You set the Subnet Mask of the amplifier here. See Section 12
for more information on Subnet Mask. This function is disabled when DHCP is
enabled.
1. Tap the Encoder knob icon to access the left three digits, then turn the knob
to set the number.
2. Tap the Encoder again to access the middle three digits, then turn the knob
to set the number.
3. Tap the Encoder again to access the next digit to the right, then turn the knob
to set the number.
4.Tap the Encoder again to access the right-most digit, then turn the knob to
set the number.
Tap the Encoder again to save the Subnet Mask.


