background image

Commercial Audio Series 

Mixers

page 2

Operation Manual

1) 

Read these instructions.

2) 

Keep these instructions.

3) 

Heed all warnings.

4) Follow 

all 

instructions.

5) 

Do not use this apparatus near water. 

6) 

Clean only with a dry cloth.

7) 

Do not block any ventilation openings. Install 
in accordance with the manufacturer’s 
instruc tions.

8) 

Do not install near any heat sources such as 
radiators, heat registers, stoves, or other 
apparatus (including amplifi ers) that produce 
heat.

9) 

Do not defeat the safety purpose of the 
polar ized or grounding-type plug. A polarized 
plug has two blades with one wider than the 
other. A grounding-type plug has two blades 
and a third grounding prong. The wide blade 
or the third prong is provided for your safety. If 
the provided plug does not fi t into your outlet, 
consult an electrician for replacement of the 
obsolete outlet.

10)  Protect the power cord from being walked on 

or pinched, particularly at plugs, convenience 
receptacles, and the point where they exit from 
the apparatus.

11)  Only use attachments/accessories specifi ed by 

the manufacturer.

12)  Use only with a cart, stand, tripod, bracket, or 

table specifi ed by the manufacturer, or sold 
with the apparatus. When a cart is used, use 
caution when moving the cart/apparatus 
com bination to avoid injury from tip-over.

13)  Unplug this apparatus during lightning storms 

or when unused for long periods of time.

14)  Refer all servicing to qualifi ed service 

person nel. Servicing is required when the 
apparatus has been damaged in any way, such 
as power-supply cord or plug is damaged, 
liquid has been spilled or objects have fallen 
into the apparatus, the apparatus has been 
exposed to rain or moisture, does not operate 
normally, or has been dropped.

15)  WARNING: TO REDUCE THE RISK OF FIRE OR 

ELECTRIC SHOCK, DO NOT EXPOSE THIS 
APPARATUS TO RAIN OR MOISTURE.

16)  DO NOT EXPOSE TO DRIPPING OR 

SPLASH ING. DO NOT PLACE OBJECTS 
FILLED WITH LIQUID, SUCH AS VASES,ON 
THIS APPARA TUS.

TO PREVENT ELECTRIC SHOCK DO NOT REMOVE 
TOP OR BOTTOM COVERS. NO USER SERVICE-
ABLE PARTS INSIDE. REFER SERVICING TO 
QUALIFIED SERVICE PERSONNEL. 

À PRÉVENIR LE CHOC ÉLECTRIQUE N’ENLEVEZ 
PAS LES COUVERCLES. IL N’Y A PAS DES PAR TIES 
SERVICEABLE À L’INTÉRIEUR. TOUS REPA-
RATIONS DOIT ETRE FAIRE PAR PERSONNEL 
QUALIFIÉ SEULMENT. 

TO COMPLETELY DISCONNECT THIS EQUIPMENT 
FROM THE AC MAINS, DISCONNECT THE POWER 
SUPPLY CORD PLUG FROM THE AC RECEPTA CLE. 
THE MAINS PLUG OF THE POWER SUPPLY CORD 
SHALL REMAIN READILY OPERABLE.

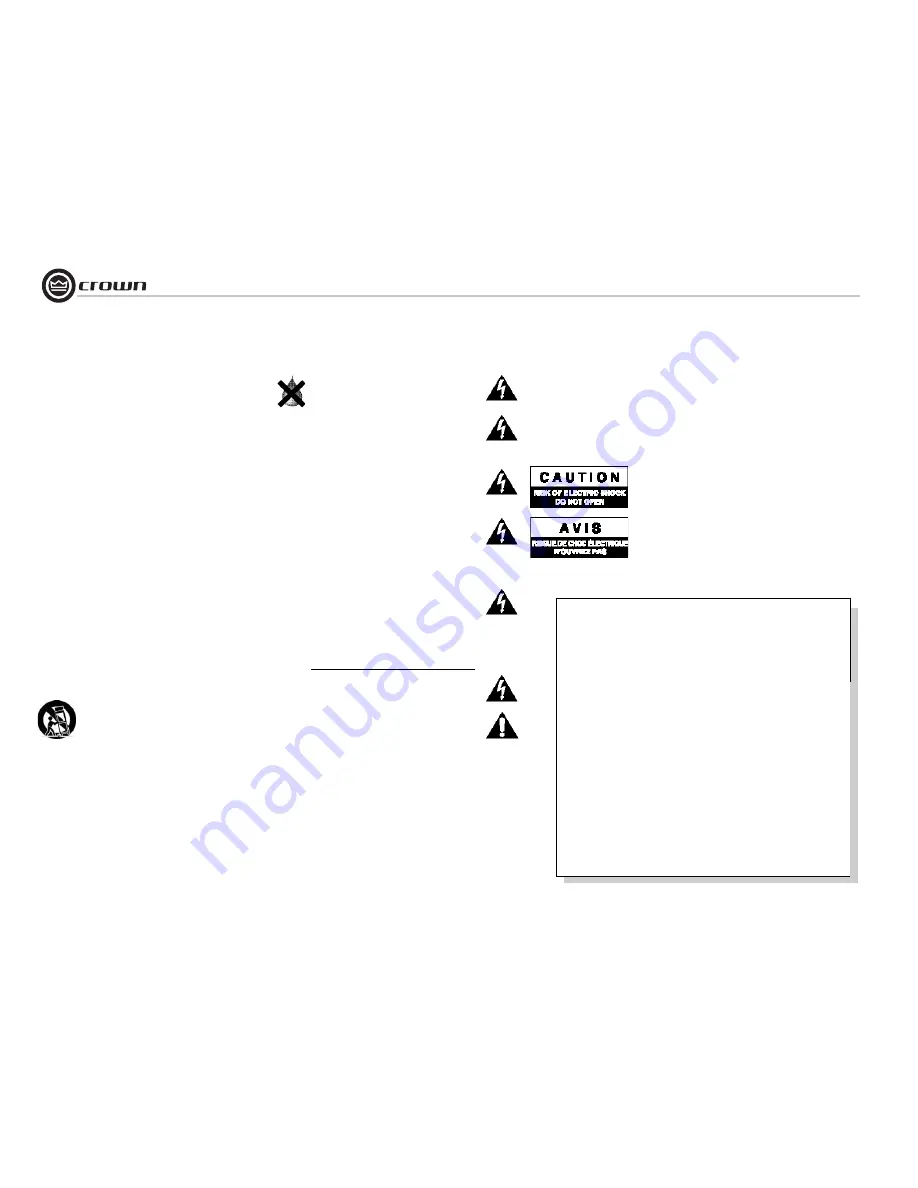
WATCH FOR THESE SYMBOLS:

The lightning bolt triangle is used to alert the user to 
the risk of electric shock.

The exclamation point triangle is used to alert the 
user to important operating or maintenance 
instruc tions.

Important Safety Instructions

FCC COMPLIANCE NOTICE

This device complies with part 15 of the FCC rules. Operation is subject to the following 
two conditions: (1) This device may not cause harmful interference, and (2) this device 
must accept any interference received, including interference that may cause undesired 
operation.

CAUTION: Changes or modifi cations not expressly approved by the party responsible for 
compliance could void the user’s authority to operate the equipment.

NOTE: This equipment has been tested and found to comply with the limits for a Class B 
digital device, pursuant to part 15 of the FCC Rules. These limits are designed to provide 
reasonable protection against harmful interference in a residential installation. This 
equipment generates, uses, and can radiate radio frequency energy and, if not installed 
and used in accordance with the instruction manual, may cause harmful interference to 
radio communications. However, there is no guarantee that interference will not occur in a 
particular installation. If this equipment does cause harmful interference to radio or 
televi sion reception, which can be determined by turning the equipment off and on, the 
user is encouraged to try to correct the interference by one or more of the following 
measures:

• Reorient or relocate the receiving antenna.
• Increase the separation between the equipment and receiver.
• Connect the equipment into an outlet on a circuit different from that to which the receiver 

is connected.

• Consult the dealer or an experienced radio/TV technician for help.

Содержание 14M

Страница 1: ...d To obtain the latest version of this manual please visit the Crown website at www crownaudio com Trademark Notice Crown Crown Audio and Amcron are registered trademarks of Crown International Other trademarks are the property of their respective owners Some models may be exported under the name Amcron 2008 by Crown Audio Inc 1718 W Mishawaka Rd Elkhart Indiana 46517 9439 U S A Telephone 574 294 ...

Страница 2: ...RVICE ABLE PARTS INSIDE REFER SERVICING TO QUALIFIED SERVICE PERSONNEL À PRÉVENIR LE CHOC ÉLECTRIQUE N ENLEVEZ PAS LES COUVERCLES IL N Y A PAS DES PARTIES SERVICEABLE À L INTÉRIEUR TOUS REPA RATIONS DOIT ETRE FAIRE PAR PERSONNEL QUALIFIÉ SEULMENT TO COMPLETELY DISCONNECT THIS EQUIPMENT FROM THE AC MAINS DISCONNECT THE POWER SUPPLY CORD PLUG FROM THE AC RECEPTACLE THE MAINS PLUG OF THE POWER SUPPLY...

Страница 3: ...rt 2 Immunity EN 61000 4 2 2001 Electrostatic Discharge Immunity Environment E2 Criteria B 4k V Contact 8k V Air Discharge EN 61000 4 3 2001 Radiated Radio Frequency Electromagnetic Immunity Environment E2 Criteria A EN 61000 4 4 2001 Electrical Fast Transient Burst Immunity Criteria B EN 61000 4 5 2001 Surge Immunity Criteria B EN 61000 4 6 2003 Immunity to Conducted Disturbances Induced by Radio...

Страница 4: ...nnectors 9 2 5 Wire Your System 10 2 6 Input Routing 11 2 7 Phantom Power 11 2 8 Priority Muting 11 2 9 Powering Up 12 2 10 Included Accessories 12 2 11 Block Diagram 13 3 Troubleshooting 14 4 Specifications 15 5 Service 16 5 1 International and Canada Service 16 5 2 US Service 16 5 2 1 Service at a US Service Center 16 5 2 2 Factory Service 16 5 2 3 Factory Service Shipping Instructions 16 5 2 4 ...

Страница 5: ...ing background music security and evacuation instructions 1 1 Features 4 or 8 inputs 1 or 2 line outputs Ideal for commercial and industrial use Expandable by adding Crown Commercial Audio mixer amps or Commercial Audio power amplifiers Balanced Phoenix type mic line inputs RCA inputs Balanced Phoenix type line outputs Any input can be sent to any output Independent Bass and Treble controls on eac...

Страница 6: ...t Volume Controls One per output channel Detented potentiometer with knob D Output Signal Presence Indicator Green LED one for each output channel illuminates when output signal level exceeds 100 mV E Clip Indicator Red LED one per output channel illuminates at threshold of audible distortion F Power Indicator Blue LED indicates power on G H Tone Controls Bass and Treble non detented potentiometer...

Страница 7: ...onnector allows Input 1 or Input 5 28M only to mute other input signals by contact closure R Auxiliary Power Input 2 position terminal strip for 24 VDC 10 backup power Accepts up to 10 AWG terminal forks NOTE To prevent a spark when attaching a battery have unit turned on and connected to the mains supply S Line Out Connector One 3 pin balanced Phoenix type connector per output channel Level contr...

Страница 8: ... sides and the back of the rack should be a minimum of four inches 10 2 cm from the mixer back panel Figure 2 1 Dimensions 2 2 How to Attach Rack Ears 1 Locate the two rack ears supplied 2 See Figure 2 2 Remove the two screws from each side of the chassis near the front 3 Place a rack ear flush with the right front of the chassis 4 Insert a screw that you removed into the bottom hole of the rack e...

Страница 9: ...ctor pin assignments for unbalanced wiring The RCA input connectors can also be used for unbalanced inputs NOTE Custom wiring should only be performed by qualified personnel Class 2 wiring is required 2 4 Choose OutputWire and Connectors Use 2 conductor shielded cable and 3 pin Phoenix type connectors for Line Output wiring Figure 2 5 Figure 2 3 Balanced Input Connector Wiring Figure 2 4 Unbalance...

Страница 10: ...gnals to RCA input connectors OUTPUTS Maintain proper polarity on output connectors For more application drawings see the enclosed Commercial Audio Mixer Quick Start Guide NOTE Crown provides a reference of wiring pin assignments for commonly used connector types in the Crown Amplifier Application Guide available at www crownaudio 2 Setup Figure 2 6 Input and Output Wiring Satellite Receiver Dual ...

Страница 11: ...G are used Figure 2 7 Follow the settings printed on the back panel next to the INPUT ROUTING switch For example to send input Channel 3 to Output 1 and Output 2 turn on DIP switches 13 and 14 2 7 Phantom Power To turn on phantom power on all mic inputs turn on the switch number 7 in the AMP CONFIG DIP switch 2 8 Priority Muting A back panel AMP CONFIG DIP switch Figure 2 8 can assign Input Ch 1 o...

Страница 12: ...one talk into a microphone Turn up the master volume control s until the output clip LED flashes then turn down the master volume control s about 1 4 turn for headroom 8 Turn on any equipment connected to the Line Out connectors 9 Turn up the power amplifier level control until the desired loudness or power level is achieved 10 Touch up the input levels as needed for equal loudness from each micro...

Страница 13: ...2 SW12 Mic Line Bal Input Gain Ch 5 Priority SW6 CH 5 Tone Control Bass Trebl e Gain 5 SPI Input Gain Mic Line Bal RCA Line Mi c Ch 5 Normal SW5 Ch 5 to Out 1 SW17 Ch 5 to Out 2 SW18 CH 6 Tone Control Bass Trebl e Gain 6 SPI RCA Line Mi c Ch 6 to Out 1 SW19 Ch 6 to Out 2 SW20 Mic Line Bal Input Gain Ch 3 and Ch 4 similar to Ch 2 Ch 7 and Ch 8 similar to Ch 6 Ch 1 Out 1 Mute Ch 5 Out 2 Mute Master ...

Страница 14: ...he internal fuse may have opened The power switch has no effect on 24V operation CONDITION Distorted sound POSSIBLE REASON Input signal level is too high Turn down your input volume controls NOTE Your mixer should never be operated at a level which causes the Clip LEDS to illuminate constantly Master volume level is too high Turn it down to about 3 4 of maximum level CONDITION No sound POSSIBLE RE...

Страница 15: ...ntrols at 10 70 dB at 1 kHz 70 dB at 1 kHz Line Output Level nominal 1 2V into 10 kilohms 1 2V into 10 kilohms Phantom Power 15 VDC 15 VDC AC Line Voltages Available 100V 50 60 Hz 120V 60 Hz 220V 50 60 Hz 230V 50 60 Hz 240V 50 60 Hz 100V 50 60 Hz 120V 60 Hz 220V 50 60 Hz 230V 50 60 Hz 240V 50 60 Hz Operating Temperature Humidity 0o C to 40o C at 95 relative humidity non condensing 0o C to 40o C at...

Страница 16: ... may prepay the cost of shipping and Crown will reimburse you Send copies of the shipping receipts to Crown to receive reimbursement Your repaired unit will be returned via UPS ground Please contact us if other arrangements are required 5 2 3 Factory Service Shipping Instruc tions 1 Service Return Authorization SRA is required for product being sent to the factory for service Please complete the S...

Страница 17: ...ective product at our authorized service center or our factory All expenses in remedying the defect including surface shipping costs in the United States will be borne by us You must bear the expense of shipping the product between any foreign country and the port of entry in the United States including the return shipment and all taxes duties and other customs fees for such foreign shipments HOWT...

Страница 18: ...urchase price not including interest insurance closing costs and other finance charges less a reasonable depreciation on the product from the date of original purchase Warranty work can only be performed at our authorized service centers We will remedy the defect and ship the product from the service center within a reasonable time after receipt of the defective product at our authorized service c...

Страница 19: ...__________________________ E mail address ___________________________________________ Phone include area code ___________________________ Fax __________________________________ MODEL SERIAL PURCHASE DATE e g IT8000 CDi1000 PCC160 e g 8000000000 mo day yr ________________________________ ____________________ ______ _____ _____ ________________________________ ____________________ ______ _____ _____...

Страница 20: ...Commercial Audio Series Mixers page 20 Operation Manual THIS PAGE INTENTIONALLY LEFT BLANK ...

Страница 21: ...________________________ Other equipment in your system _________________________________________________________________________________________________________________________________________________________ If warranty is expired please provide method of payment Proof of purchase may be required to validate warranty PAYMENT OPTIONS I have open account payment terms Purchase order required PO __...

Страница 22: ...Commercial Audio Series Mixers page 22 Operation Manual THIS PAGE INTENTIONALLY LEFT BLANK ...

Страница 23: ...Commercial Audio Series Mixers page 23 Operation Manual THIS PAGE INTENTIONALLY LEFT BLANK ...

Страница 24: ......

Отзывы: