OPERATING INSTRUCTIONS / MANUEL D’UTILISATION /
TURNTABLE
MP
XF
S
SB
JT
F
L-79
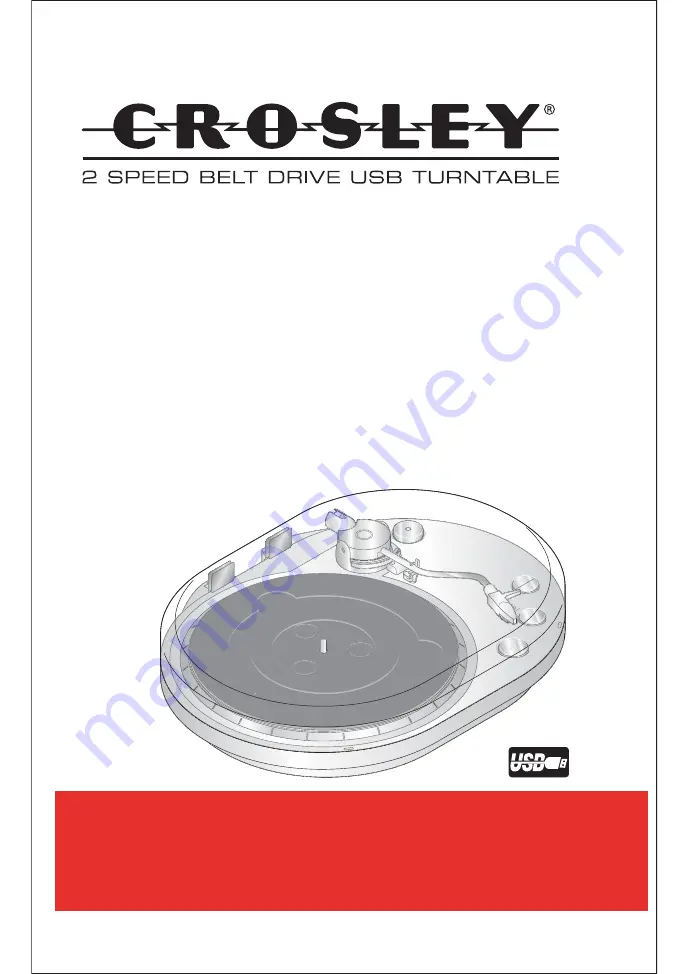
Страница 1: ...OPERATING INSTRUCTIONS MANUEL D UTILISATION TURNTABLE M P X F S S B J T F L 79...
Страница 2: ...s follows The wire coloured brown must be connected to the terminal that is marked with the letter L The wire coloured blue must be connected to the terminal that is marked with the letter N Do not co...
Страница 3: ...nt on a hard flat surface away from direct sunlight and heat sources If it is in a cabinet allow at least a 10cm gap all around Don t obstruct the ventilation slots including those underneath with sof...
Страница 4: ...port for USB cable Mains cord Turntable Counterweight 33 45 Setting for rpm revolution speed STOP Stop playback LOWER RAISE Lower raise tone arm Head shell with pick up system and stylus Tone arm rest...
Страница 5: ...ook through the lots on top of the turntable and refit the belt if required Connecting the device Audio connection The record player has an inbuilt preamplifier and can therefore be connected directly...
Страница 6: ...best quality when playing or converting your records to digital files you should observe the following information Check the stylus regularly You can brush off fluff and small bits of dirt with a sof...
Страница 7: ...ish to play The turntable starts to turn 8 Press the LOWER RAISE button to lower the tone arm Playback begins After the last track on the record the tone arm returns automatically to the tone arm rest...
Страница 8: ...player to an easily accessible wall socket by means of the mains plug 2 Boot your PC Your record player can work together with all audio recording programmes that support USB audio devices The Audacit...
Страница 9: ...enclosed CD in your CD ROM drive 2 Launch the software by double clicking on the audacity win 1 2 6 exe file on the CD Or Under Start open the Run function and enter D audacity win 1 2 6 exe The D is...
Страница 10: ...peaker Realtek Recording Device Microphone USB Audio CODEC this selects the record player as the input device USB Audio CODEC only appears as a setting option when the record player is connected to th...
Страница 11: ...h which audio CDs can be created later 4 Click on OK to save the settings Listening to Monitor input via PC speakers 5 In the main Audacity window you will find a microphone icon beneath the output le...
Страница 12: ...must be selected in the Control Panel under Hardware and Sounds Sound Recording Your sound card must be selected under Hardware and Sounds Sound Playback not USB Audio Codec You will find further info...
Страница 13: ...The Save Project As window appears The project file can only be read by Audacity For further editing or playback with another programme the recordings need to be converted see Exporting tracks 12 Sel...
Страница 14: ...Audacity or at http audacity sourceforge net When records are converted to digital files a certain amount of background noise is also digitalised e g the crackling and hiss of older records in partic...
Страница 15: ...ffect Attention Only use Effect with great care otherwise parts of the recording will also be erased with the noise 8 Click on Remove Noise The window closes and Audacity removes the noise This may ta...
Страница 16: ...a recording into separate tracks If you wish to convert all the tracks on a record into digital files it is worth recording each side of the record in one piece first and then splitting it into separa...
Страница 17: ...ce Finder inserts too few too many or wrong markers you can undo the operation and repeat using a different setting Select Undo Silence Finder in the Edit menu and repeat steps 1 and 2 with different...
Страница 18: ...visible waveform 4 Right click on this point A vertical line appears 5 Select Add Label at Selection in the Project menu to determine the starting point of the second track 6 Repeat steps 3 4 and 5 u...
Страница 19: ...the sound quality To export MP3 files you need a separately available encoder see Exporting as an MP3 file Exporting as WAV files As soon as you have split your recording into tracks and named them yo...
Страница 20: ...ails on burning an audio CD and copying files to an MP3 player in the instructions accompanying your burn programme or your MP3 player Cleaning Whenever necessary use a soft slightly dampened cloth to...
Страница 21: ...lation This equipment generates uses and can radiate radio frequency energy and if not installed and used in accordance with the instructions may cause harmful interference to radio communications How...