background image

WARNING : 

TO REDUCE THE RISK OF FIRE OR ELECTRIC SHOCK, DO NOT EXPOSE THIS
APPARATUS TO RAIN OR MOISTURE AND OBJECTS FILLED WITH LIQUIDS, SUCH
AS VASES, SHOULD NOT BE PLACED ON THIS APPARATUS.

CAUTION : 

TO PREVENT ELECTRIC SHOCK, MATCH WIDE BLADE OF PLUG TO WIDE SLOT, FULLY INSERT.

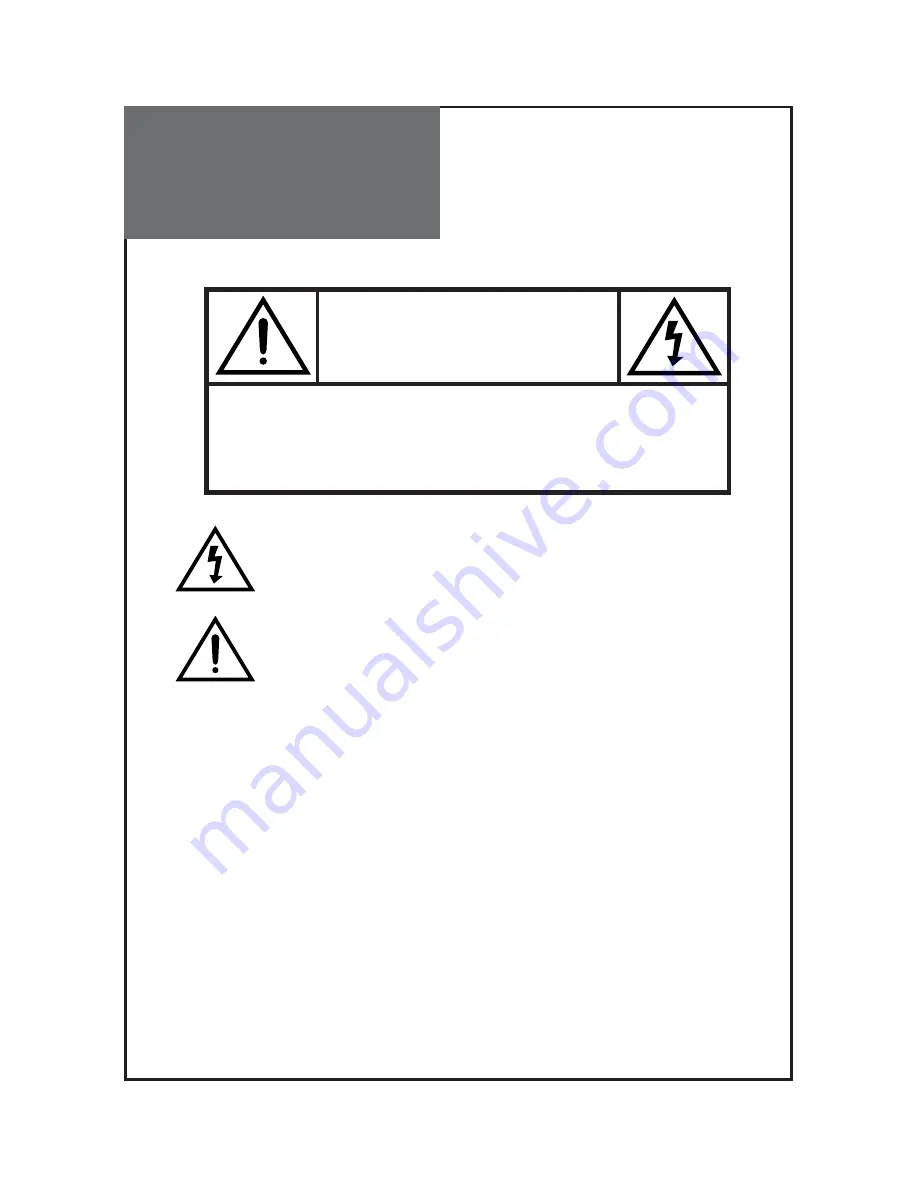
CAUTION

RISK OF ELECTRIC SHOCK

DO NOT OPEN

CAUTION : TO REDUCE THE RISK OF ELECTRIC SHOCK,

DO NOT REMOVE COVER (OR BACK).

NO USER-SERVICEABLE PARTS INSIDE.

REFER SERVICING TO QUALIFIED SERVICE PERSONNEL.

The lightning flash with arrowhead symbol, within an equilateral
triangle, is intended to alert the user to the presence of uninsulat-
ed “dangerous voltage” within the product’s enclosure that may
be of sufficient magnitude to constitute a risk electric shock.

The exclamation point within an equilateral triangle is intended to
alert the user to the presence of important operating and servic-
ing instructions in the literature accompanying the appliance.

Caution

Содержание C32HDHB

Страница 1: ...Proper use guarantees product life Before using the product be advised that you read this owner s manual well and try to operate it INSTRUCTION MANUAL LCD TELEVISION C32HDHB C37HDHB C42HDHB C42FHDHB ...

Страница 2: ... NOT REMOVE COVER OR BACK NO USER SERVICEABLE PARTS INSIDE REFER SERVICING TO QUALIFIED SERVICE PERSONNEL The lightning flash with arrowhead symbol within an equilateral triangle is intended to alert the user to the presence of uninsulat ed dangerous voltage within the product s enclosure that may be of sufficient magnitude to constitute a risk electric shock The exclamation point within an equila...

Страница 3: ...ion If this equipment does cause interference to radio or television reception which can be determined by turning the equipment off and on the user is encouraged to try to correct the interference by one or more of the following measures Reorient or relocate the receiving antenna Increase the separation between the equipment and receiver Connect the equipment into an outlet on a circuit different ...

Страница 4: ... plug does not fit into your outlet consult an electrician for replacement of the obsolete outlet 10 Protect the power cord from being walked on or pinched particularly at plugs convenience receptacles and the point where they exit from the apparatus 11 Only use attachments accessories specified by the manufacturer 12 Use only with the cart stand tripod bracket or table specified by the manufactur...

Страница 5: ...or circuits as contact with them might be fatal 20 Overloading Do not overload wall outlets and extension cords as this can result in a risk of fire or electric shock 21 Object and Liquid Entry Never push objects of any kind into this TV through openings as they may touch dangerous voltage points or short out parts that could result in fire or electric shock Never spill liquid of any kind on or in...

Страница 6: ...unit and be a cause of fire or hazardous electric shock To reduce the risk of electric shock do not remove cover or back No user serviceable parts inside Refer to qualified service personnel for repair Do not put on or use the product near water and moisture such as in a bathroom washbowl etc It may be a cause of fire and electric shock hazards To prevent fire and damages to the product unplug the...

Страница 7: ...ted connections from the unit to prevent electric shock At least two people must work together to move the TV set when transporting to prevent the TV from falling and consequently any serious injury or damage Do not touch the power cord with moisturized or wet hands when plugging to or unplugging from the outlet since it may be a cause of electric shock Pleasebeadvisedofelectricwiresandcableswheni...

Страница 8: ...the Dolby Digital AMP 22 Name of Each Part 23 Basic Guide Functionsa of the Remote Control 25 Method To Use Basic Menu 27 To Watch TV 28 Setting Up TV Stations 30 Selection of TV VIDEO Input Signal 34 Selection of Multimedia Input Signal 35 Selection of Media USB Input Signal 37 Application Guide Picture Adjustment 38 Sound Adjustment 42 Features Closed Caption 46 Features Parental Control 48 Feat...

Страница 9: ...g Unit OPTIONAL 1 2 3 The method of wire arrangement 1 Assemble the cable holder enclosed on the back of TV PICTURE 1 ASSEMBLY METHOD After you push the A prominence part of cable holder in the hole rotate the cable holder clockwise as an angle of 90 You can separate in reverse order of assembly 2 Open the cable holder PICTURE 2 you can open the cable holder then press and push B part 3 After arra...

Страница 10: ...tand base 2 Insert the frame stand into the stand base 3 Assemble plate stand base and frame stand with the 4 screws supplied 4 Assemble TV set and stand with the 3 screws supplied ز ز ز ز ز ز ز When attaching stand to TV set be sure to cover the surface to protect from accidental damage ...

Страница 11: ...on 10 37 Stand Assy Construction 1 Insert the TV set to the stand assy 2 Assemble TV set and stand with screw 5EA ز ز ز ز ز When attaching stand to TV set be sure to cover the surface to protect from accidental damage ...

Страница 12: ...ck its direction and place when installing 2 Connect the combining adapter to the antenna input at the left side of the TV set WHEN USING THE COMBINING ADAPTER You may obtain the combining adapter at your closest Service Center Combining adapter VIDEO L AUDIO R MONITOR VIDEO L AUDIO R OU T AV1 ANT HDMI 1 HDMI 2 INPUT PC PC HDMI 1 AUDIO Y Pb Pr L AUDIO R COMP 1 COMP 2 SERVICE OPTICAL DIGITAL AUDIO ...

Страница 13: ...set ANT ANT Combining adapter Antenna Connection When a coaxial cable is used Plug the coaxial cable to the antenna socket on the wall When a feeder cable is used Plug the coaxial cable to the antenna socket on the wall Antenna socket at the back of the TV set ...

Страница 14: ...cessary for installation at private houses Single Antenna Connection Separate Antenna Connection VIDEO L AUDIO R MONITOR VIDEO L AUDIO R OU T AV1 ANT HDMI 1 HDMI 2 INPUT PC PC HDMI 1 AUDIO Y Pb Pr L AUDIO R COMP 1 COMP 2 SERVICE OPTICAL DIGITAL AUDIO S VIDEO VHF Antenna UHF Antenna ANT REAR OF THE TV SET ANT ...

Страница 15: ... device has both Video OUT terminal and S Video OUT terminal S Video connection is recommended for better picture quality If S Video and RCA jack are connected at the same time the TV set will only detect the S Video mode Connecting with an External Source You may connect S Video1 Rear of the TV input to enjoy clearer and brighter picture images You can make the connection with the AV1 or AV2 inpu...

Страница 16: ...g or Video Game on TV 1 You can use either the S video or the RCA connector 2 These connectors connect to AV1 2 or S Video1 as shown below 3 Turn on the TV set and camcorder video game 4 Press INPUT and then You can see input menu Select AV1 AV2 or S Video1 mode by pressing and OK key VIDEO L AUDIO R MONITOR VIDEO L AUDIO R OU T AV1 ANT HDMI 1 HDMI 2 INPUT PC PC HDMI 1 AUDIO Y Pb Pr L AUDIO R COMP...

Страница 17: ...ICAL DIGITAL AUDIO S VIDEO USB R AUDIO L VIDEO AV2 INPUT REAR OF THE TV SET REAR AND SIDE OF THE TV SET Note When you connect with the component please check the color of cable between DVD and TV set Note If your AV device has both Video OUT terminal and S Video OUT terminal S Video connection is recommended for better picture quality If S Video and RCA jack are connected at the same time the TV s...

Страница 18: ... R COMP 1 COMP 2 SERVICE OPTICAL DIGITAL AUDIO S VIDEO REAR OF THE TV SET VIDEO L AUDIO R MONITOR VIDEO L AUDIO R OU T AV1 ANT HDMI 1 HDMI 2 INPUT PC PC HDMI 1 AUDIO Y Pb Pr L AUDIO R COMP 1 COMP 2 SERVICE OPTICAL DIGITAL AUDIO S VIDEO Set Top Box REAR OF THE TV SET When connecting with a HDMI cable When connecting with a component cable ...

Страница 19: ...ey VIDEO L AUDIO R MONITOR VIDEO L AUDIO R OU T AV1 ANT HDMI 1 HDMI 2 INPUT PC PC HDMI 1 AUDIO Y Pb Pr L AUDIO R COMP 1 COMP 2 SERVICE OPTICAL DIGITAL AUDIO S VIDEO 1 Adjust PC resolution to available resolution in LCD TV 2 Connect the PC and TV set using the HDMI and Audio cable like below the picture 3 Turn on the PC and TV set 4 Press INPUT and then You can see input menu Select PC mode by pres...

Страница 20: ...tters Select a suitable resolution 3 HDMI input port receives only Digital Signal 4 Depending on the graphic card when you plug unplug the HDMI connection the screen may not display correctly Restart the computer if this happens Note 1 When you connect with component PC D Sub and HDMI you must check the input resolution of external devices 2 So if this mode is used at PC mode the screen can be enl...

Страница 21: ...image files Please use only a USB storage device which was formatted as a FAT or NTFS file system provided with the Windows operating system In case of a storage device formatted as a different utility program which is not supported by Windows it may not be recognized Please connect power to a USB storage device which requires an external power supply If not the device may not be recognized Please...

Страница 22: ... AV1 ANT HDMI 1 HDMI 2 INPUT PC PC HDMI 1 AUDIO Y Pb Pr L AUDIO R COMP 1 COMP 2 SERVICE OPTICAL DIGITAL AUDIO S VIDEO External Input Connection Source Antenna Input Connection Watching cable television is only possible after you have subscribed to the local broadcasting company and installed a cable receiver You may make the connection to either the Component input Video1 input or Video2 input REA...

Страница 23: ...I 1 HDMI 2 INPUT PC PC HDMI 1 AUDIO Y Pb Pr L AUDIO R COMP 1 COMP 2 SERVICE OPTICAL DIGITAL AUDIO S VIDEO Surround L Surround R R L Center Woofer Dolby Digital AMP I N P U T Optical output If you connect the optical output to a Dolby digital AMP you can listen to better sound REAR OF THE TV SET ...

Страница 24: ... Buttons Use this buttons to change channels on your TV or to move cursor in the menu POWER Button Use this button to TV STAND BY mode TV ON mode Remote control signal receiver The screen contains the remote control signal receiving window therefore point the remote control towards the screen when using it Stand by LED Indicator LED BLUE Standby LED OFF SET ON Buttons on the TV set have the same f...

Страница 25: ...ach Part 24 REAR OF THE TV SET VIDEO L AUDIO R MONITOR VIDEO L AUDIO R OU T AV1 ANT HDMI 1 HDMI 2 INPUT PC PC HDMI 1 AUDIO Y Pb Pr L AUDIO R COMP 1 COMP 2 SERVICE OPTICAL DIGITAL AUDIO S VIDEO Rear of the TV set ...

Страница 26: ...ly in DTV mode 8 NAVIGATION KEY You can use Navigation Key to move in multi mode 9 FAVORITE CH Press to switch to your favorite channels 10 INPUT Each time you press this button the TV will cycle Through AIR CABLE AV1 2 Comp 1 2 HDMI1 2 PC 11 OPTION Use to quickly select frequently used functions 12 STILL Press this button to freeze the picture 13 MEDIA To enter the MEDIA HOME It can be used only ...

Страница 27: ... over and open the battery compartment Insert the batteries Two 1 5V type AAA Make sure that the polarity matches with the and marks inside of the battery compartment Note To avoid damage from possible battery leakage remove the batteries if you do not plan to use the remote control handset for an extended period of time ...

Страница 28: ... Timer On Timer Off Timer Color temp Dimming Aspect Ratio PC Screen Mode Move Off 16 9 R G Noise Reduction User 42 81 58 10 50 OK Select MENU Exit 2 Press the button You may setup according to the directions on the screen after selecting the desired item by pressing the button If the setup is completed exit from the menu by pressing the MENU button Color temp Dimming Aspect Ratio PC Screen Mode Mo...

Страница 29: ... 1 and OK in sequence Press the POWER button on TV set or Remote control Note The buttons of the remote control and the main body operate only when AC power turn on You must pull out the plug of TV set to shut off the AC Power To turn sound off Press the MUTE button No sound is heard if MUTE is displayed on the screen Sound is heard again if you press the MUTE button once again Check of TV operati...

Страница 30: ...s to flicker in blue color and the TV turns on 2 Press the CH button Select the desired program by pressing the CH button or the number buttons 3 Adjust volume Sound reduces by pressing the VOL button Sound increases by pressing the VOL button Note Sound mutes by pressing the MUTE button 4 Press the POWER button of right side of the set or Remote control for turning the TV off TV turns off and the...

Страница 31: ...ove Change MENU Return Edit Channel Fine Tune Signal Strength 2 Antenna This will automatically search the channels do you wat to preoceed Auto Search OK Analog MENU Exit Cancel OK Move Move Change MENU Return Edit Channel Fine Tune Signal Strength 2 Antenna 1 Press the MENU button to select the Channel menu Move the selection bar to the Channel menu with buttons 3 Select the Auto Search Place the...

Страница 32: ... you are unable to get a good picture or Sound because of a poor broadcasting signal adjustment of Frequency might improve it 1 Adding the Channel Select a Channel number you want to add with the NUMBER buttons Press MENU Button Select Channel by pressing Move to Edit Channel Then select ADD DEL by pressing CB 2 Deleting the Channel Press MENU Button Select Channel by pressing Move to Edit Channel...

Отзывы: