


11
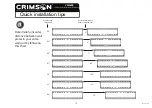
Quick installation tips
www.crimsonav.com [email protected]
Full motion Articulating Wall Mount
VW4600
TM
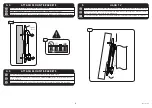
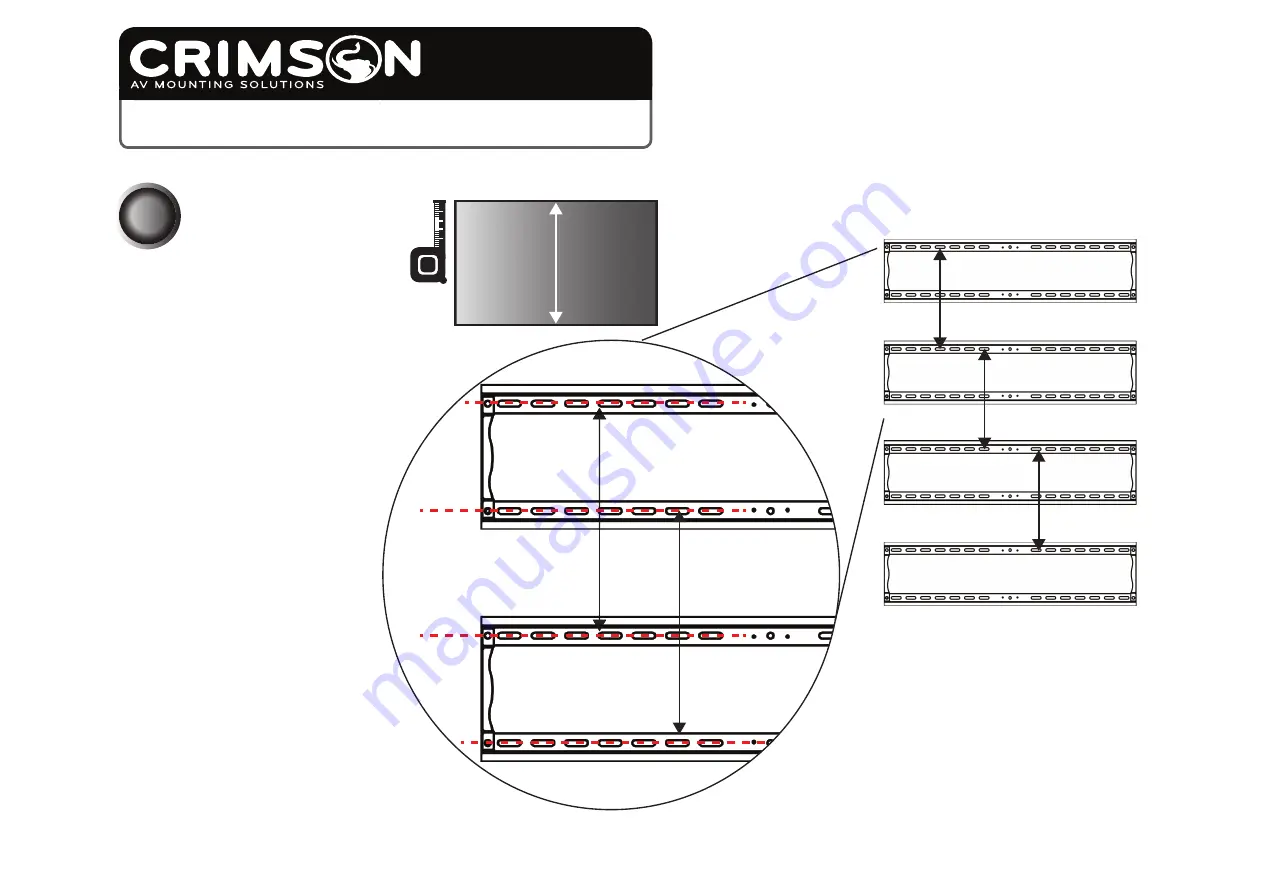
Determine vertical dis-
tance between wall
plates:
1) Measure the height
of the monitor (X)
2) Measure and mark
distance (X) between
drill locations in order
to properly allign wall
plates vertically
2
(X)
(X)
(X)
(X)
(X)
Monitor
VWP4600-0002


